Chapter 3 - Drive System: Drive Shafts and Differentials
113
REAR DIFFERENTIAL REMOVAL
1. Remove one of the rear axles as described in
the REAR AXLE REMOVAL section of this man-
ual.
CAUTION: Allow the engine and exhaust sys-
tem to cool to a safe temperature before starting
any work in close proximity to them.
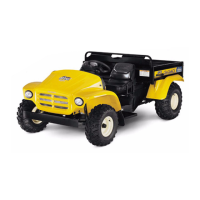
2. Drive the tension pin out of the joint using 1/4”
flat-nosed drift. See Figure 3.62.
3. Remove the four bolts that hold the bottom of the
rear differential to the frame using a 9/16”
wrench. See Figure 3.63.
4. Remove two bolts that hold the differential hous-
ing to the torque bracket using a 13mm wrench.
Figure 3.62
Rear
differential
Driving tension
pin upwards
Figure 3.63
Rear differential
mounting bolts
NOTE: It is not strictly necessary to remove the
cargo box for the remainder of this procedure,
but the technician may choose to do so for ease
of access.
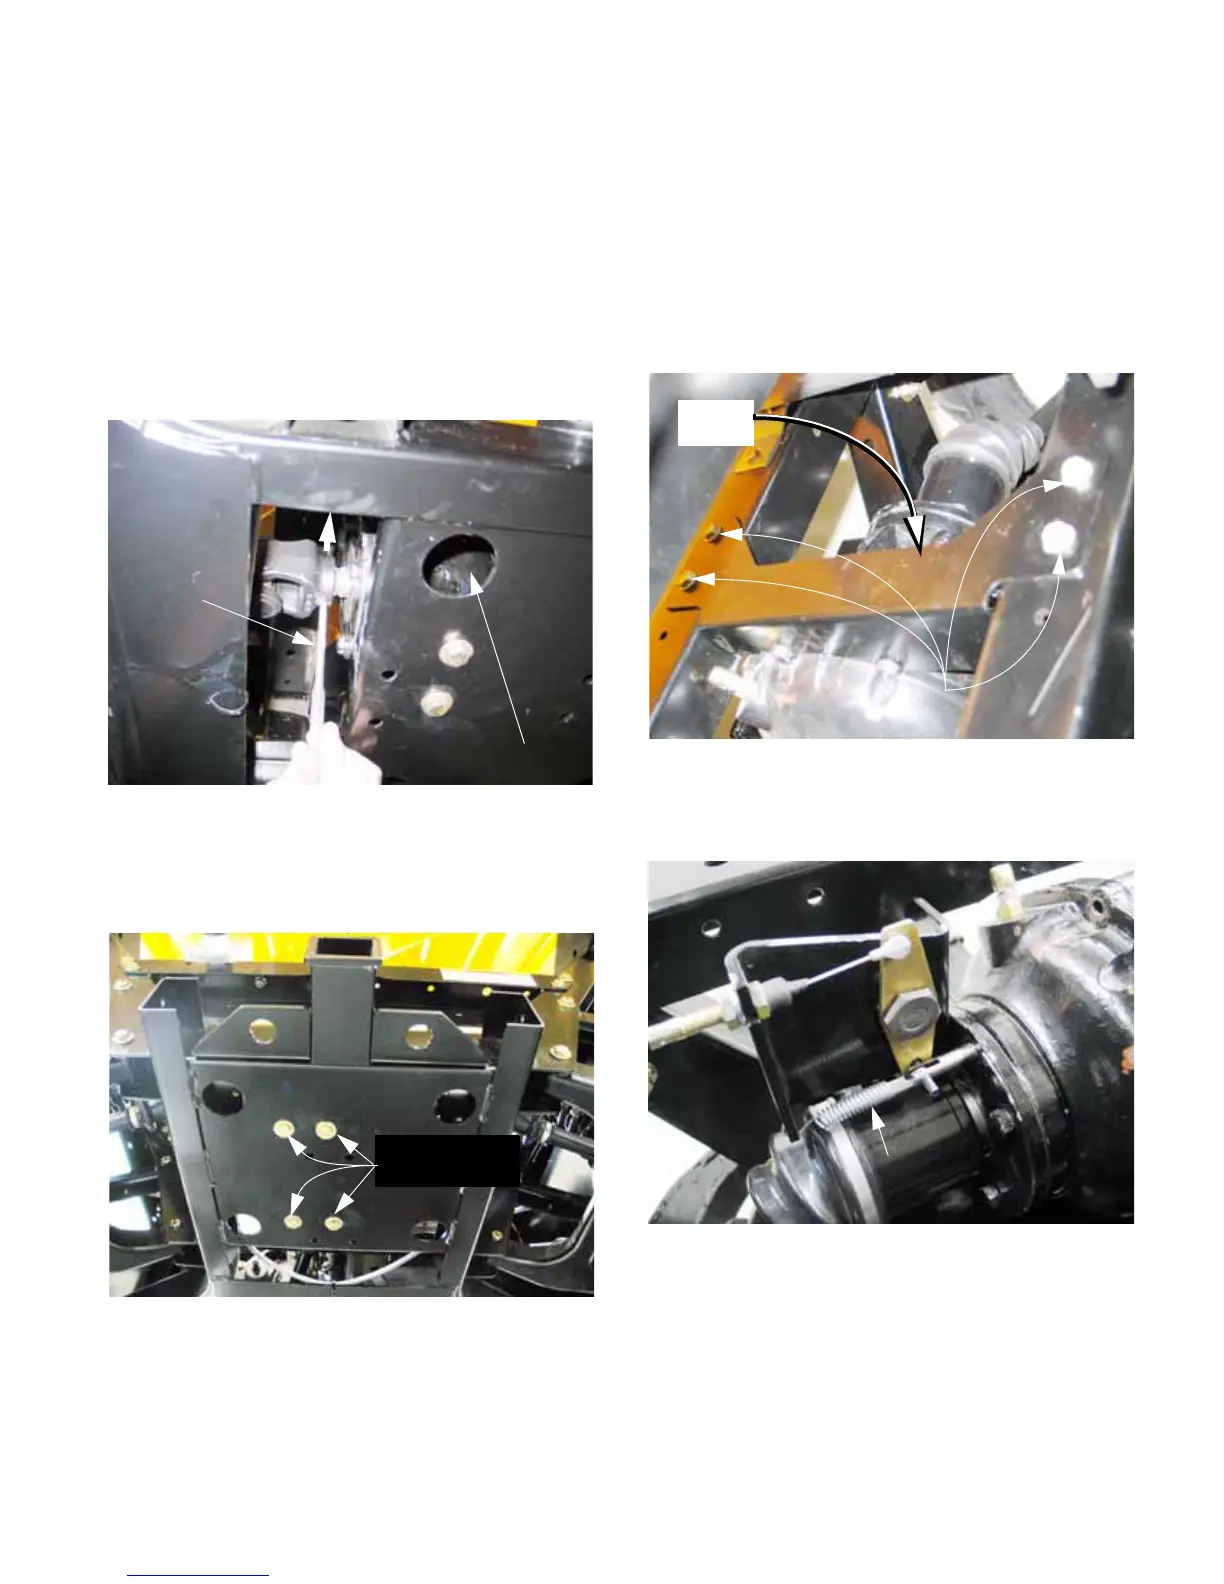
5. Remove the rear differential torque bracket from
the frame using a 1/2” wrench.
See Figure 3.64.
6. Disconnect the differential lock return spring.
See Figure 3.65.
7. Unbolt the differential lock cable bracket from
the differential using a 13mm wrench. Disen-
gage the differential lock arm from the pin on the
engagement fork, and remove the bracket.
8. Unbolt the muffler from the rear cross-member
using a pair of 1/2” wrenches.
Figure 3.64
Torque
bracket
Attachment points
to frame
Figure 3.65
Differential lock
return spring
 Loading...