47
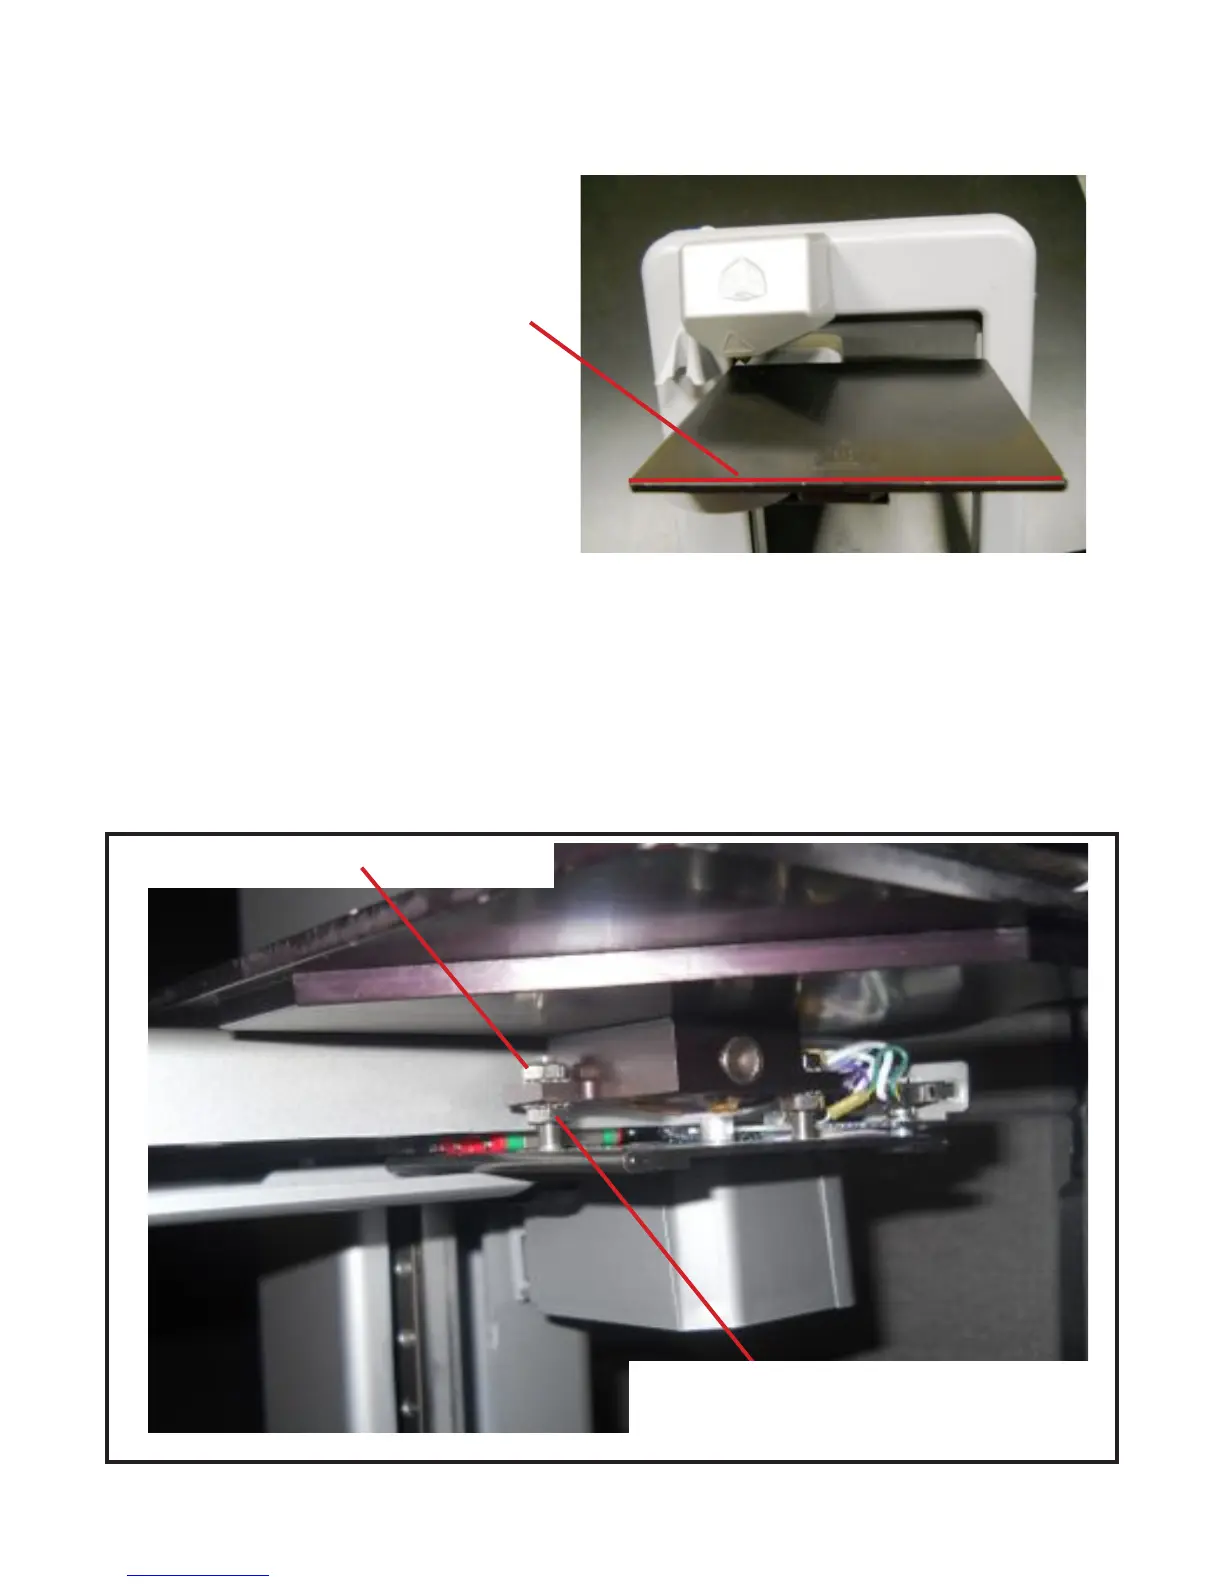
Using the 7 mm open-end wrench, loosen both top and bottom adjusting nuts.
If the plate needs to be moved up, turn the top nut clockwise to loosen and then turn the bottom nut clockwise. To move
the plate down, turn the bottom nut counterclockwise.
While adjusting, slide the folded paper between the print jet tip and print pad where the adjustment was needed; the
paper should slide back and forth with no resistance. If resistance is felt, the plate is too high. Please repeat the adjust-
ment.
Once adjustments are made, tighten the adjustment nuts.
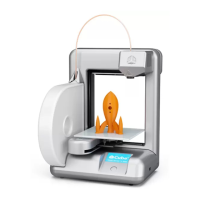
FRONT TO BACK
Turn top nut clockwise to bring plate up.
Turn bottom nut counterclockwise to bring plate
down.
If the gap between the print pad and print jet tip is at the front or back of plate, adjust the plate using the front adjusting screw.
If the gap between the print jet tip and the print pad is too
low, the plate is too low and will need to be moved up.
EXAMPLE:
To Adjust: