2 | Components
Service manual
106
(C)(F)TXA15~50A(W)(S)(T) + (C)(F)TXA15~50B(B)(S)(T) + RXA42+50A +
RXA20~35A + RXA42+50B
Split Stylish R32
ESIE18-03C – 2020.02
Note: Press and hold again for at least 2seconds to close the front panel.
4 Turn the power supply off.
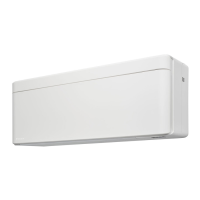
5 Pull down both locks on the back of the front panel.
6 Open the front panel until the support fits into the fixing tab.
a Lock (1 on each side)
b Backside of the front panel
c Fixing tab
d Support
INFORMATION
If you CANNOT find the user interface or you use another optional controller. Pull the
front panel carefully up by hand as shown in the following figure.
To close the front panel
1 Set the filters as they were.
2 Lift the front panel slightly and remove the support from the fixing tab.
a Backside of the front panel
b Fixing tab
c Support
3 Close the front panel.
4 Gently press the front panel down until it clicks.
To remove the front panel
INFORMATION
Remove the front panel only in case it MUST be replaced.
1 Open the front panel. See "To open the front panel"[4105].
 Loading...
