IM 1227 • MODELS DC THERMOSTATS 30 www.DaikinApplied.com
7-Day Programmable CommerCial DigiTal ThermosTaTs
Technician Setup
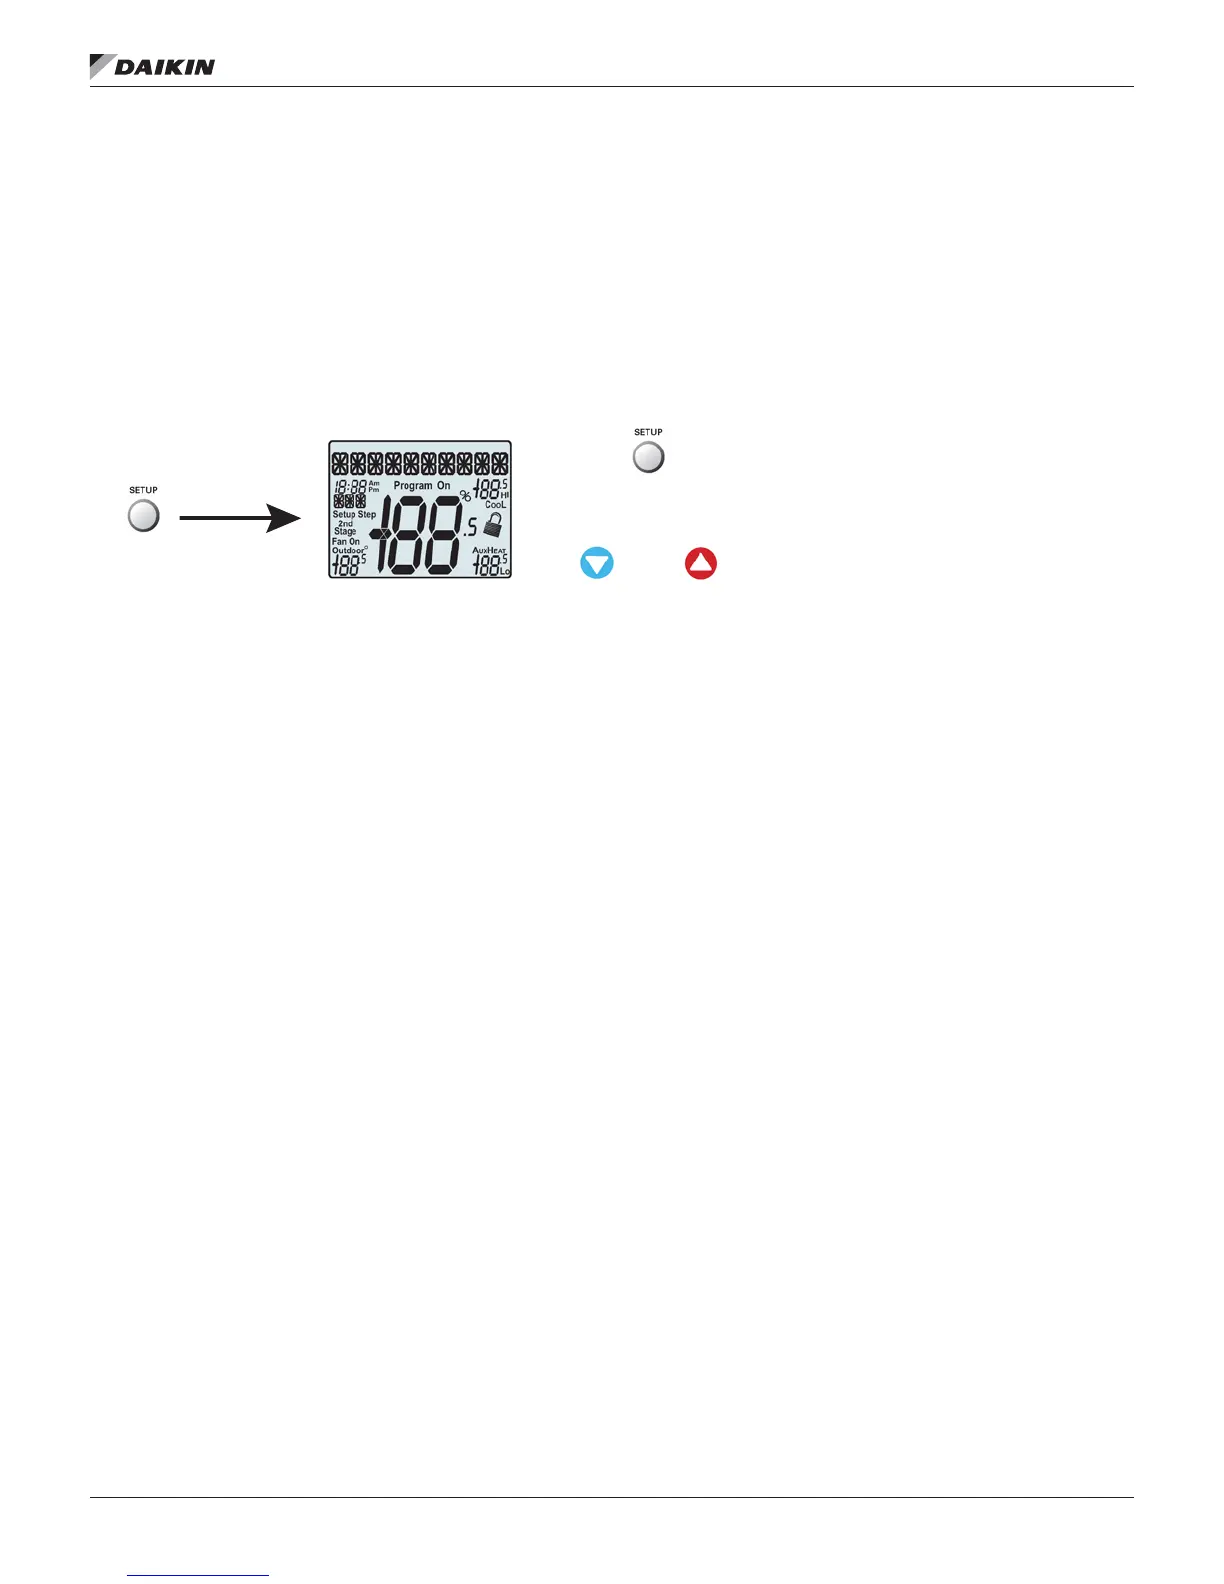
To enter Technician Setup, press and hold the SETUP button
for 5 seconds.After all the icons appear, press MODE.The
version numbers of the thermostat will appear in the scrolling
text. Press MODE to advance to the next step. Use the UP or
DOWN buttons to adjust the value of your selection.To leave
Technician Setup, press SETUP.
Technician Setup is for diagnostic and testing purposes and
is intended for use by a qualied technician. See page 14 for
more detailed instructions.
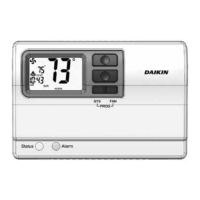
Figure 27: Enter Technician Setup Menu
Hold for 5 seconds All icons appear
Press MODE to advance
through the setup steps
Press UP or DOWN
to alter the selection
Technician Setup contains the following options:
• View the version number of the thermostat
• View the jumper setting of J1 (Gas/Electric or Heat Pump),
J2 (Reversing Valve: RV=O or RV=B), and J3 (Fan: Gas
or Electric) jumpers located on the back of the thermostat.
(Remove thermostat from backplate for access)
• View the state of the Dry Contact terminals
• Turn on equipment outputs for testing
• Calibrate thermostat sensor