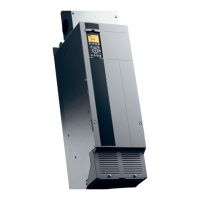
10.4 Heat Sink Access Panel
10.4.1 Removing the Heat Sink Access Panel
The drive has an optional access panel for accessing the heat sink. To remove or reinstall the heat sink access panel, use the
following steps. Refer to Illustration 10.34.
Disassembly
1. Do not power the drive while removing the heat
sink access panel.
2. If the drive is mounted on a wall, or its back is
otherwise inaccessible, reposition it to provide full
access.
3. Remove the internal hex screws (3 mm)
connecting the access panel to the back of the
enclosure. There are 5 or 9 screws depending on
the size of the drive.
Reassembly
Tighten fasteners according to chapter 14.1 Fastener Torque
Ratings.
1. Do not power the drive while removing the heat
sink access panel.
2. If the drive is mounted on a wall, or its back is
otherwise inaccessible, reposition it to provide full
access.
3. Fasten the internal hex screws (3 mm) connecting
the access panel to the back of the enclosure.
There are 5 or 9 screws depending on the size of
the drive.
D1h/D3h/D5h/D6h/J8 Drive Di...
VLT
®
FC Series, D1h–D8h, Da2/Db2/Da4/Db4, E1h–E4h, J8/J9
184 Danfoss A/S © 02/2019 All rights reserved. MG94A502
1010
 Loading...


