XPS Card Printer Driver User’s Guide 87
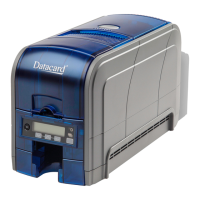
2. Create a new erase pattern by drawing a shape that corresponds
to the erase area of the card. The example shows a custom erase
area that erases just the middle portion of a portrait-oriented
card.
3. Save the file with the same name and in the same location
(C:\CardPrinter).
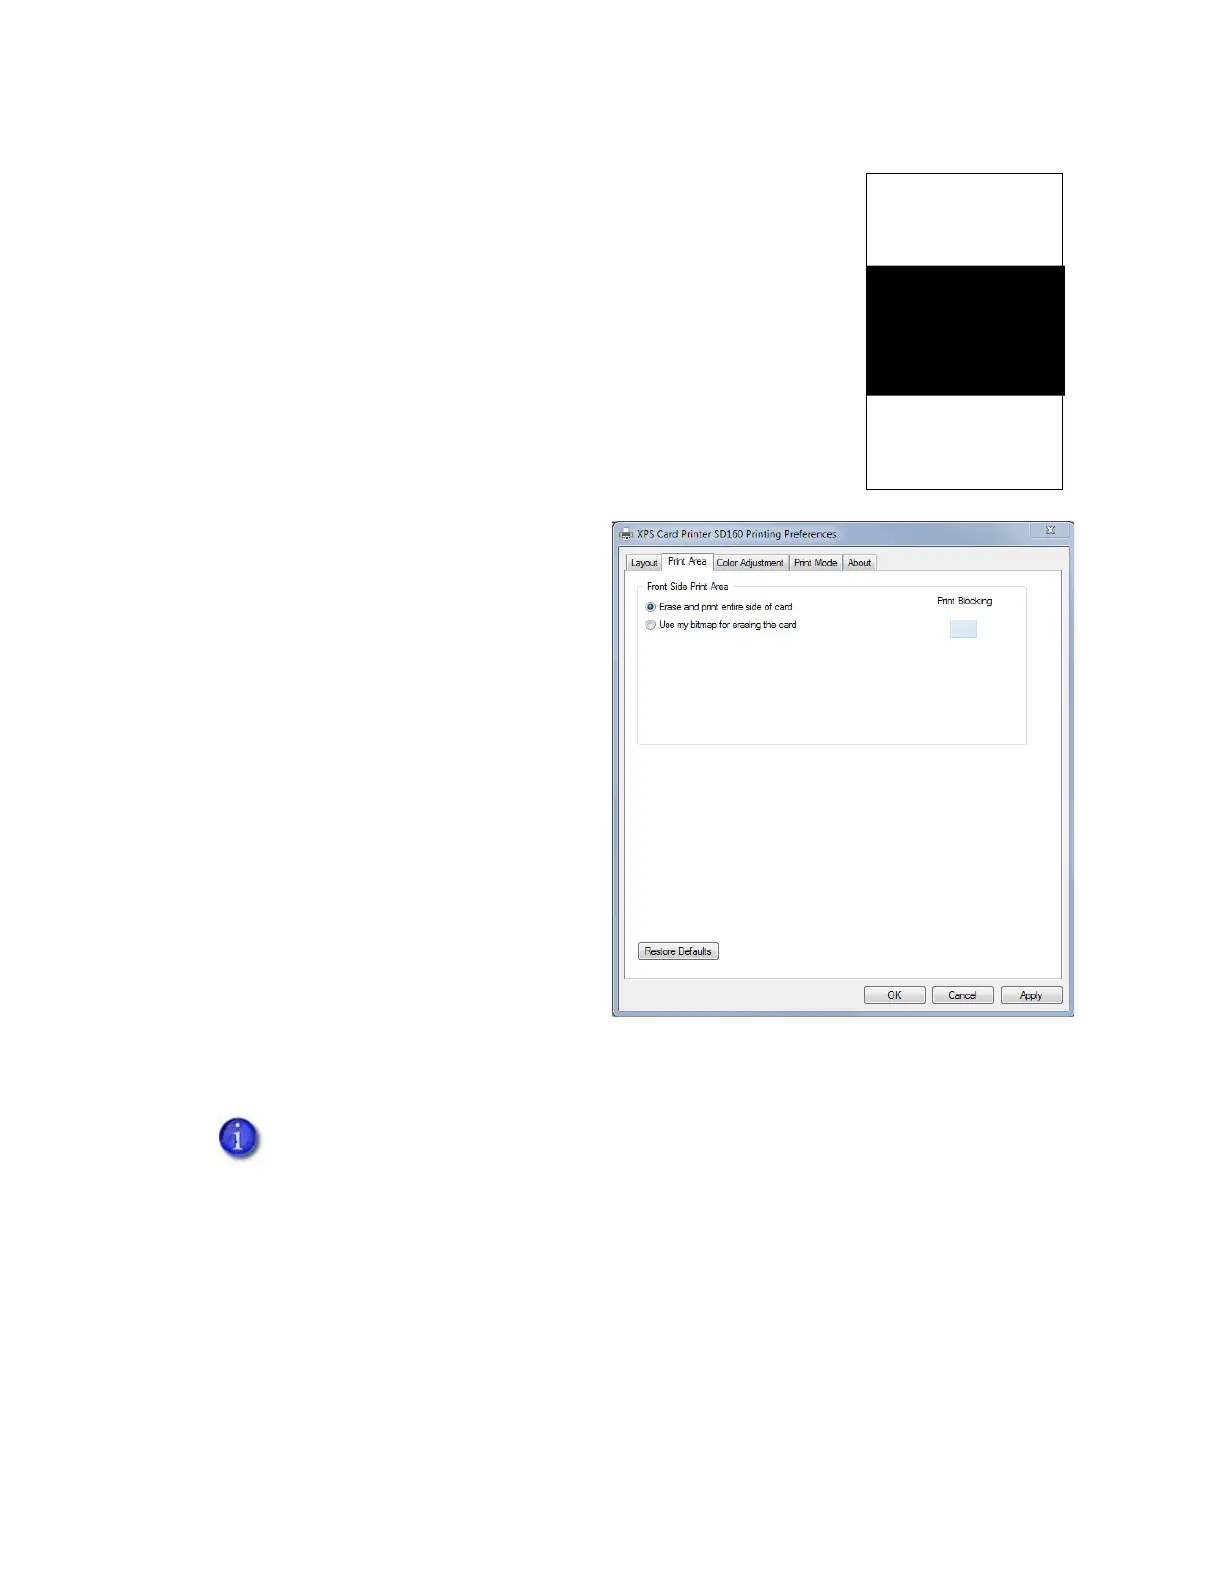
To select an erase pattern on the Print Area tab:
1. Open the Printing Preferences
window.
2. Select the Print Area tab.
3. Select one of the following options:
Erase and print entire side of
card—The entire front of the card
is erased before writing.
Use my bitmap for erasing the
card—The driver uses the correct
custom bitmap to erase the card,
based on the card orientation
specified on the Layout tab.
The Print Blocking icon displays as
BMP.
4. Click Apply to save the setting, and
then click OK to close the Printing
Preferences window.
Printing rewritable cards requires several settings in Printer Manager and in the Card
Printer Driver. Refer to “Printer Setup for Rewritable Cards” on page 96 for a complete
discussion of how to set up your system to use the rewritable feature.