36
Disassembly and reassembly
Steps
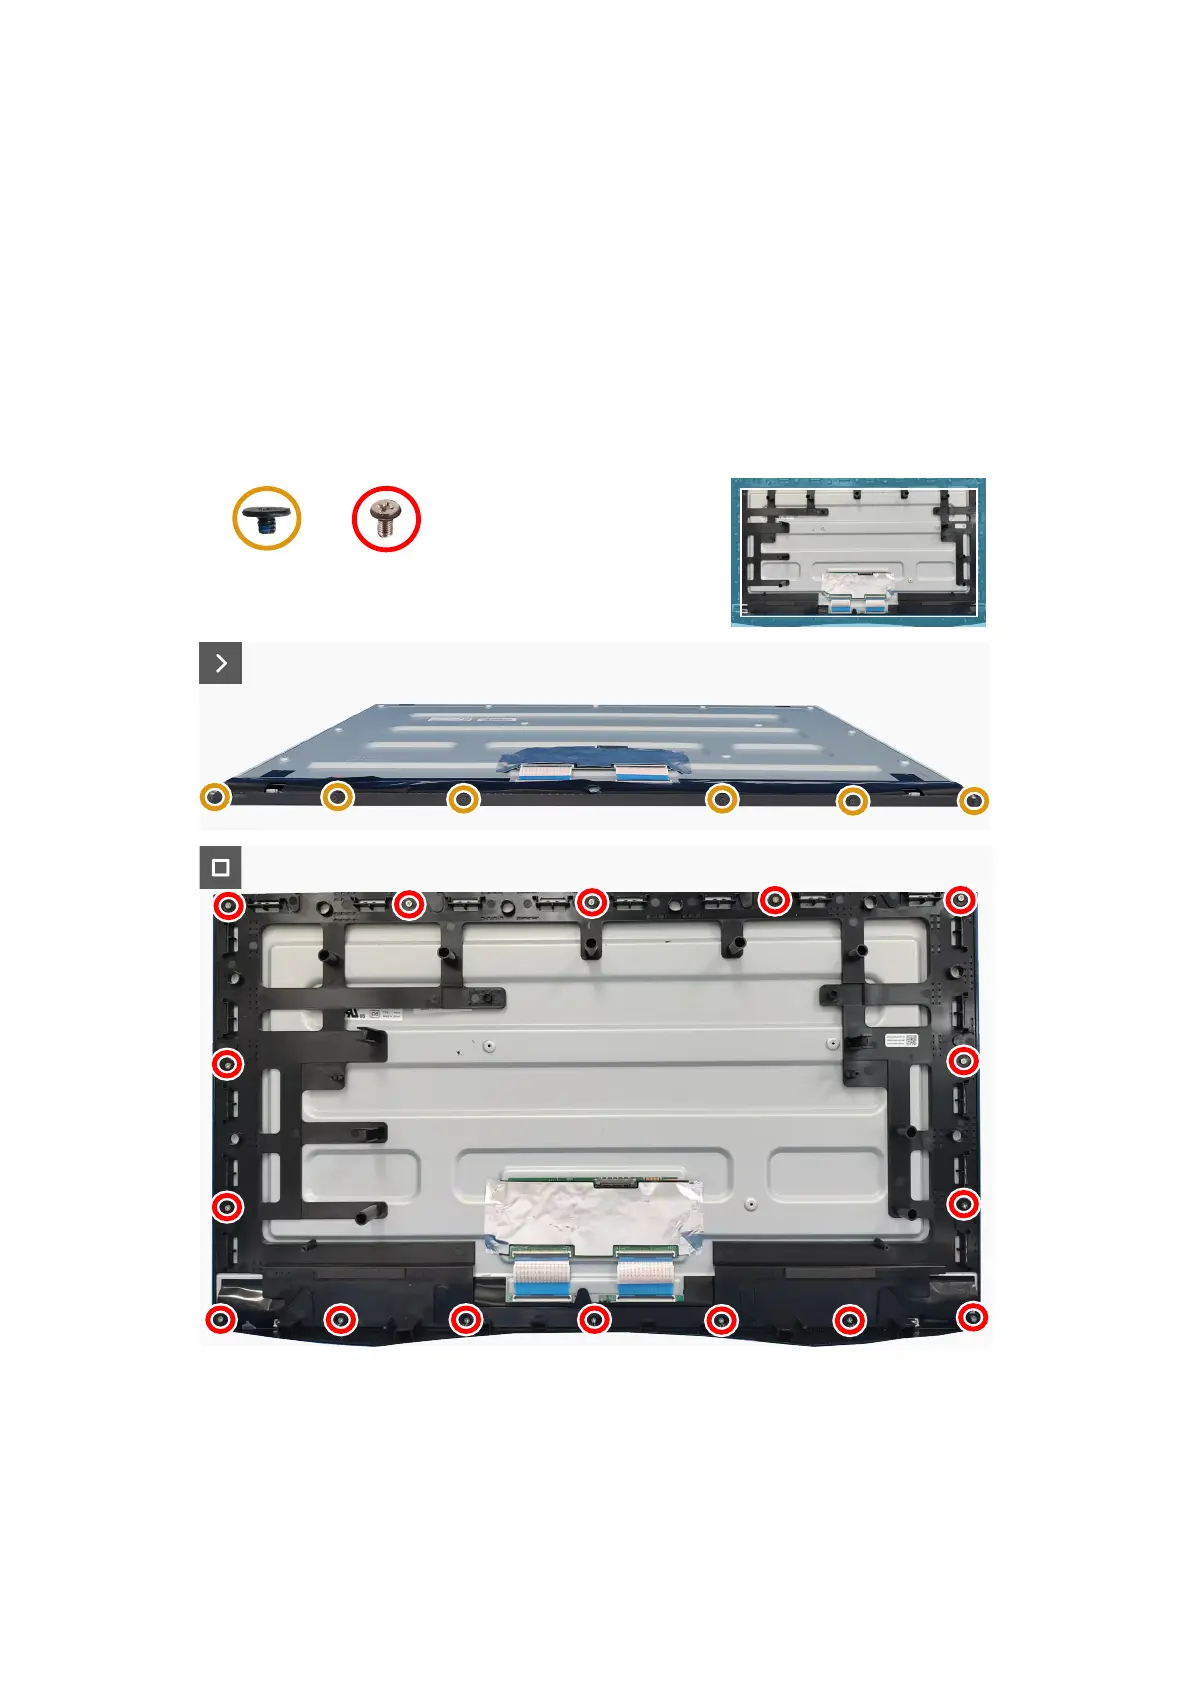
1. Remove the sixteen screws (M3x4) that secure the middle frame to the display panel.
2. Lift and remove the middle frame away from the display panel.
3. Remove the six screws (M2x2.0) that secure the front trim to the display panel.
4. Remove the front trim away from the display panel.
Installing the middle frame
Prerequisites
If you are replacing a component, remove the existing component before performing the installation procedure.
About the task
The following image indicates the location of the middle frame and provides a visual representation of the installation procedure.
16x
M3x4
6x
M2x2.0
Figure 38. Replacing the screws
Steps
1. Align and place the front trim on the display panel.
2. Replace the six screws (M2x2.0) to secure the front trim to the display panel.
3. Align the middle frame and display panel.
4. Replace the sixteen screws (M3x4) to secure the middle frame to the display panel.