Removing and Replacing Parts 4-13
P
ower-Supply Paralleling Board
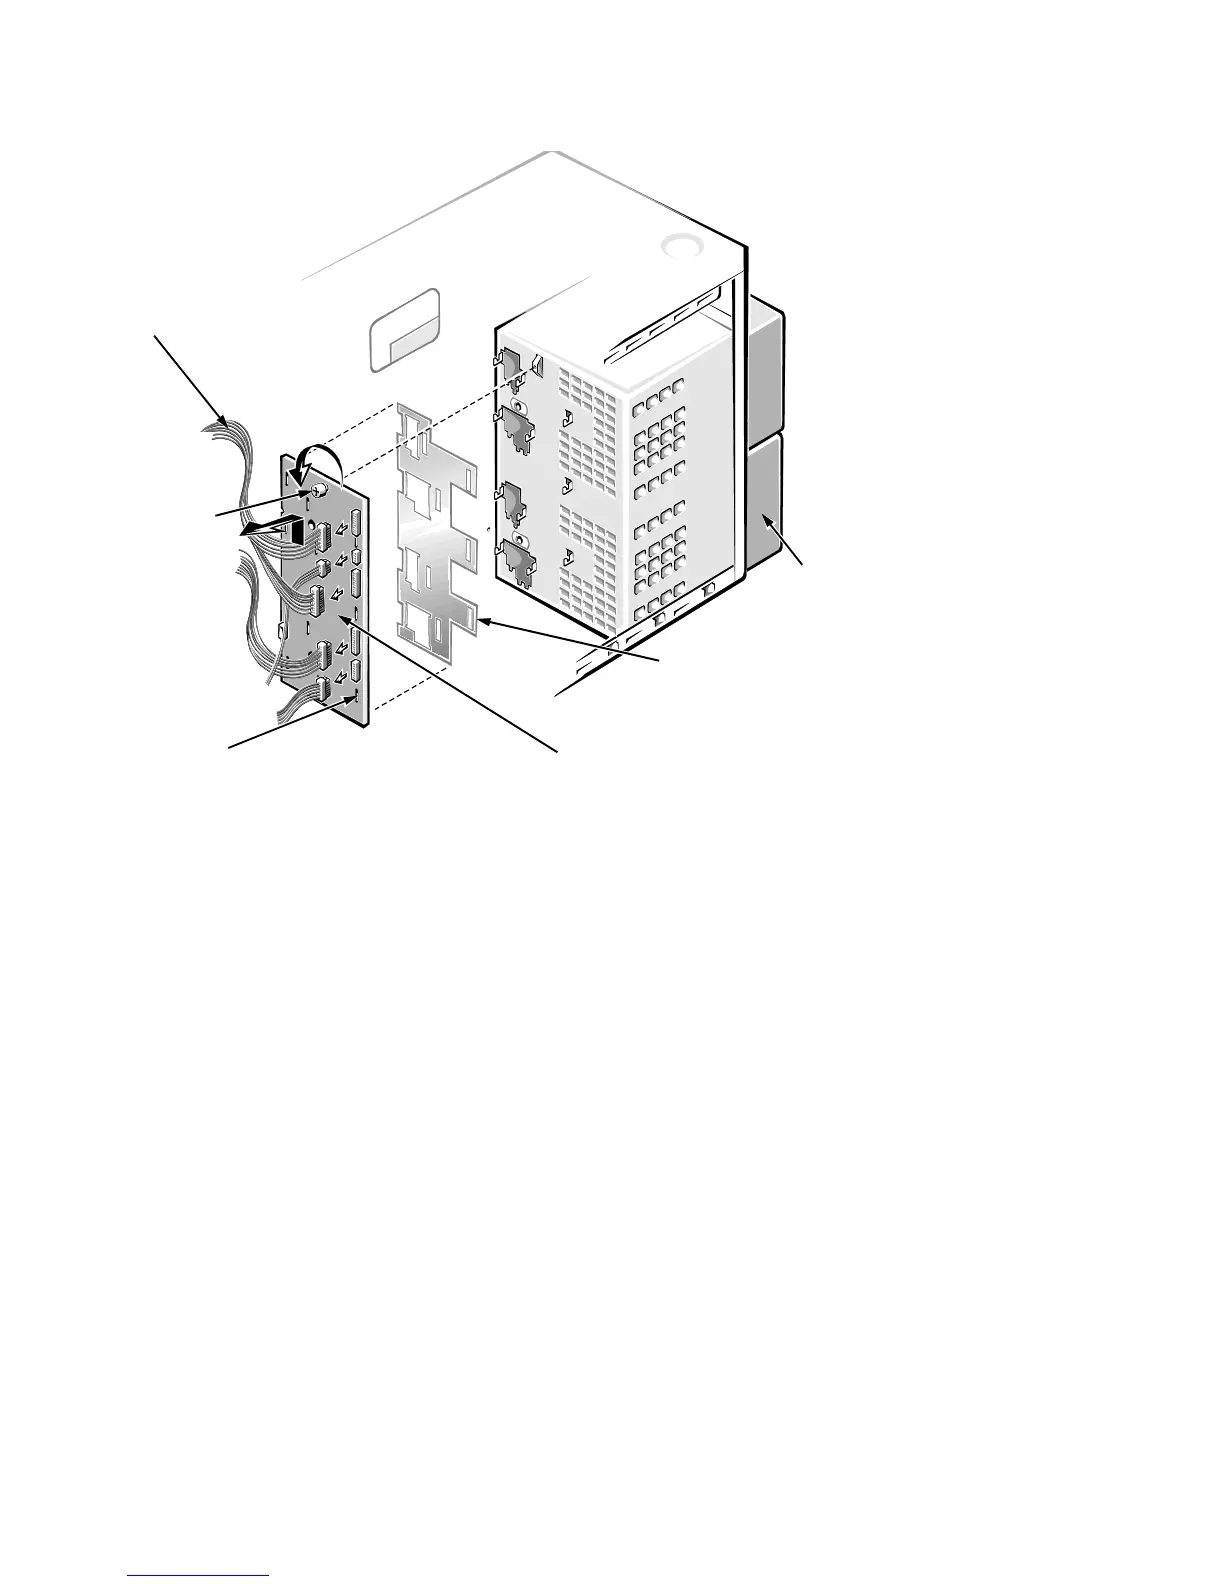
Figure 4-12. Power-Supply Paralleling Board Removal
1. Disconnect the power supplies from the power-supply paralleling board
by sliding each power supply toward the back of the computer approxi-
mately 1 inch.
2. Disconnect all cables from the power-supply paralleling board.
3. Unscrew the thumb screw.
4. Disengage the board from the hooks holding it to the computer chassis,
and then lift the board away from the computer.
An insulator is located between the power-supply paralleling board and the
chassis.
power-supply
paralleling board
power supply (2)
hook slots (11)
thumb screw
power-supply
paralleling board
insulator
cables
 Loading...


