Steps
1. Place the card into the PCIe slot and press down firmly until the single-graphics card snaps into place.
2. Close the expansion-card door and snap the latch back into position.
3. Replace the graphics-card end holder over the PCIe fan and slide the latch into its lock position.
NOTE: Skip this step if your graphics card does not ship with a graphics-card end holder.
4. Align and place the graphics-card bracket on the chassis and slide the latch to its lock position.
NOTE: Skip this step if your graphics card does not ship with a graphics-card end bracket or a graphics-card bracket holder.
NOTE: Some graphics-card bracket removal may require installing a screw.
5. Connect the graphics-card power cables to the graphics card.
Next steps
1. Install the left-side cover.
2. Follow the procedure in After working inside your computer.
Graphics-card bracket and graphics-card end holder
The following table shows whether the graphics-card bracket or/and the graphics-card end holder is/are shipped with your
Alienware Aurora R16.
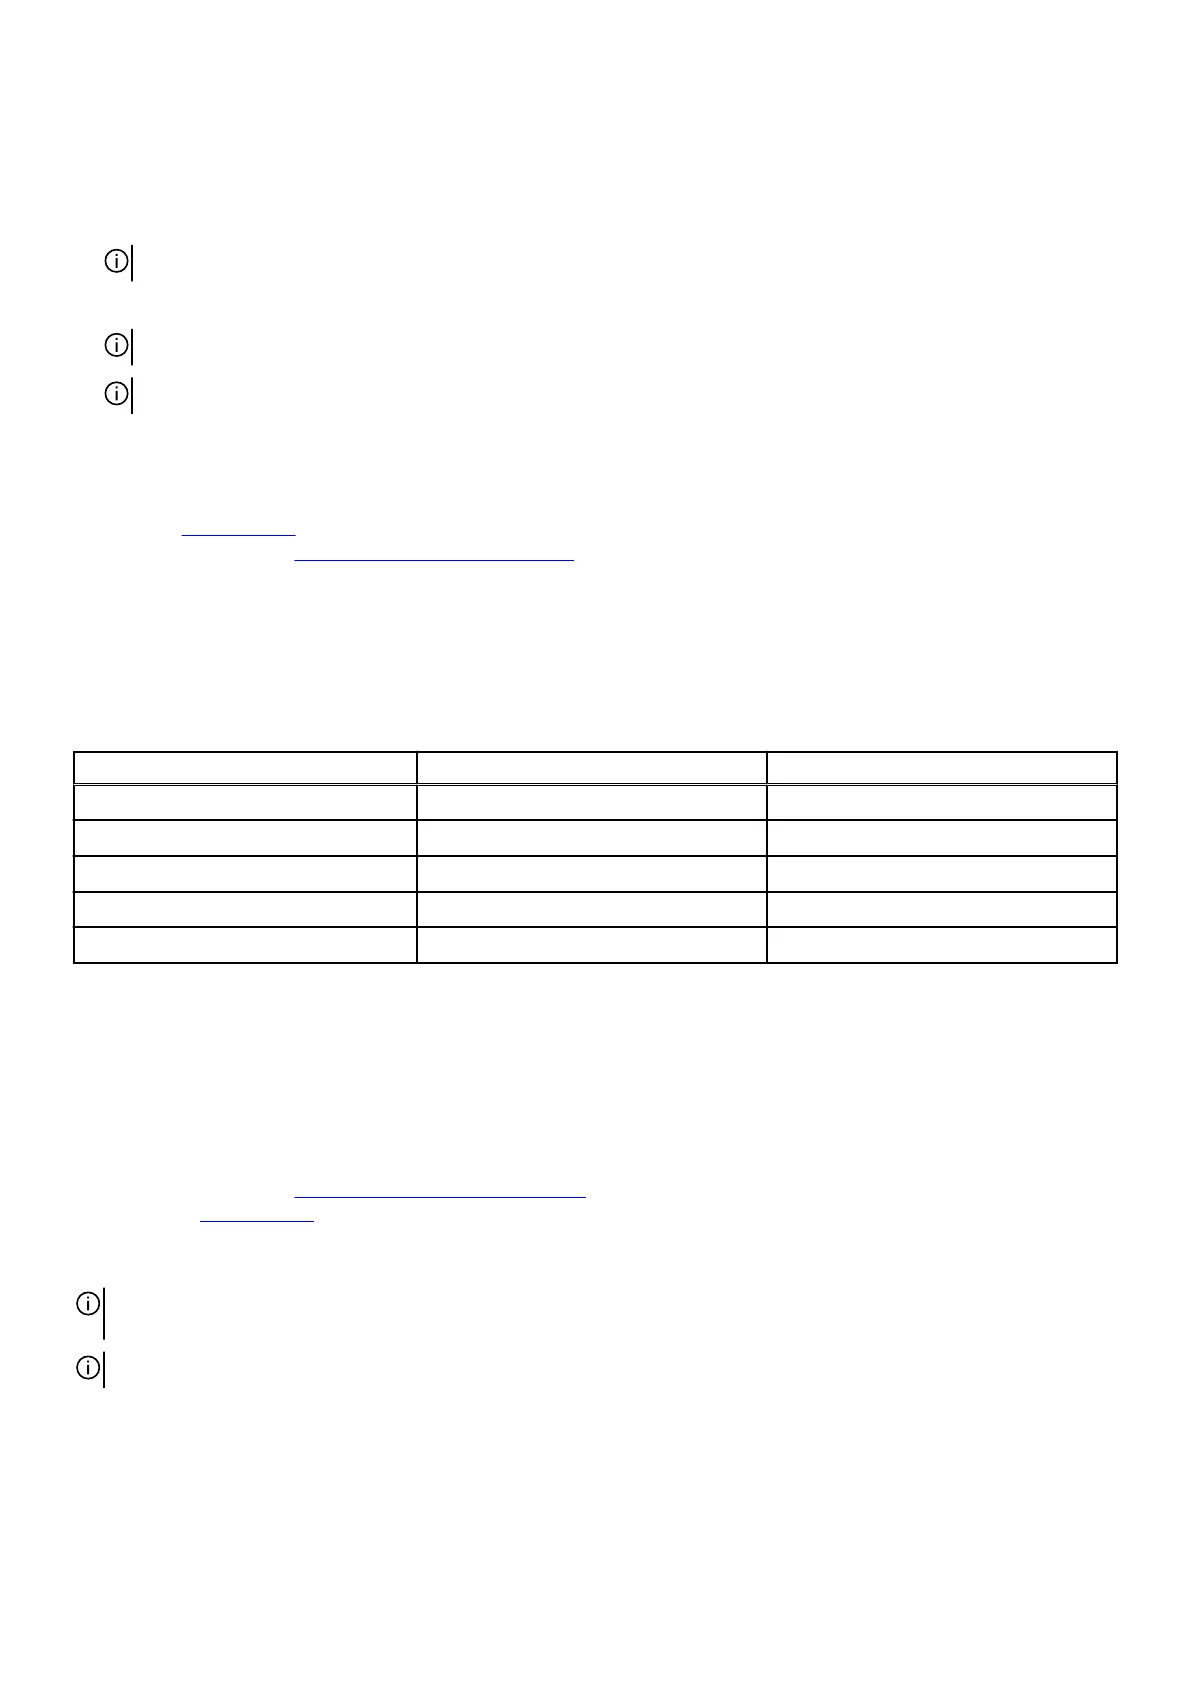
Table 17. Graphics-card bracket and graphics-card end holder
Graphics card Graphics-card bracket Graphics-card end holder
NVIDIA GeForce RTX 3050 No No
NVIDIA GeForce RTX 4060 Ti Yes Yes
NVIDIA GeForce RTX 4070 Yes Yes
NVIDIA GeForce RTX 4070 Ti Yes Yes
NVIDIA GeForce RTX 4080 Yes Yes
Solid-state drive
Removing the M.2 2230 solid-state drive
Prerequisites
1. Follow the procedure in
Before working inside your computer.
2. Remove the
left-side cover.
About this task
NOTE: This procedure applies only to computers shipped with a M.2 2230 solid-state drive installed in solid-state drive slot
one/slot two.
NOTE: The M.2 2230 solid-state drives are sold separately.
The following images indicate the location of the M.2 2230 solid-state drive that is installed in SSD slot one/slot two and provide a
visual representation of the removal procedure.
56