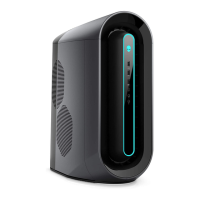
Steps
1. Lay the computer on the right side.
2. Remove the two screws (M3x5) that secures the radiator and fan assembly to the chassis.
3. Disconnect the radiator and fan assembly cable from the system board.
4. Disconnect the processor-cooling assembly cables from the system board.
5. Loosen the four captive screws that secure the processor-cooling assembly to the system board.
6. Release the spring latch and lift the processor-cooling assembly, along with the cables, off the system board.
Installing the processor liquid-cooling assembly
CAUTION: The information in this installation section is intended for authorized service technicians only.
Prerequisites
If you are replacing a component, remove the existing component before performing the installation procedure.
CAUTION: Incorrect alignment of the processor liquid-cooling assembly can damage the system board and processor.
CAUTION: If either the processor or the heat sink is replaced, use the thermal grease that is provided in the kit to ensure
that thermal conductivity is achieved.
77
 Loading...
