Steps
1. Lay the computer on the right side.
2. Slide and place the power-supply unit on the chassis.
3. Align the screw holes on the power-supply unit with the screw holes on the chassis.
4. Replace the four screws (#6-32x1/4") that secure the power-supply unit to the chassis.
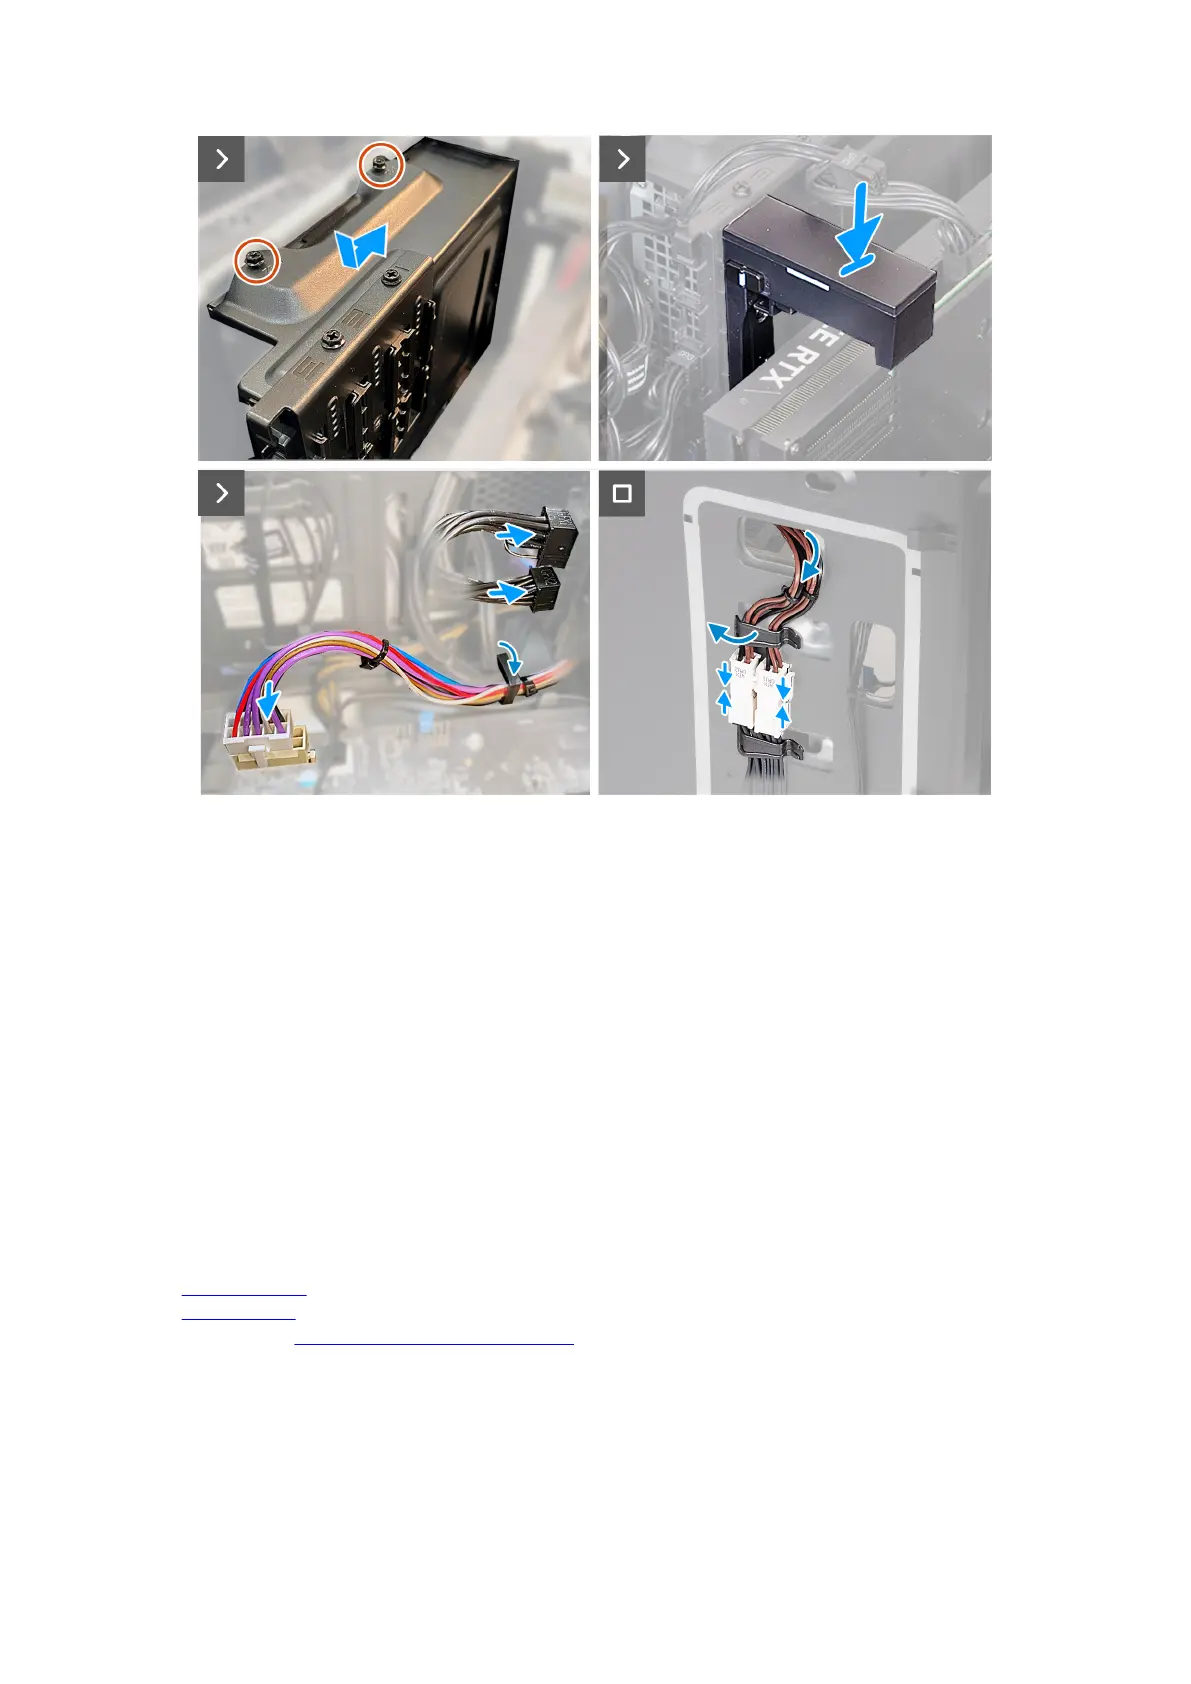
5. Align and place the power-supply unit bracket on the power-supply unit.
6. Replace the two screws (#6-32x1/4") that secure the power-supply unit bracket to the power-supply unit.
7. Replace the graphics-card bracket and slide the release latch to the lock position.
8. Route the power-supply unit cables through the securing clip.
9. Connect the power-supply cables to the system board.
10.Connect the graphics-card power cables to the power-supply unit.
11. Place the computer in an upright position.
12. Route the power-supply unit cables through the slot on the right side of the computer.
13. Connect the power-supply unit cables to the power-supply unit extension cables on the right side of the computer.
Next steps
1. Install the
right-side cover.
2. Install the left-side cover.
3. Follow the procedure in After working inside your computer.
73