76 Status Light Board
10
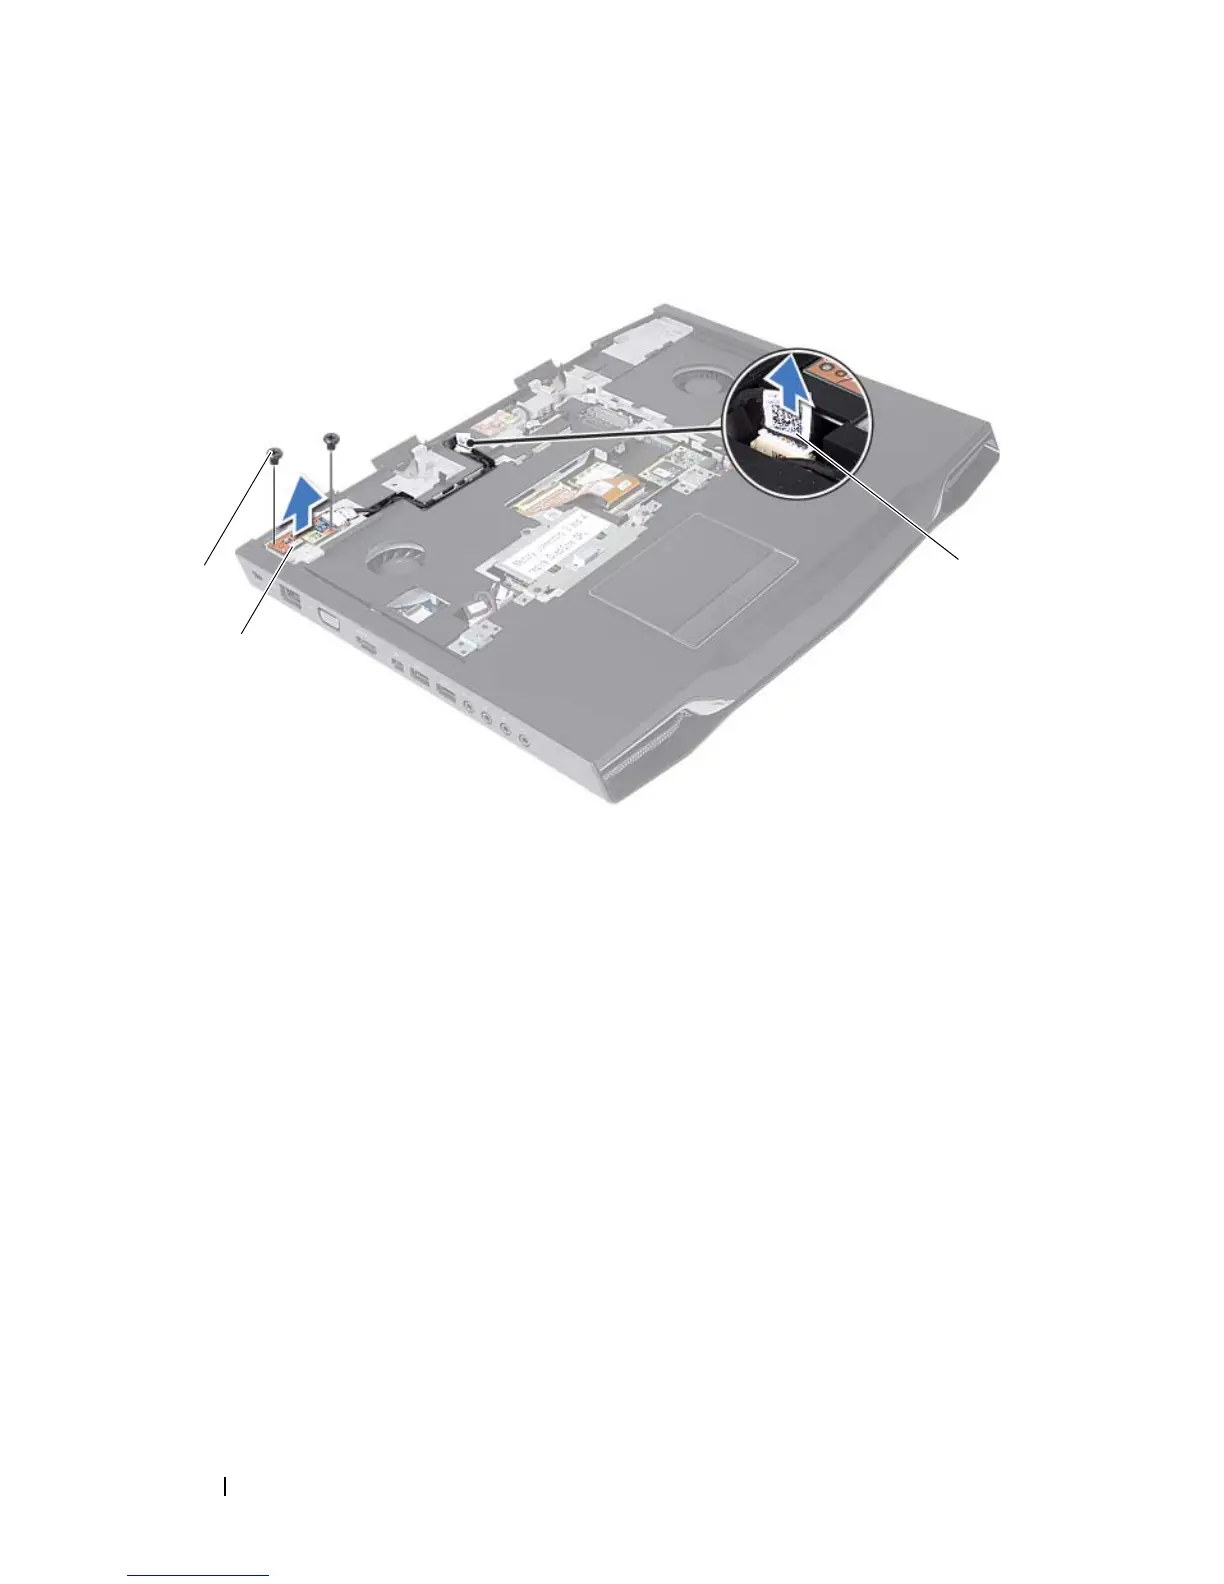
Lift the status light board off the palm rest assembly.
Replacing the Status Light Board
1
Follow the instructions in "Before You Begin" on page 9.
2
Align the slots on the status light board with the alignment posts on the
palm rest assembly and secure the status light board in place.
3
Replace the two screws that secure the status light board to the palm rest
assembly.
4
Route the status light board cable through the routing guides on the palm
rest assembly.
5
Connect the status light board cable to the connector on the system board.
6
Replace the display assembly (see "Replacing the Display Assembly" on
page 73).
7
Replace the keyboard (see "Replacing the Keyboard" on page 57).
1 screws (2) 2 status light board
3 status light board cable