EasyManuals Logo

Dell Chromebook 3100 2-in-1 Service Manual

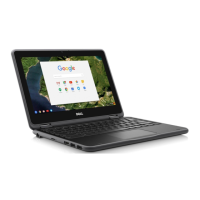
Dell Chromebook 3100 2-in-1
97 pages
To Next Page IconTo Next Page
To Previous Page IconTo Previous Page
Page #58 background imageLoading...
Page #58 background image
Installing display panel-Touch
Steps
1. Connect the display cable to the connector on the back of the display panel and secure the lock [1], [2].
2. Place the rubber spacer on top of the display cable and place the adhesive tape back to secure the display cable [3], [4].
58
Removing and Installing

Table of Contents

Other manuals for Dell Chromebook 3100 2-in-1

Questions and Answers:

Question and Answer IconNeed help?

Do you have a question about the Dell Chromebook 3100 2-in-1 and is the answer not in the manual?

Dell Chromebook 3100 2-in-1 Specifications

General IconGeneral
RAM4GB LPDDR4
Storage32GB eMMC
Display11.6-inch HD (1366 x 768) Touchscreen
GraphicsIntel UHD Graphics 600
Operating SystemChrome OS
Battery LifeUp to 10 hours
Camera720p HD Webcam
ColorBlack
ProcessorIntel Celeron N4020
Ports2 x USB-C, 1 x MicroSD card reader, 1 x Headphone/Mic combo jack
WirelessBluetooth 5.0

Related product manuals