EasyManuals Logo

Dell Chromebook 3100 2-in-1 Service Manual

Dell Chromebook 3100 2-in-1
97 pages
To Next Page IconTo Next Page
To Previous Page IconTo Previous Page
Page #71 background imageLoading...
Page #71 background image
Steps
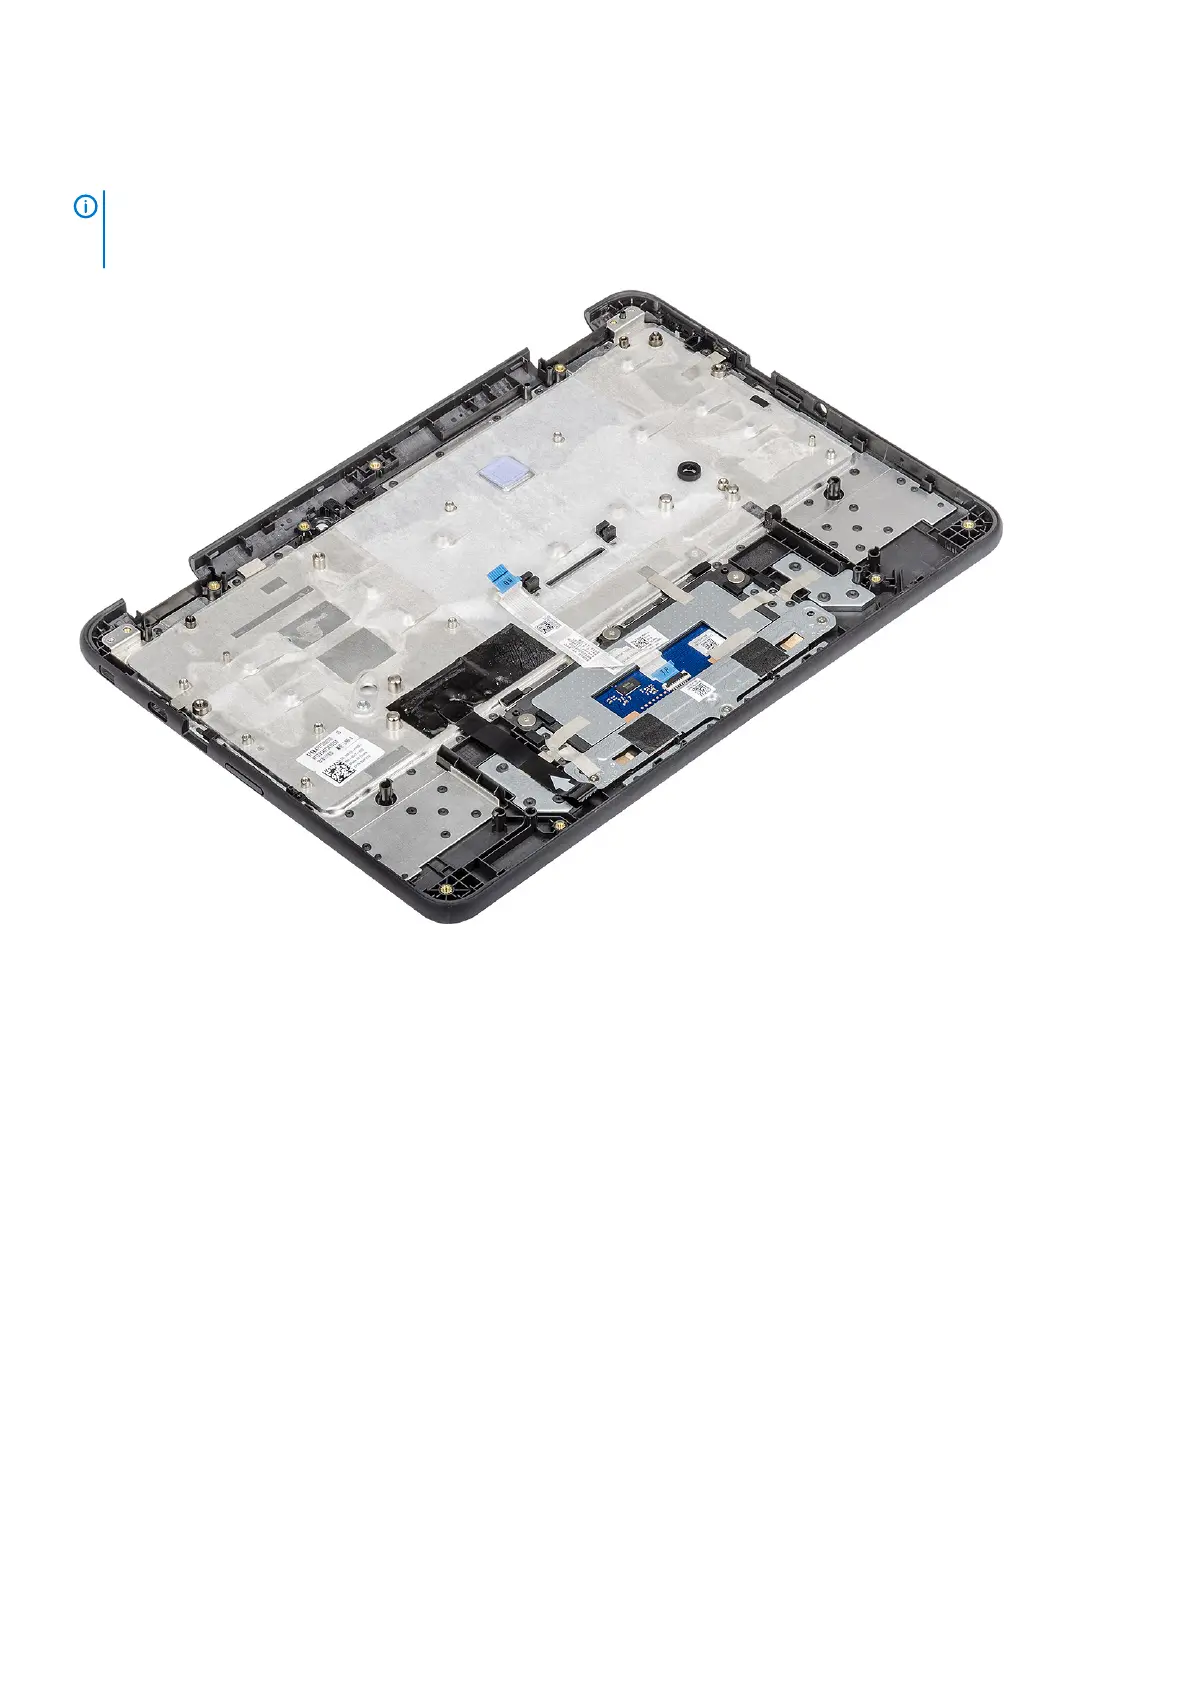
The component you are left with is the palmrest.
NOTE: The palmrest assembly cannot be further disassembled once all of the pre-removal parts procedures are
completed. If the touchpad frame, touchpad support bracket, touchpad mylar, touchpad module, touchpad cable,
conductive tape or thermal pad are malfunctioning and need to be replaced, replace the entire palm-rest assembly.
Next steps
1. Install the system board.
2. Install the display assembly.
3. Install the IO board.
4. Install the keyboard.
5. Install the speakers.
6. Install the battery.
7. Install the base cover.
8. Install the microSD card.
9. Follow the procedure in after working inside your computer.
Removing and Installing
71

Table of Contents

Other manuals for Dell Chromebook 3100 2-in-1

Questions and Answers:

Question and Answer IconNeed help?

Do you have a question about the Dell Chromebook 3100 2-in-1 and is the answer not in the manual?

Dell Chromebook 3100 2-in-1 Specifications

General IconGeneral
RAM4GB LPDDR4
Storage32GB eMMC
Display11.6-inch HD (1366 x 768) Touchscreen
GraphicsIntel UHD Graphics 600
Operating SystemChrome OS
Battery LifeUp to 10 hours
Camera720p HD Webcam
ColorBlack
ProcessorIntel Celeron N4020
Ports2 x USB-C, 1 x MicroSD card reader, 1 x Headphone/Mic combo jack
WirelessBluetooth 5.0

Related product manuals