Removing and Replacing Parts 4-9
/RZHU,QFK'ULYH0LQL7RZHU&RPSXWHU2QO\
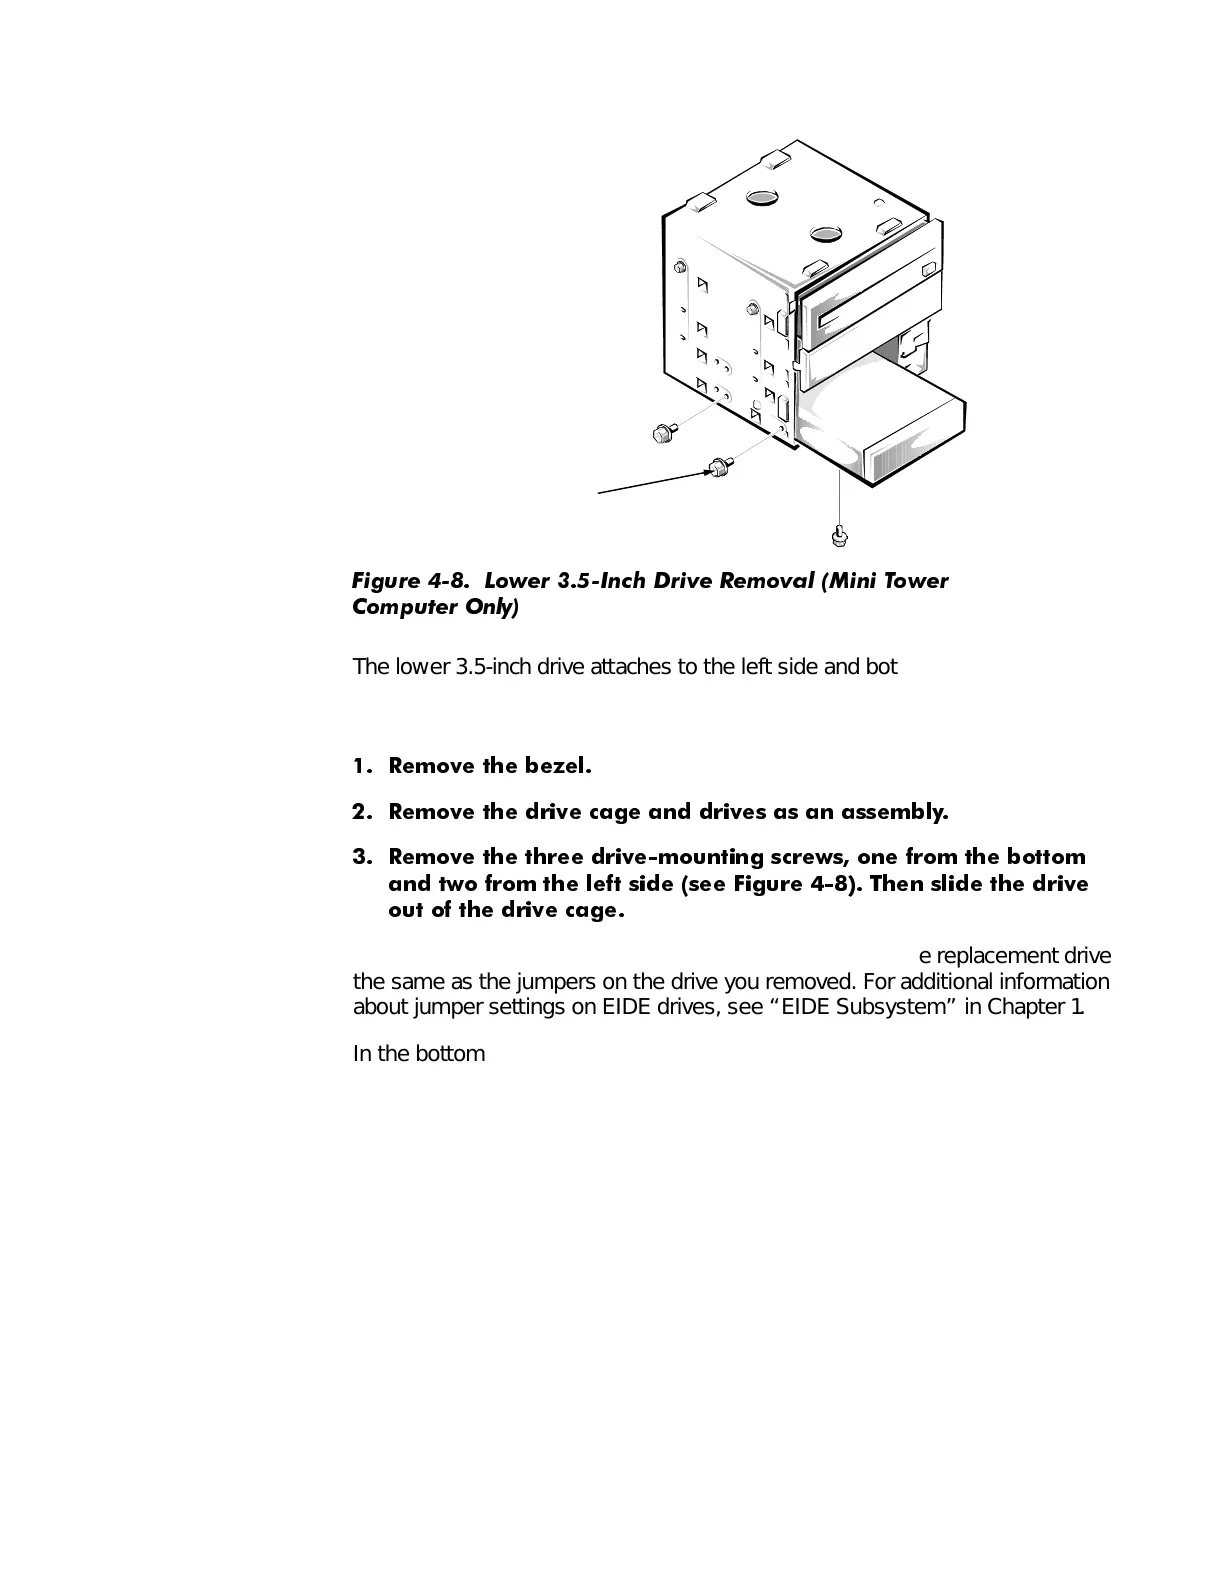
)LJXUH /RZHU ,QFK 'ULYH 5HPRYDO 0LQL 7RZHU
&RPSXWHU 2QO\
The lower 3.5-inch drive attaches to the left side and bottom of the drive cage.
To remove a drive from the lower 3.5-inch drive bay in the mini tower com-
puter, follow these steps:
5HPRYH WKH EH]HO
5HPRYH WKH GULYH FDJH DQG GULYHV DV DQ DVVHPEO\
5HPRYH WKH WKUHH GULYHPRXQWLQJ VFUHZV RQH IURP WKH ERWWRP
DQG WZR IURP WKH OHIW VLGH
VHH )LJXUH
7KHQ VOLGH WKH GULYH
RXW RI WKH GULYH FDJH
When you replace a drive, be sure to set the jumpers on the replacement drive
the same as the jumpers on the drive you removed. For additional information
about jumper settings on EIDE drives, see “EIDE Subsystem” in Chapter 1.
In the bottom of the bay, there are two small grooves that the bottom drive
must engage to slide back into the bay.
drive-mounting screws (3)
 Loading...