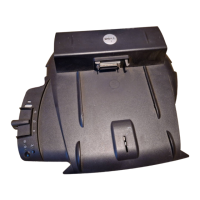
Replacing the Dell logo board
WARNING: Before working inside your Embedded Box PC, read the safety
information that shipped with your Embedded Box PC and follow the steps
in Before working inside your Embedded Box PC. After working inside your
Embedded Box PC, follow the steps in After working inside your Embedded
Box PC. For more safety best practices, see the Regulatory Compliance
home page at www.dell.com/regulatory_compliance.
Procedure
1 Place the Dell logo board into the front chassis.
2 Replace the screws that secure the Dell logo board to the chassis.
3 Align the screw holes on the left chassis with the screw holes on the front
chassis.
4 Replace the screws that secure the left chassis to the front chassis.
Post-requisites
1 Replace the CPU board.
2 Follow step 2 to step 6 in Replacing the top cover.
3 Replace the power connectors.
4 Replace the riser card.
5 Replace the heat sink.
6 Replace the memory module.
7 Replace the bottom cover.
8 Replace the intrusion switch.
9 Replace the SIM card.
10 Replace the CANbus card or WWAN card.
11 Replace the WWAN-antenna connectors.
12 Replace the WLAN card.
13 Replace the WLAN-antenna connectors.
14 Replace the PCI/PCIe card (if necessary).
132