11. USB cable 12. right ear control panel flex cable
13. hard drive backplane connectors (24)
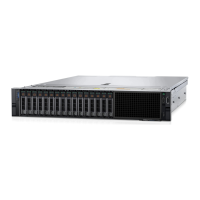
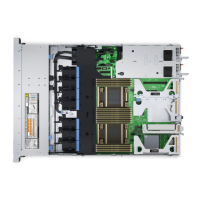
Figure 117. Installing the 1.8 Inch (x18) SAS/SATA backplane
1. release pin 2. left ear control panel cable
3. SAS A2 cable 4. backplane signal cable
5. control panel cable 6. backplane power cable
7. USB cable 8. mini SAS connector (2)
9. SAS cable (2) 10. right ear control panel flex cable
11. hard drive backplane assembly 12. hard drive backplane expander
13. control panel connector 14. backplane power connector
15. SAS A2 connector 16. hard drive backplane connector (18)
Next steps
1. Replace the cooling fan assembly.
2. Replace the cooling shroud.
3. Install the hard drives in their original locations.
4. Follow the procedure listed in the After working inside your system section.
182 Installing and removing system components

 Loading...


