Steps
1. Align the notches on the backplane with the notches on the chassis.
2. Lift the release pin and slide the backplane toward the back of the chassis until firmly seated.
3. Release the release pin to lock the backplane to the chassis.
4. Reconnect all the cables to the backplane.
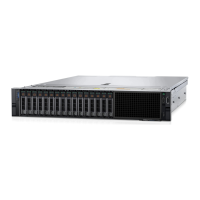
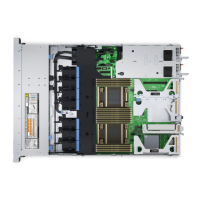
Figure 119. Installing the optional 2.5 inch (x2) hard drive backplane
1. SAS cable 2. release pin
3. hard drive connector (2) 4. power cable
5. backplane signal cable
Next steps
1. Install both the hard drives in their original location.
2. Follow the procedure listed in the After working inside your system section.
Related references
Safety instructions on page 67
Related tasks
Before working inside your system on page 68
After working inside your system on page 68
Installing and removing system components 185

 Loading...


