2 Remove the air shroud.
Steps
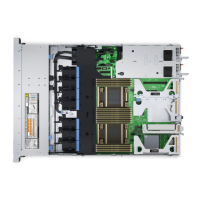
Press the release tab and lift the cooling fan out of the cooling fan assembly.
Figure 29. Removing cooling fan
Next steps
If applicable, install the cooling fan.
Related links
Removing the air shroud
Installing a cooling fan
Installing a cooling fan
The procedure for installing standard and high performance fans is identical.
Prerequisites
WARNING
: Opening or removing the system cover when the system is on may expose you to a risk of electric shock. Exercise
utmost care while removing or installing cooling fans.
CAUTION: The cooling fans are hot swappable. To maintain proper cooling while the system is on, replace only one fan at a time.
Follow the safety guidelines listed in Safety instructions.
Steps
1 Holding the release tab, align the connector at the base of the cooling fan with the connector on the system board.
Dell EMC PowerEdge R740 Installation and Service Manual
Installing and removing system components
79

 Loading...


