Installing DC Power Entry Modules | 33
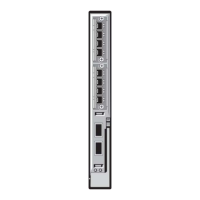
Status LED
The status LED indicates the condition of the PEM.
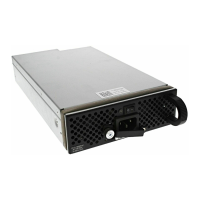
Removing a DC PEM
The left chassis PEM slot is labelled “0” and the right chassis PEM slot is labelled “1.” For full
redundancy, each PEM must be attached to a dedicated circuit breaker. For example, PEM “0” connects
to circuit breaker “0” and PEM “1” connects to circuit breaker “1.”
WARNING: Prevent exposure and contact with hazardous voltages. Do not attempt to operate this system
with the safety cover removed.
Table 8-3. Status LED Descriptions
LED Display Meaning Description
Off Off No input voltage is present, or the
circuit is turned off.
Flashing Green Over-Current Warning The load current is above the
warning level threshold. This
warning takes precedence over the
temperature warning.
Flashing Green Over-Temperature Warning The temperature is above the
temperature warning threshold.
Solid Green Power On The PEM is running normally.
Step Task
1 Switch the Over Current Protector (located on the PEM front panel) to the OFF position.
2 Turn off power to the PEM. Ensure that the remote power source is in the OFF position and that the PEM Status
LED and Pwr In OK LED are off.
3 Loosen the retaining screw and remove PEM safety cover (see
Figure 8-1
).
4 Disconnect power cables attached to the PEM.
5 Slide the PEM out of the slot.
6 If you are not replacing the PEM, close the empty slot with a blank panels (CC-C-BLNK-PWR).