About this task
NOTE: The system board can be installed with the system board thermal plate attached to it in order to simplify the
procedure and preserve the thermal bond between the system board and system board thermal plate.
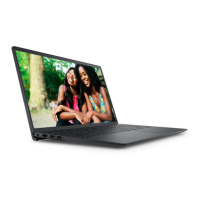
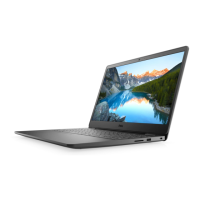
The following image indicates the location of the palm-rest and keyboard assembly and provides a visual representation of the
installation procedure.
Steps
Place the palm-rest and keyboard assembly on a flat surface and perform the post-requisites to install the palm-rest and
keyboard assembly.
Next steps
1. Install the system board.
2. Install the power button or the power button with optional fingerprint reader, whichever applicable.
3. Install the power-adapter port.
4. Install the I/O daughter-board.
5. Install the I/O daughter-board flexible flat cable.
6. Install the touchpad.
7. Install the display assembly.
8. Install the 3-cell battery or the 4-cell battery, whichever applicable.
9. Install the speakers.
10. Install the wireless card.
11. Install the 2.5-inch hard-disk drive, if applicable.
NOTE: This procedure applies only to systems shipped with a 2.5-inch hard-disk drive installed.
12. Install the M.2 2230 solid-state drive or the M.2 2280 solid-state drive, whichever applicable.
NOTE: This procedure applies only to systems shipped with a M.2 solid-state drive installed.
13. Install the memory module.
14. Install the base cover.
15. Install the secure digital card.
16. Follow the procedure in After working inside your computer.
84
Removing and installing components

 Loading...