Steps
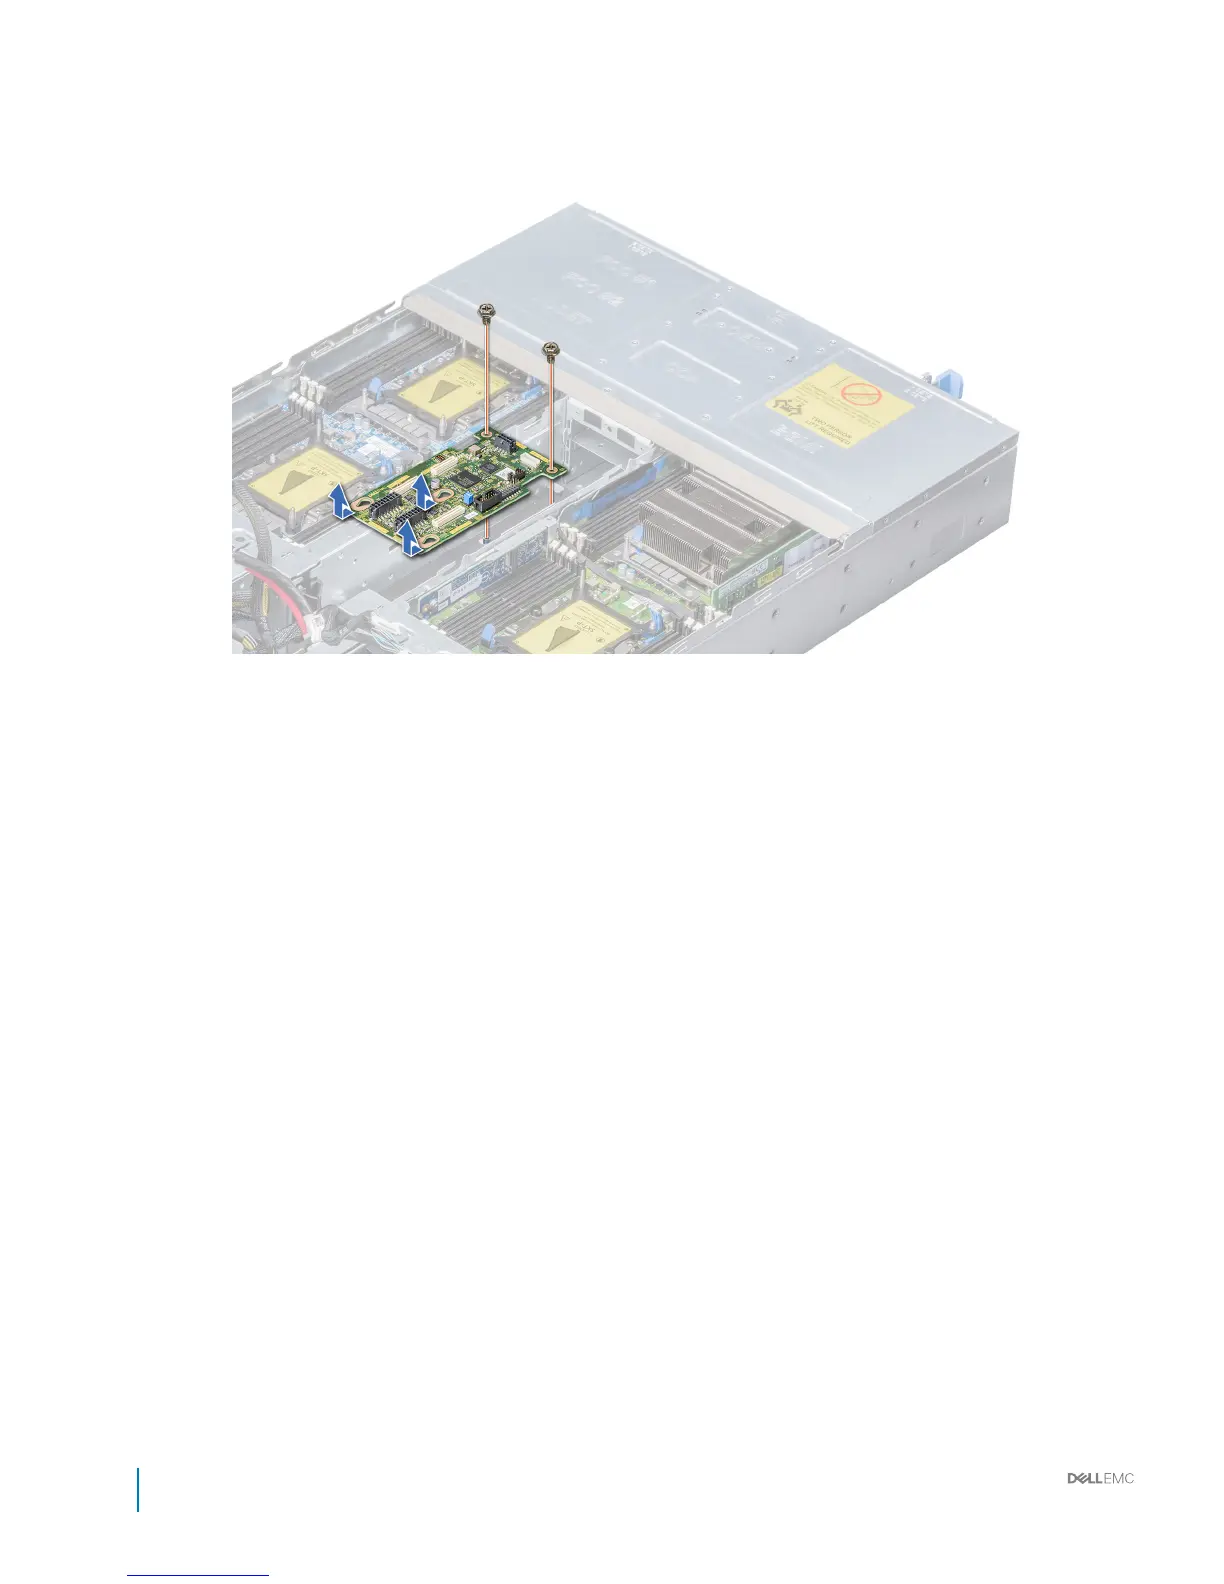
1 Using the Phillips #2 screwdriver, remove the two screws that secure the chassis management board to the chassis.
2 Sliding the board toward the front of the enclosure, lift the board away after the guide slots are free of the standos.
Figure 41. Removing the chassis management board
Next steps
Install the chassis management board.
Related links
Removing a power supply unit
Removing the power interposer board
Installing the chassis management board
Installing the chassis management board
Prerequisites
Follow the safety guidelines listed in Safety instructions.
Steps
1 Insert the chassis management board into the enclosure, aligning the guide slots with the standos on the chassis.
2 Push the board toward the back of the enclosure to align the screw holes on the board and standos chassis.
3 Using the Phillips #2 screwdriver, replace the screws to secure the board in place.
58
Dell PowerEdge C6400 Installation and Service Manual
Installing and removing enclosure components