NOTE: Skip this step if the computer is not shipped with an optical drive.
2. Turn over and align the hard-drive and optical-drive bracket to the chassis.
3. Slide the bracket at an angle into position and place it down on the chassis.
4. Replace the (#6-32) screws that secures the hard-drive and optical-drive bracket to the chassis.
Next steps
1. Install the 3.5-inch hard drive.
2. Install the front cover.
3. Install the left-side cover.
4. Follow the procedure in After working inside your computer.
Optical drive (optional)
Removing the optical drive
Prerequisites
1. Follow the procedure in Before working inside your computer.
2. Remove the left-side cover.
3. Remove the front cover.
4. Remove the 3.5-inch hard drive.
5. Remove the HDD and ODD cage.
About this task
NOTE: Depending on the configuration ordered, your computer may not have an optical drive installed.
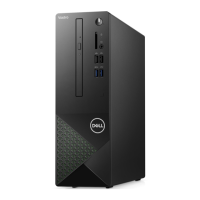
The following image(s) indicate the location of the optical drive and provides a visual representation of the removal procedure.
Removing and installing components
21

 Loading...