3. If installed, remove the BOSS module blank.
Steps
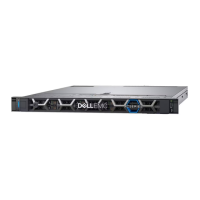
1. Connect the BOSS-N1 power and signal cables to the connectors on the BOSS-N1 module.
Figure 162. Connecting the BOSS-N1 power and signal cables to the BOSS-N1 module
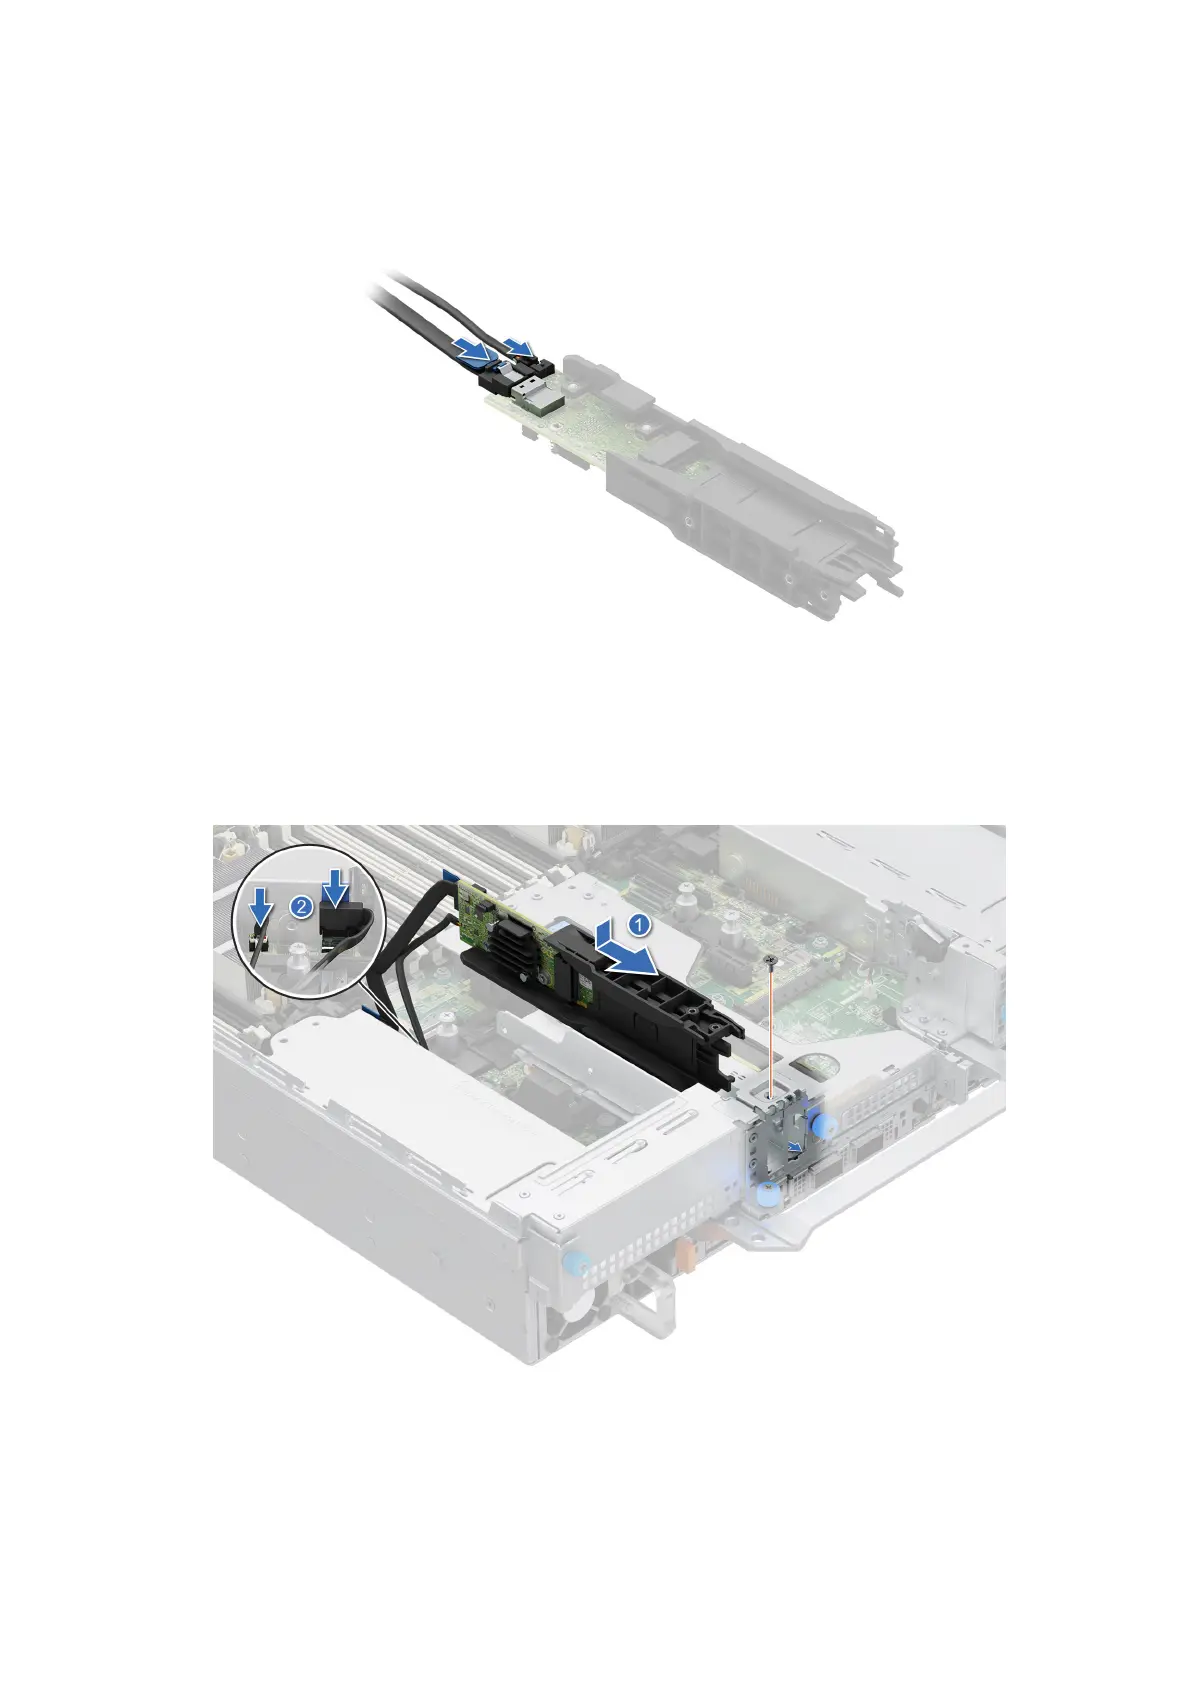
2. Align the BOSS-N1 module at an angle with the controller card module slot.
3. Insert the BOSS-N1 module and push the module horizontally towards the rear of the system until firmly seated.
4. Using the Phillips #1 screwdriver, secure the BOSS-N1 module with the M3 x 0.5 x 4.5 mm screw.
5. Connect the BOSS-N1 power and signal cable to the connectors on the system board.
Figure 163. Installing the BOSS-N1 module
6. Align the M.2 NVMe SSD at an angle with the BOSS-N1 card carrier.
7. Insert the M.2 NVMe SSD until it is firmly seated in the BOSS-N1 card carrier.
166
Installing and removing system components
 Loading...