3-1. Selecting the Mode for Service-related
3-1.1. Actions
Select diagnostic mode (service path check mode), protection history display mode, or 232C standby
clear mode.
3-1.2. Starting up
2. While holding down buttons "
ZONE2 SOURCE
", "
DIMMER
" and "
STATUS
" simultaneously, press the
power button to turn on the power.
Select the desired mode using the "
TUNER PRESET CH+
" button, then press the "
STATUS
" button to
conrm.
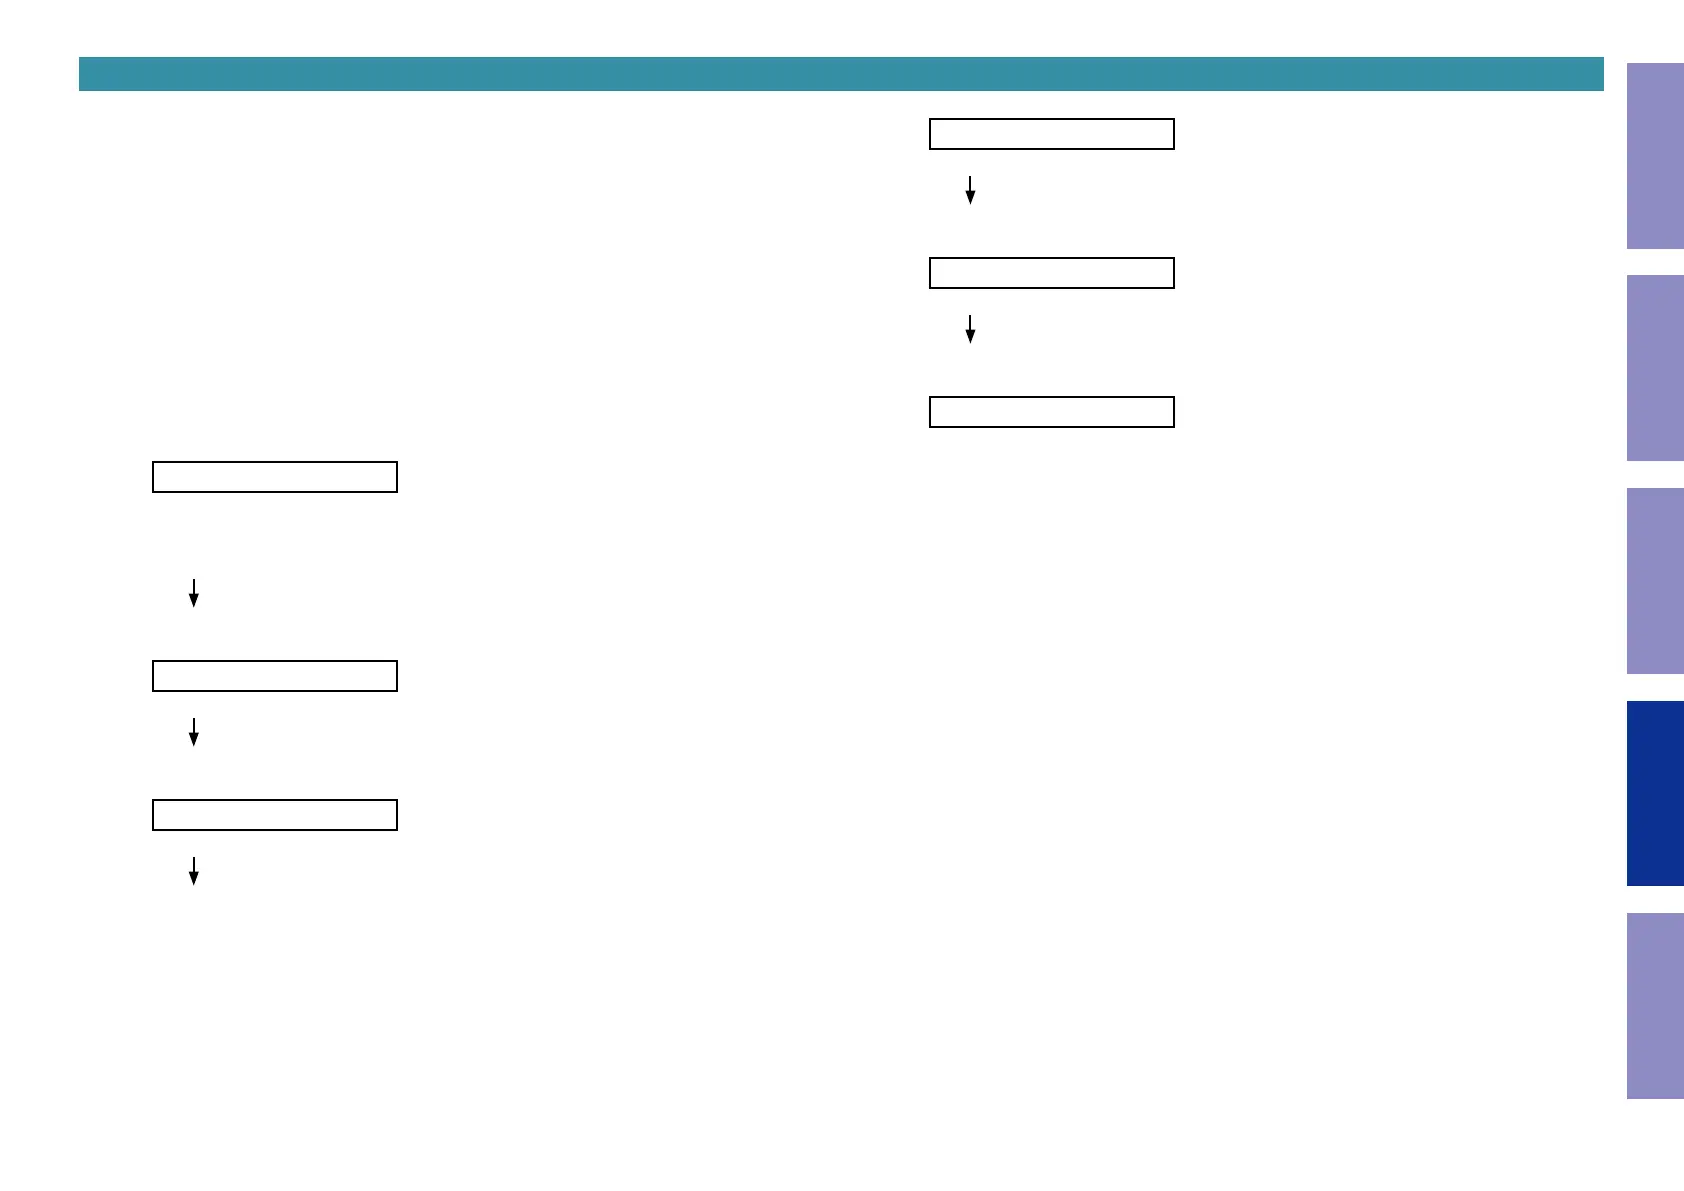
3-1.3. Displaying and Selecting Each Mode
The information shown on the display switches each time the "
TUNER PRESET CH+
" button is
pressed.
Press the "
STATUS
" button to set the currently displayed mode and restart the device.
q
1.SERVICE CHECK
Service Path Check Mode:See "DIAGNOSTIC MODE"
The Video and Audio paths can be checked.
This function is convenient for conrming problem paths in the product and checking the
paths after repairing.
w
2.PROTECTION
The protection history can be checked.
e
3.RS232C RESET
Switches from 232C standby mode to normal standby mode.
r
4.OP INFO
Operation Info for the unit can be checked.
t
5.TUNER FRQ SET
Enables reception STEP of the ANALOG TUNER to be changed.
y
6.REMOTE ID
This function is for operating only the desired AV receiver.
3-1.4. Canceling the selected mode
Press the power button to turn off the power.
120
Caution in
servicing
Electrical Mechanical Repair Information Updating
 Loading...