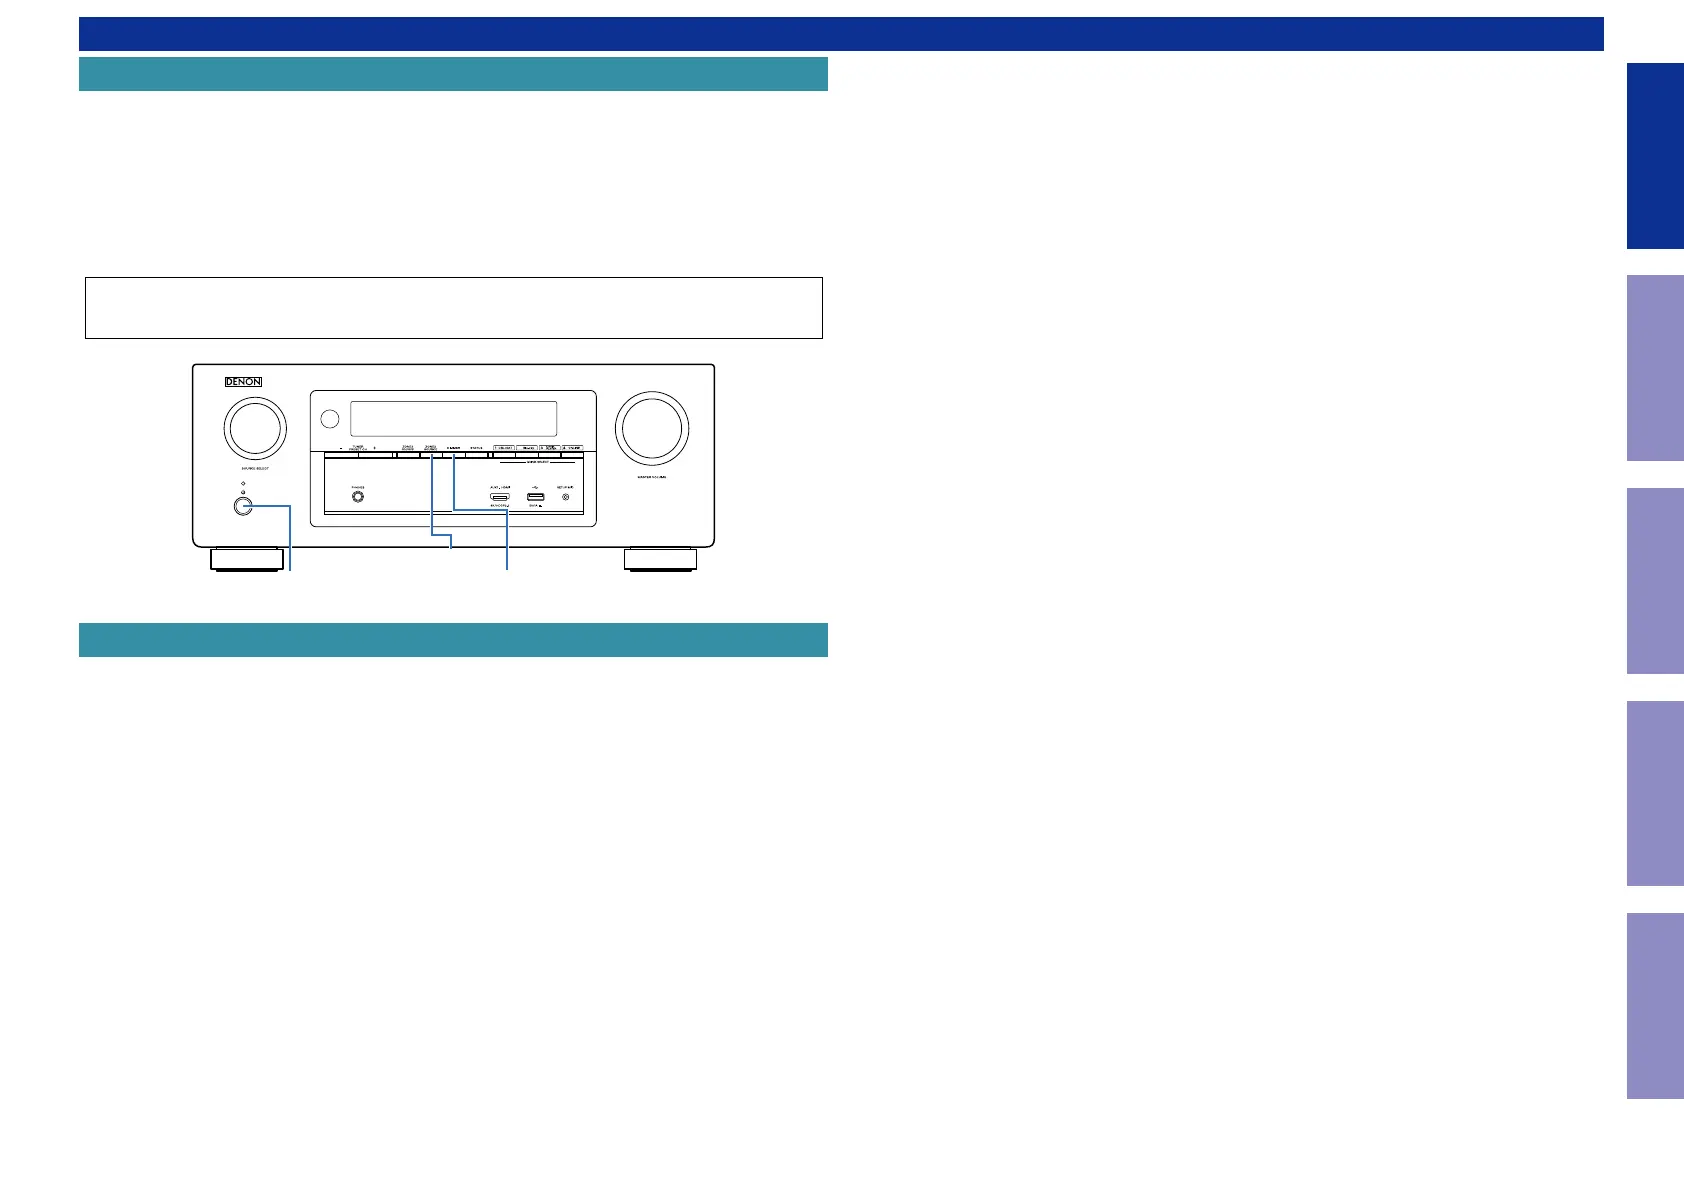
Make sure to initialize this unit after replacing the microcomputer or any peripheral equipment, or the
digital PCB.
1. Press the power button to turn off the power.
2. While holding down buttons "
ZONE2 SOURCE
" and "DIMMER" simultaneously, press the power but-
ton to turn on the power.
3. Release the buttons after conrming that the display ashes at 1-second intervals.
* The unit is initialized.
NOTE: • If the unit fails to enter the service mode in step 3, repeat the procedure from step 1.
• Initializing the device restores the customized settings to the factory settings. Write down
your settings in advance and recongure the settings after initialization.
Use the following jigs (extension cable kit) when repairing the PCBs.
Order with your dealer for the jigs your dealer if necessary.
8U-110084S : EXTENSION UNIT KIT : 1Set
8U-110136S : EXTENSION UNIT KIT : 1Set
(See JIG FOR SERVICING)
DIMMER
X
ZONE2
SOURCE
JIG FOR SERVICING
Initializing This Unit
CAUTION IN SERVICING.
5
Caution in
servicing
Electrical Mechanical Repair Information Updating
 Loading...