3. Selection Modes for Service-related Operations
3.1. Actions
Select diagnostic mode (service path check mode), protection history display mode, or 232C standby clear mode.
3.2. Starting up
Hold down buttons "STATUS" and "ZONE3 SOURCE" at the same time and press the power button to turn on the power.
Select the mode using the button "CURSOR
f
", and press the button "ENTER" to commit the selection.
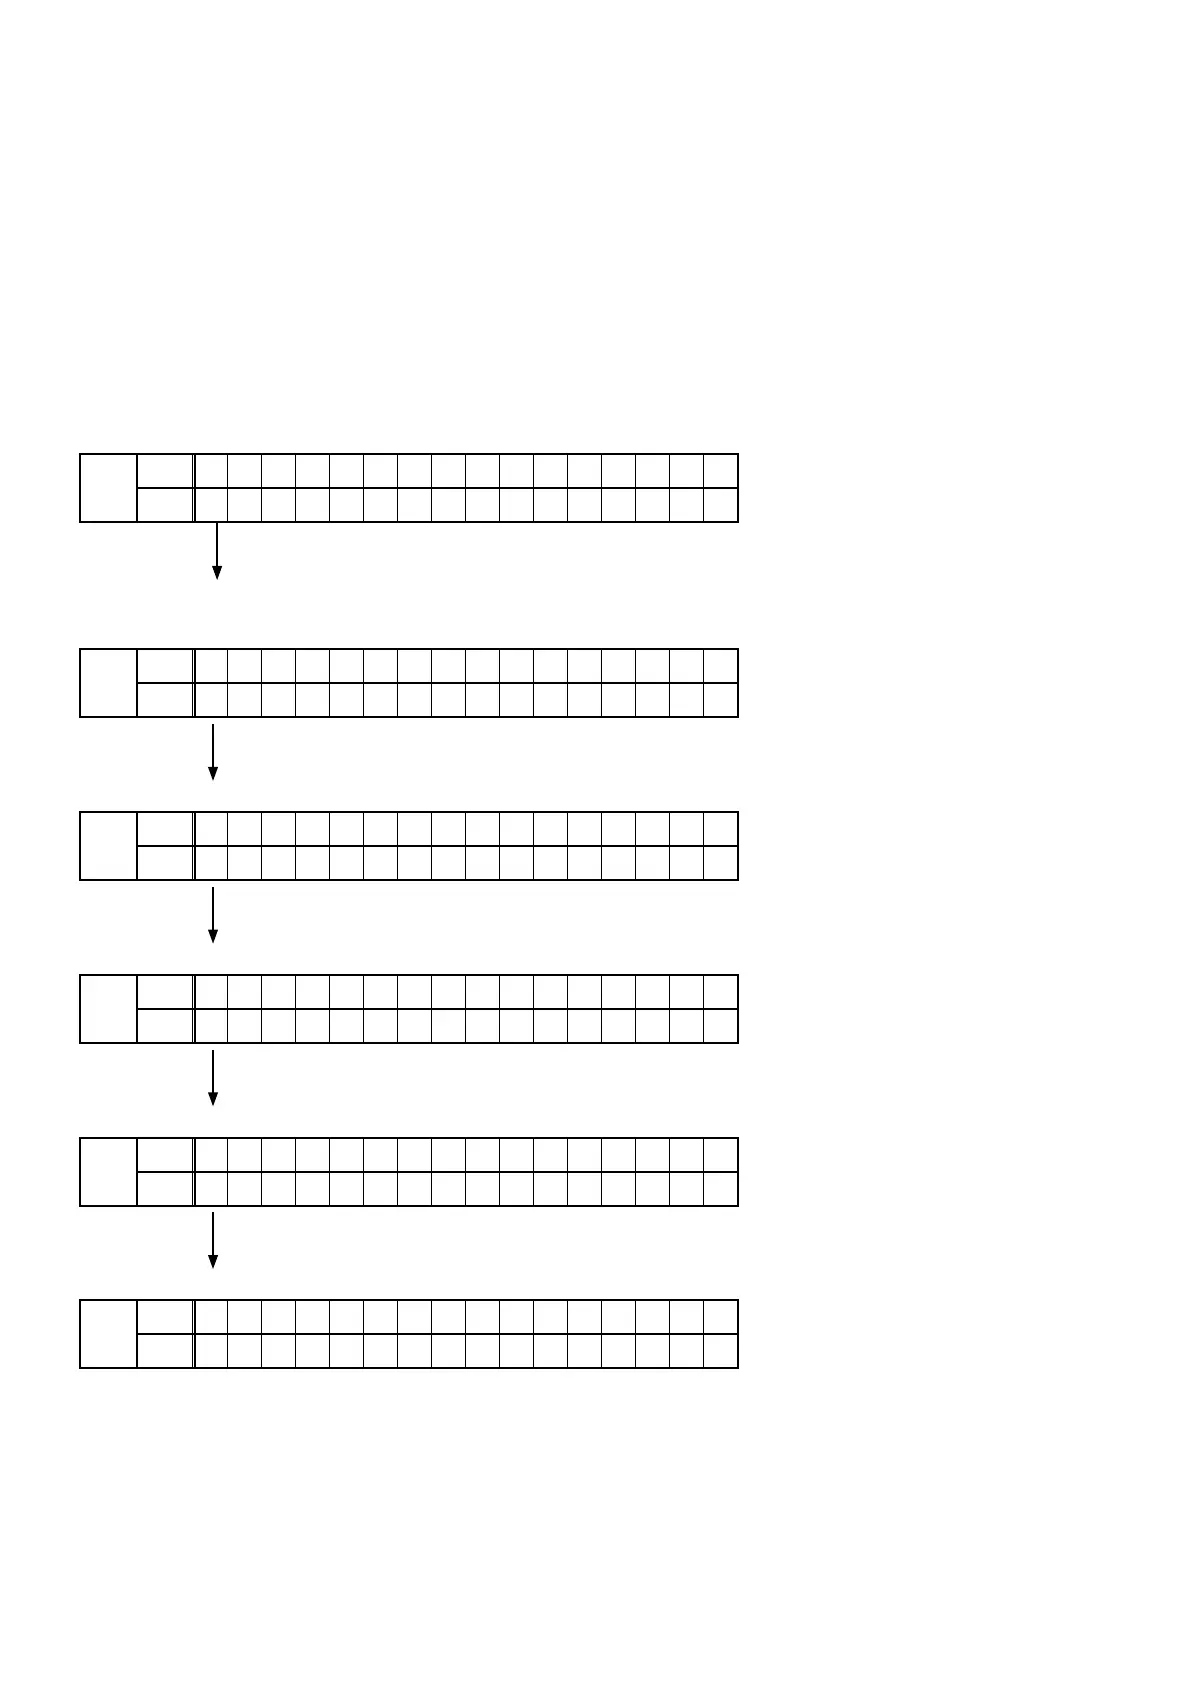
3.3. Displaying and Selecting Each Mode
The information shown on the display changes each time the button "CURSOR
f
" is pressed.
Press the button "ENTER" to set the currently displayed mode and restart the device.
q
FLD
L1
– 1 . S E R V I C E C H E C K
L2
2 . P R O T E C T I O N
Service Path Check Mode:
The Video and Audio paths can be checked.
This function is convenient for conrming problem paths in the product and executing a path
check after repair.
w
FLD
L1
1 . S E R V I C E C H E C K
L2
– 2 . P R O T E C T I O N
The protection history can be checked.
e
FLD
L1
2 . P R O T E C T I O N
L2
– 3 . R S 2 3 2 C R E S E T
Switches from 232C standby mode to normal standby mode.
r
FLD
L1
3 . R S 2 3 2 C R E S E T
L2
– 4 . O P I N F O
Operation Info for the unit can be checked.
t
FLD
L1
4 . O P I N F O
L2
– 5 . T U N E R F R Q S E T
Enables reception STEP of the ANALOG TUNER to be changed.
y
FLD
L1
5 . T U N E R F R Q S E T
L2
– 6 . R E M O T E I D
Function to operate only the desired AV receiver.
3.3.
Canceling the mode
Press the power button to turn off the power.
24
 Loading...