11
DCD-CX3
1. Iop checked Method
Select the laser ON/OFF (CD/DVD) mode of the test
mode, and check the lop value of DVD laser or CD laser.
(See page 16 for test mode.)
1.1. DVD laser current check
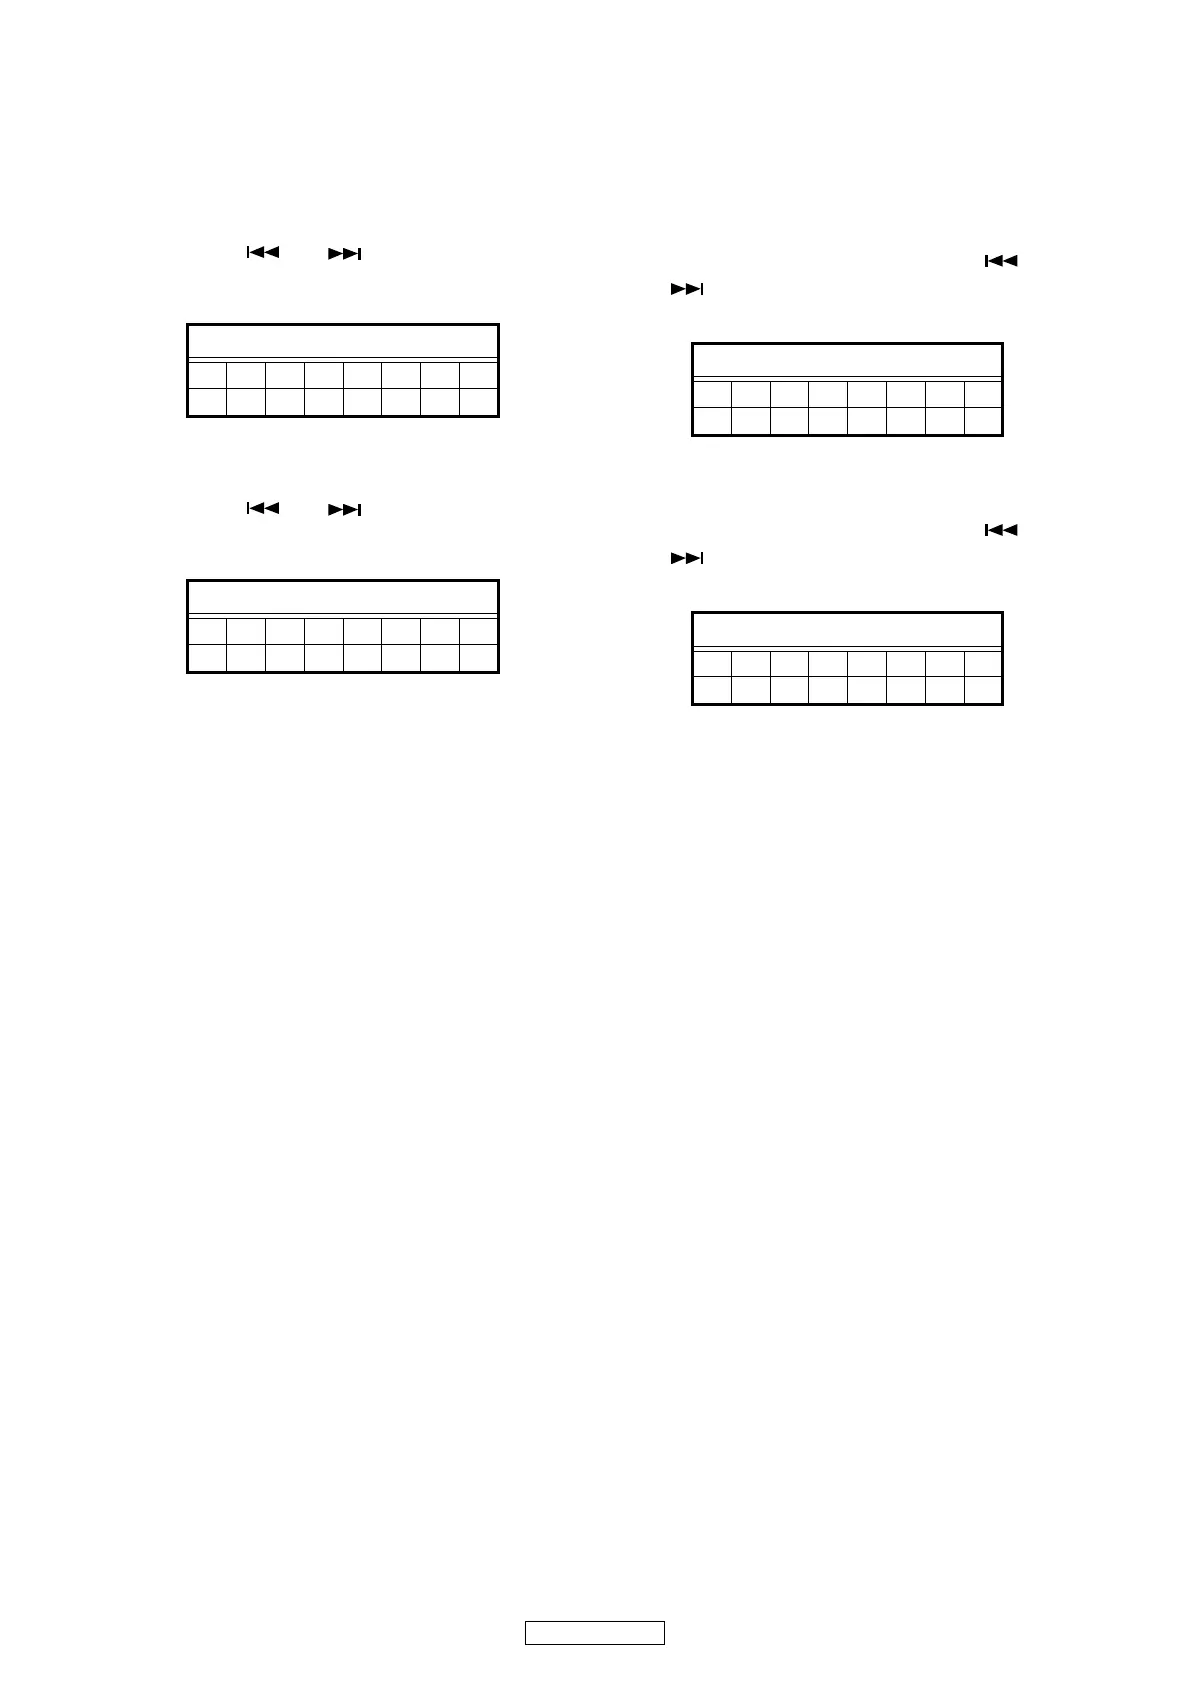
(1) Press the or button to display the laser
current value, and then select “T24”.
(2) Check the current value of Iop (nnnn).
(
−
: Off, DVD laser, Initial value: Current value: nn.nn [mA])
1.2. CD Laser current check
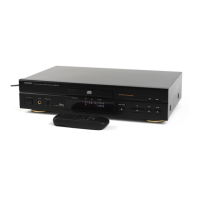
(1) Press the or button to display the laser
current value, and then select “T22”.
(2) Check the current value of Iop (nnnn).
( − : Off, CD laser, Initial value: Current value: nn.nn [mA])
2. Note for Handling the Laser Pick-Up
The protection for the damage of laser diode.
If you want to change the optical device unit from any oth-
er units, you must keep the following.
(1) It should be done at the desk already took measures
the static electricity in care of removing the OPU's (Op-
tical device unit) connector cable.
(2) Workers should be put on the "Earth Band".
(3) It should be done to add the solder to the short land to
prevent the broken Laser diode before removing the
24P FFC cable.
(4) Don't touch OPU's connector parts carelessly.
3. Replacement of the Laser Pick-up
(Traverse Unit)
Check the Iop (Laser drive current)
If the present Iop (current) value exceeds.+150% of the
initial value, replace the Traverse unit (Laser Pick-up) with
a new one.
FLDisplay(Thedisplaypartof8digits)
12345678
T24―nnnn
FLDisplay(Thedisplaypartof8digits)
12345678
T22―nnnn
1. Iop 値の確認方法
レーザー駆動電流を確認する場合は、テストモードの
レーザーON/OFF(CD/DVD) モードを選択して、DVD レー
ザーまたは CD レーザーの lop 値を確認します。
(詳細は 16 ページ、テストモード参照)
1.1. DVD レーザー電流確認
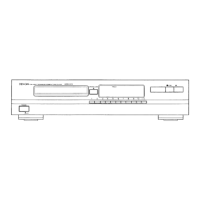
(1) レーザー電流値を表示する場合は または
ボタンを押し、"T24" を選択します。
(2) 現在の lop 値 (nnnn) を確認します。
( −:消灯、DVD レーザー、現在値:nn.nn[mA])
1.2. CD レーザー電流確認
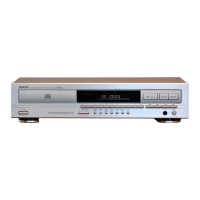
(1) レーザー電流値を表示する場合は または
ボタンを押し、"T22" を選択します。
(2) 現在の lop 値 (nnnn) を確認します。
( −:消灯、CD レーザー、現在値:nn.nn[mA])
2. レーザーピックアップの取扱注意
レーザーダイオードの破壊防止。
光素子ユニットを交換するときは、以下を遵守してくだ
さい。
(1) 光素子ユニットの接続ケーブルをはずすときは、静電
対策を行ったデスク上で作業してください。
(2) 作業者は、リストストラップを使用してください。
(3) レーザーダイオードの破壊防止のため、24PFFC ケー
ブルをはずす前にランドを半田付けショートしてく
ださい。
(4) 光素子ユニットのコネクタ部に触れないでください。
3. レーザーピックアップ(トラバースユニッ
ト ) の交換
Iop( レーザー駆動電流)をチェックします。
現在の Iop 値が初期値の 150%を越えている場合、トラ
バースユニット(レーザーピックアップ)を交換してく
ださい。
FL 管の表示 (8 桁の表示部 )
12345678
T24―nnnn
FL 管の表示 (8 桁の表示部 )
12345678
T22―nnnn