- 30 - 6159924330 - 08/2020
1. Connect the WI-FI access point to any Ethernet port of the controller bottom panel.
2. Plug a full-loaded battery pack to the cordless tool.
3. Declare the cordless tool into CVI3 Vision controller.
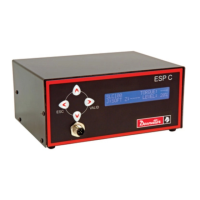
When the connection is done, the top left icon on the tool display is green and steady.
Declaring a cordless tool in CVI3 Vision controller
Go to the controller start screen.
Tap this icon to enter the main menu.
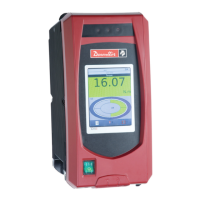
Tap this icon.
Tap this icon.
Tap this icon to add the tightening unit 51.
Tap this icon to save.
Tap this icon to quit.
How to change communication parameters of cordless tools
Easy-pairing via eDOCK and CVI MONITOR
Create first a tightening unit "51" in the controller for the cordless tool.
Plug the eDOCK to the tool and connect it to the USB port of the computer.
Plug a battery pack to the tool.
Keep the tool awake.
Launch CVI MONITOR and click the tab "Tool".
Click Select.
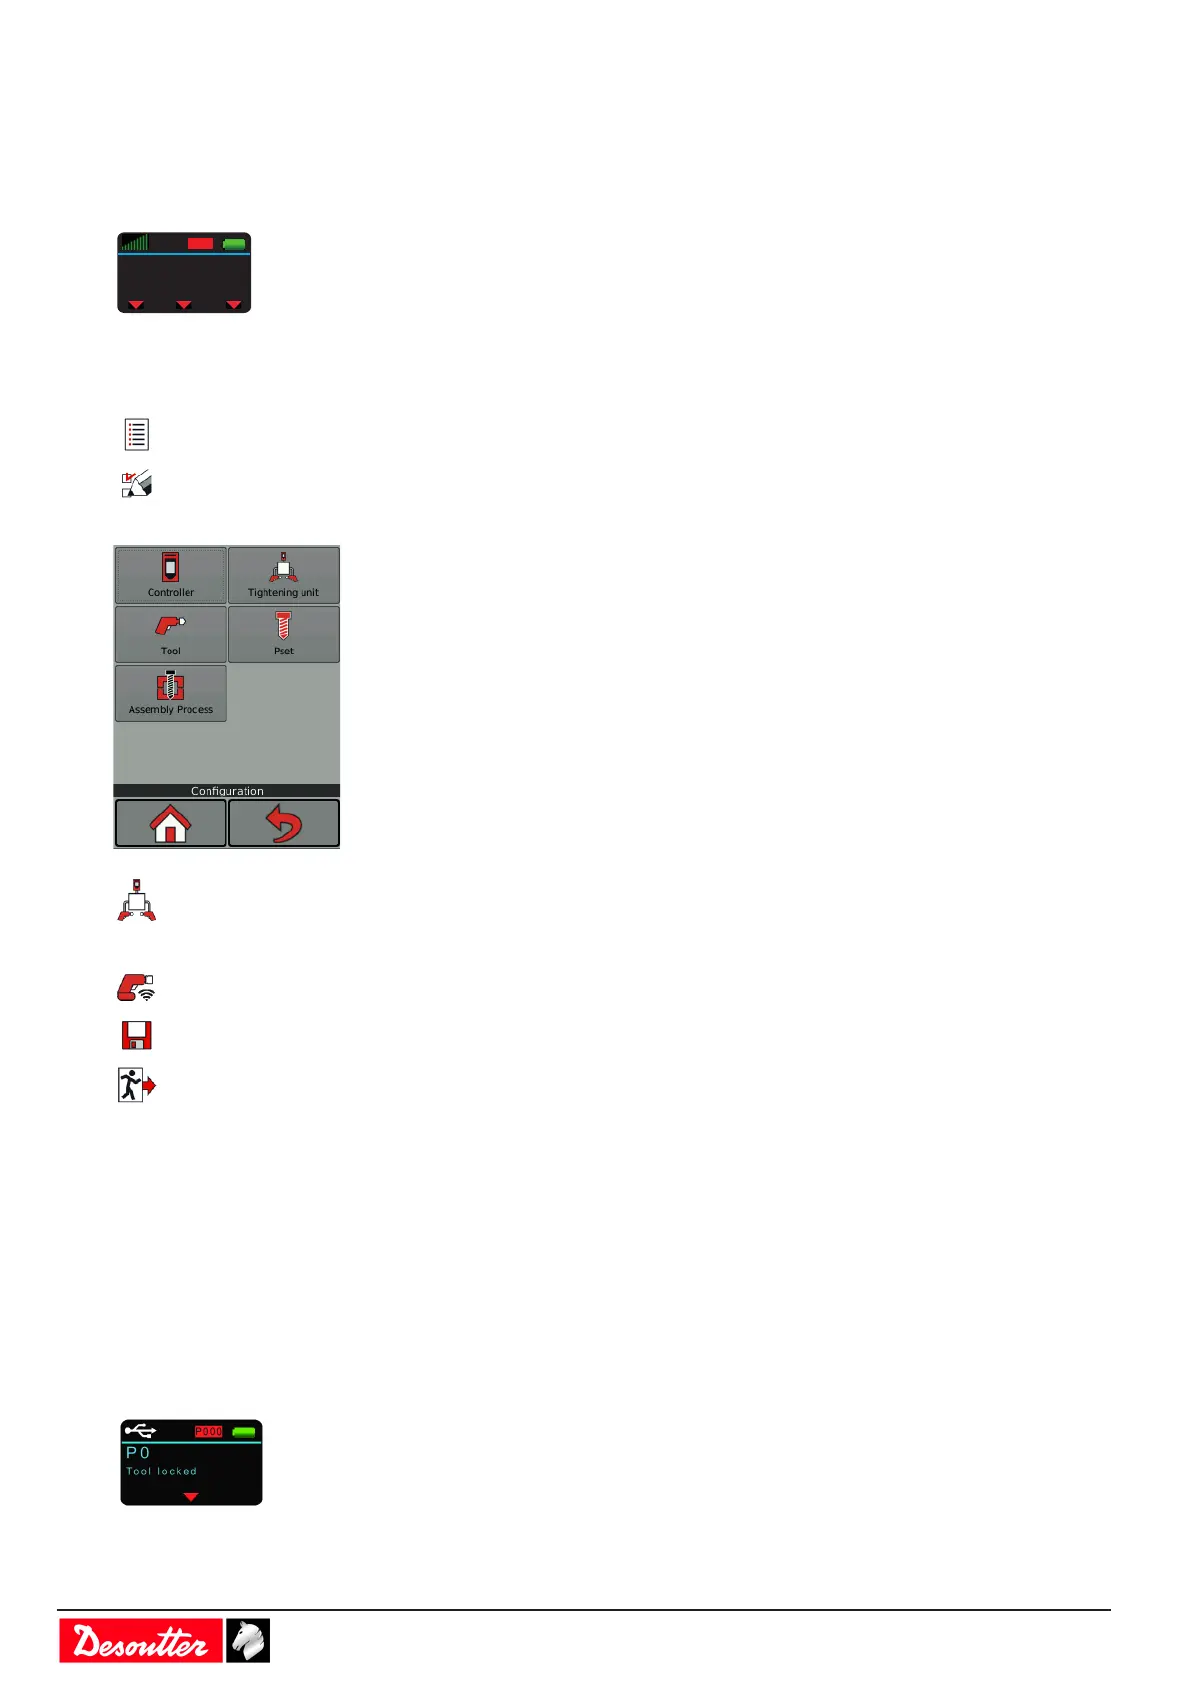
When the tool is connected to the computer, the icon on the top left is as follows:
 Loading...