- 32 - 6159924330 - 08/2020
Plug the eDOCK to the tool and connect it to the USB port of the controller bottom panel.
Plug a battery pack to the tool.
Keep the tool awake.
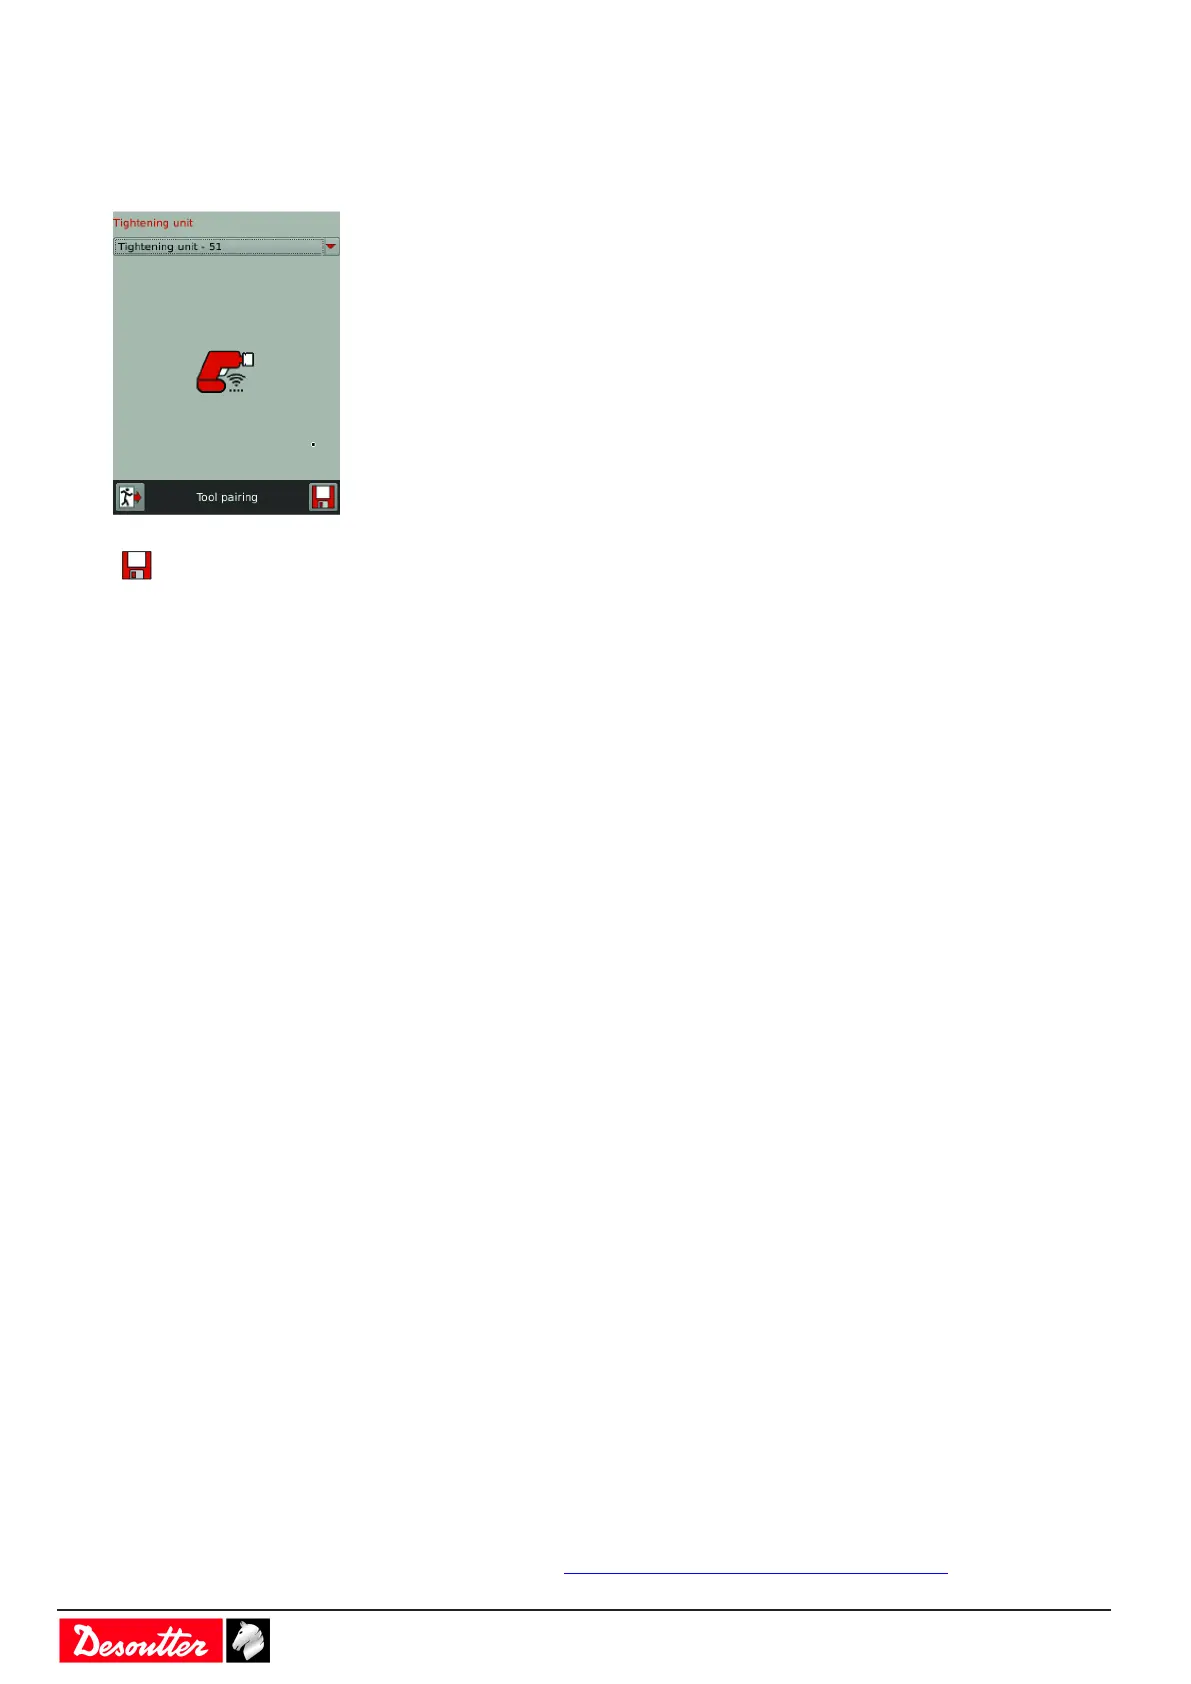
Go to the controller, tap "Maintenance / Tool / Pairing".
Tap this icon to start.
The tool display shows Boot loader written in blue. If the message is red, check the wireless parameters and restart
the procedure from the beginning.
When the connection is done, the top left icon on the tool display is green and steady.
What if the connection is not done?
1. Check that the tool communicates with the WI-FI access point.
On the tool display, press the button below the red arrow during 3 seconds.
Use the red arrows to go to "Maintenance", press OK, go to "Network" and press OK.
Press the right arrow many times until you get "RSSI".
If the value is displayed in green, orange or red depending on the RSSI signal quality, this means that the tool is
communicating with the WI-FI access point.
If the RSSI value is -100 dB in red, go back to CVI MONITOR to change the wireless parameters and write
them into the tool again.
2. In a second step, check that the tool communicates with the controller.
Connect the access point to the same Ethernet network as the controller.
Check that firmware versions of both tool and controllers are the most recent.
If not, contact your Desoutter representative.
Check that subnet masks are correct in the controller, tool and WI-FI access point.
For example, when all IP address are 192.168.5.xxx, the subnet mask is 255.255.255.0. If one of them is
192.168.7.xxx, the subnet mask could be 255.255.0.0.).
Adding a cordless tool in an existing installation
Ensure you have a CVI3 Vision controller and a new or existing WI-FI access point.
Do as follows:
1. If the WI-FI access point is new, install it and connect it to any port of the controller bottom panel via an Ether-
net cable or to the same Ethernet network as the controller.
2. Consult your IT department to get the communication parameters of the installation (IP address and port of the
controller and wireless parameters of the existing WI-FI access point. Click here How to set up networks
[Page47].
3. Declare the cordless tool in CVI3 Vision controller.
4. Change the communication parameters of the cordless tool as described previously.
Installing eBUS accessories
Dimensions
Refer to the CAD 3D models and 2D views available at https://www.desouttertools.com/resource-centre.
 Loading...