Top Panel Removal
Step 1: Remove 4 screws that hold detergent dispenser to top panel. If front soap dish go to step 2
Step 2: Unlock top panel lock.
Step 3: Raise top panel, slide to the rear to release from back clips and lift o.
Detergent Dispenser
Remove top panel to access dispenser. (see Removing Top Panel)
on 18lb; 25lb;40lb;55lb. Detergent is ushed from the front of the
compartment and fabric softener is ushed from the back. There
will be a small amount of water left in the fabric softener comp-
artment after each use. This is normal. Note on front mounted
dispensers hot water lls thru compartment
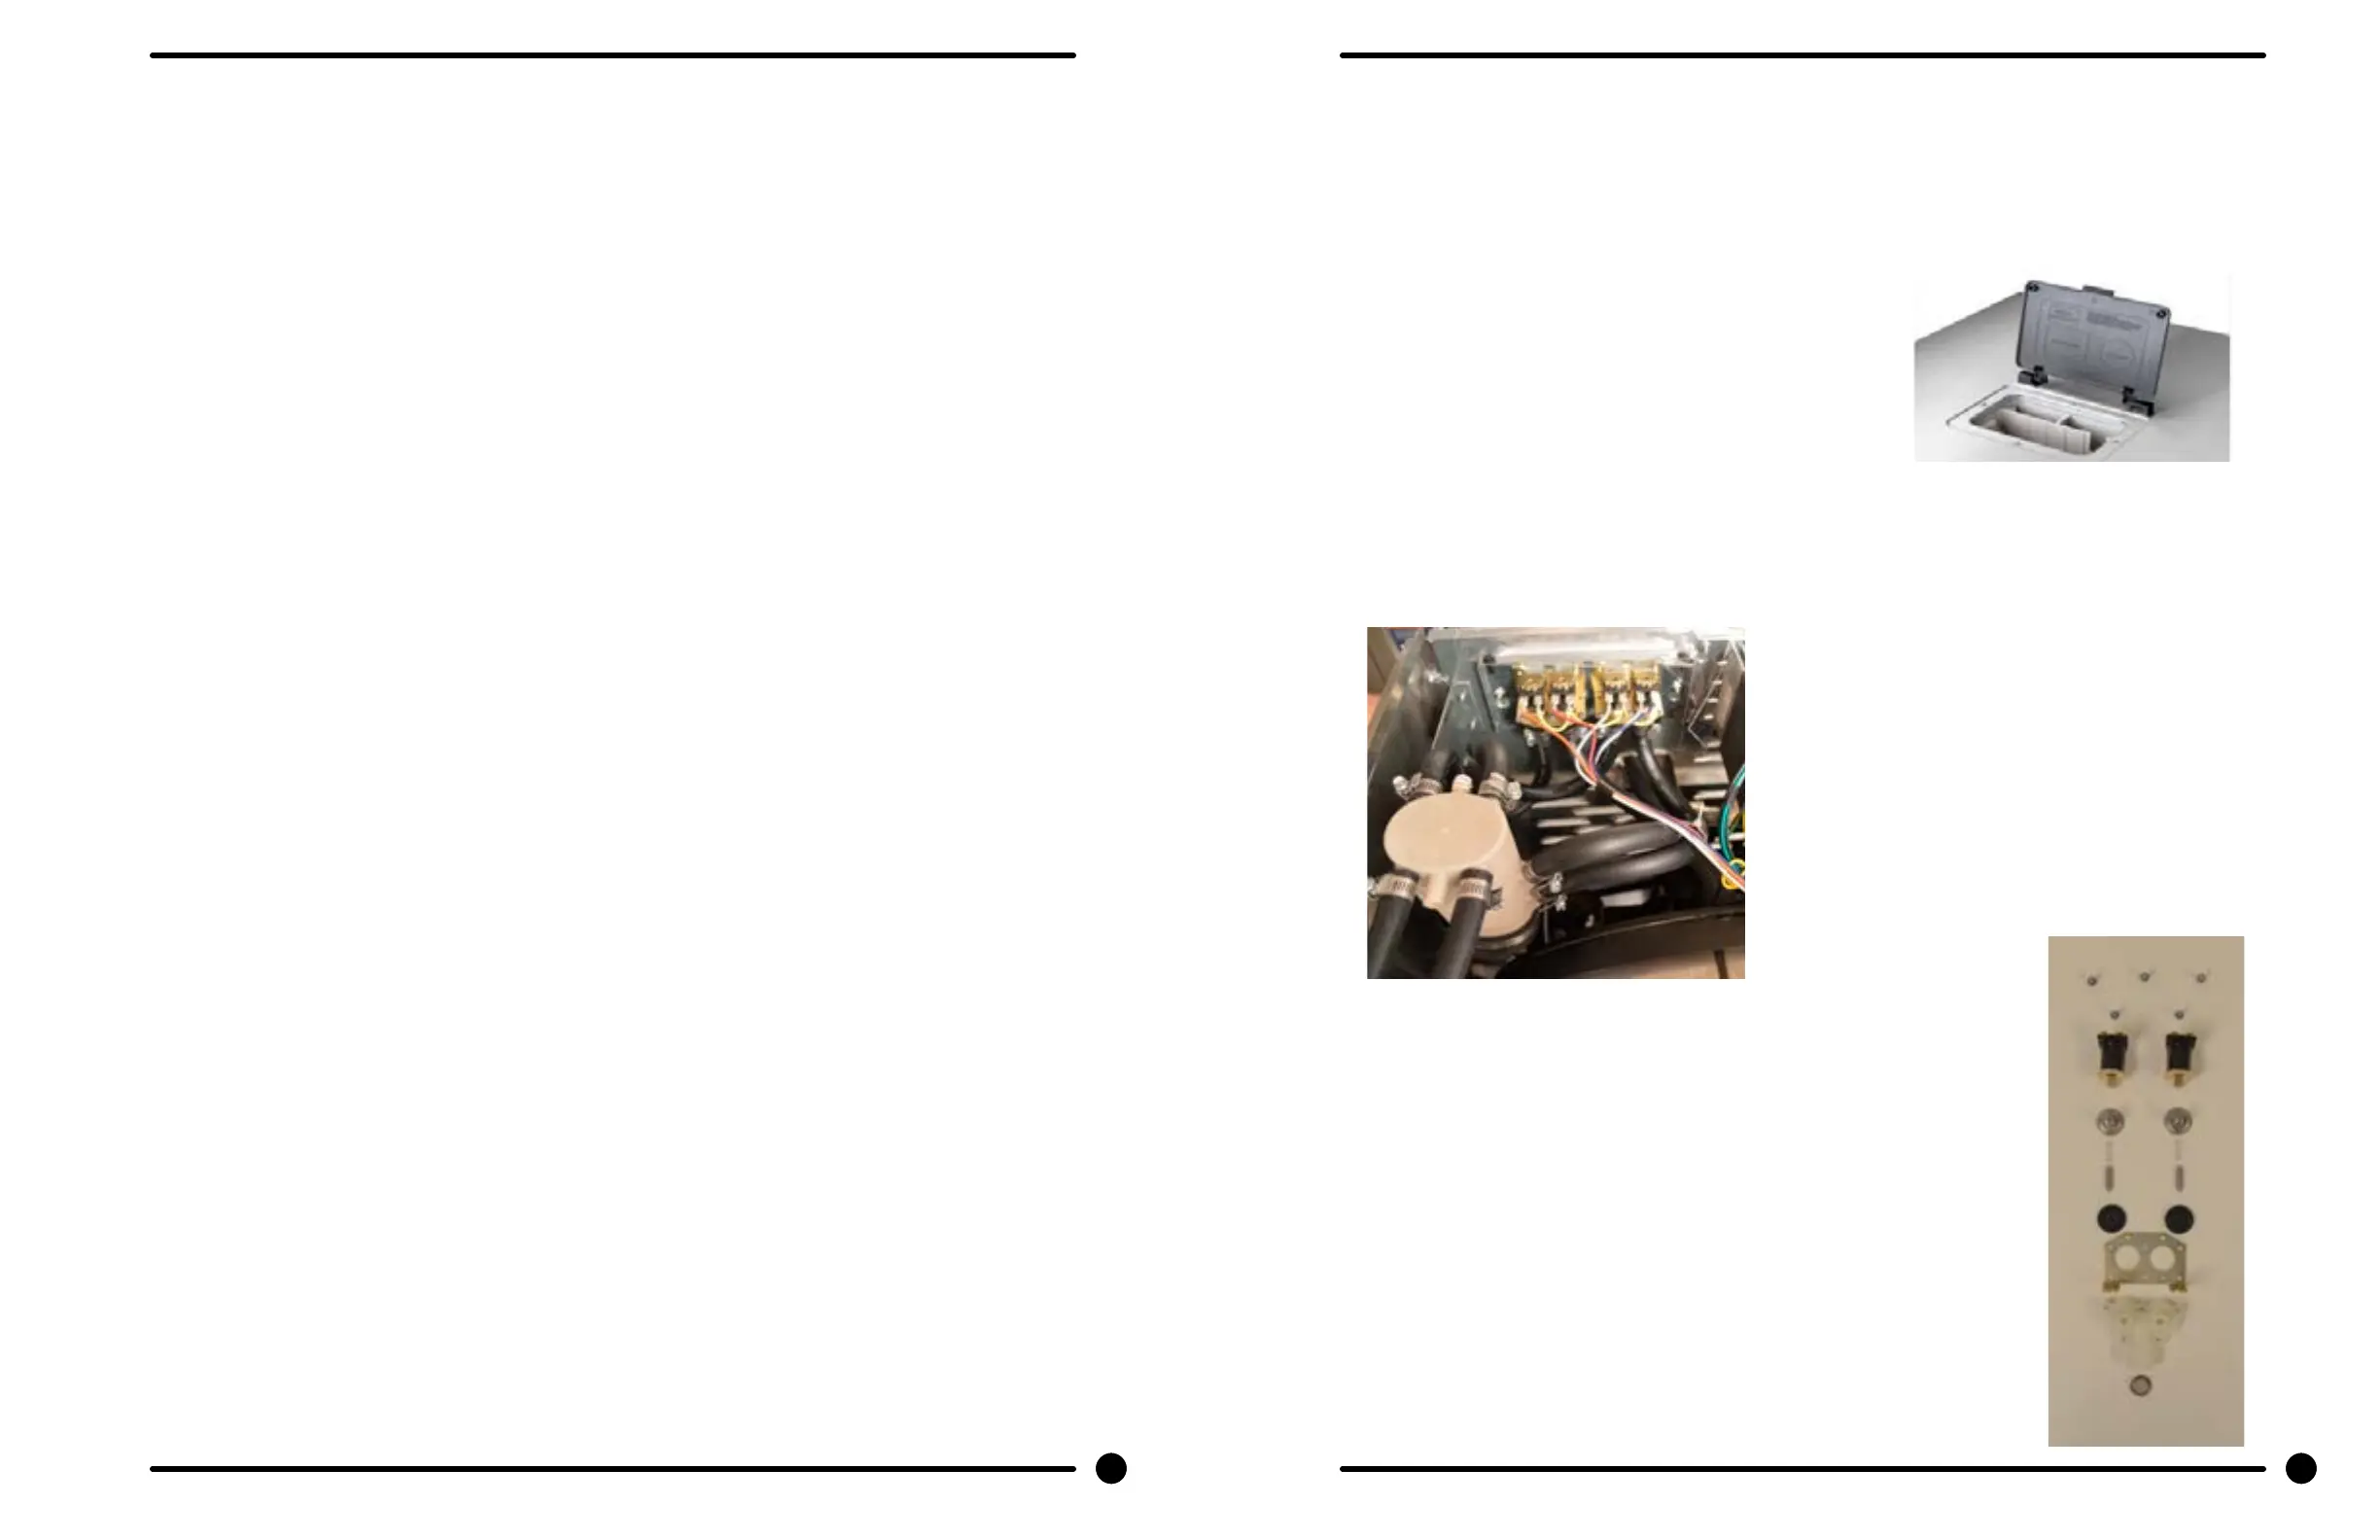
Vacuum Breaker (also called an air gap)
In the left rear of the cabinet is the vacuum breaker. It guides the water to the tub and dispenser and pre-
vents a back ow of water.
Water Valves
Remove top panel to access water valves. (see Removing Top Panel) The two
dual outlet water valves are mounted to the water valve mounting plate that
is fastened to the rear channel. to remove the valves, loosen the 2 locking
nuts on both sides of the mounting plate from the interior of the machine and
then lift the plate and valves o of tyhe back channel and pull the assembly
into the machine. The valves can then be removed from the mounting plate by
removing the 5/16 mounting screws.
Always check inlet screens to be sure that they are clean. Disassembly
requires the removal of two solenoid screws and three valve body screws.
Below the solenoid coil is a solenoid guide, armature, armature spring and
diaphragm. All valve parts are available individually or as a complete unit.
51
Part # 8533-050-001 2/22
50
Part # 8533-050-001 2/22
Section 5:
Machine Service
Procedures
 Loading...