Tub Back, Bearing, and Cylinder Assembly 18lb., 25lb., 40lb.
Removal
Step 1: Remove the top panel as described previously.
Step 2: Move the rear channel, that the water valves mount to, forward by removing the ve mounting
screws.
Step 3: Remove the drive belt.
Step 4: Remove the overow hose, tub ll hose and pressure switch hose from the back of the tub.
Step 5: Mark the tub back and bearing assembly for ease in assembly later.
Step 6: Remove the 12 bolts and nuts from the perimeter of the tub back clamp ring. Two of the twelve
bolts are longer and go through the thicker part of the brace where it connects to the frame.
Step 7: Remove the 2 bolts that fasten the clamp ring to the frame.
Step 8: The entire tub back and cylinder assembly may be lifted out of the tub (it may be necessary to
break the adhesion of the silicone that seals the tub back to the tub). Blocks should be placed
under the edges of the cylinder before setting it down to prevent damage to the cylinder ange.
Bearing Housing, Water Seals, and Tub Back 18lb., 25lb., 40lb.
Removal from Basket Shaft
Step 1: Remove assembly from washer (see Tub Back, Bearing and Cylinder (basket) Assembly removal).
Step 2: Remove basket pulley (see Basket Pulley removal above).
Step 3: It is necessary to use a puller (Grip-O-Matic #1038 for 25lb., #1045 for 40lb. to remove the
bearing housing assembly from the cylinder shaft. There is a ange on the bearing housing that
should be used with this three armed puller.
Disassembly
Step 1: To remove the tub back assembly, the 6 bolts attaching it to the bearing housing must be removed.
Step 2: Remove water seals from the seal mounting plate on the cylinder shaft. These are removed with
your ngers.
IMPORTANT- Be careful not to move the at metal plate that mounts the two rubber sealing
rings on the cylinder shaft. The location of this seal mounting plate is critical and it must not
be moved. The two sealing rings can be replaced without disturbing it. The included
illustration shows the proper location of this plate for washer
Step 3: The retaining ring next to the front bearing must also be removed.
Step 4: The bearings are pressed into the housing and must be pressed back out.
Reassembly
Step 1: When installing new bearings into a bearing housing, rst press the front (large) bearing into the
housing until it bottoms. With the bearing spacer in place, press the rear bearing in until the spacer
is snug between the two bearings. Be sure and reinstall the retaining ring in front of the front
bearing.
Step 2: The tub back assembly should be reattached to the bearing housing with the 6 mounting bolts and
torqued according to the torque chart. If the 6 support assemblies have been removed from the
bearing housing, the 6 rear bearing housing bolts should be torqued according to the chart also.
NOTE: The bead of silicone that seals each bolt to the tub back.
This must be cleaned and replaced upon reassembly (see picture)
Step 3: The primary and secondary seals that mount on the sealing ring may be slid over the shaft and
seated on the metal sealing ring. In the unlikely event that the metal ring that mounts these sealing
rings were to be damaged or moved, a new one would need to be pressed on. The T-400 ring
would need to be pressed on to the dimension shown on the following page.The T-600 ring must
be pushed against the stop on the shaft. Before installing the new sealing ring, a bead of silicone
should be put on the basket shaft. After installing the seals, lubricate the faces of the seals with
silicone grease.
Reinstallation onto Basket Shaft
Step 1: Carefully set the assembly over the shaft engaging the bearings and bearing spacer.
Step 2: The tolerance ring that ts inside the pulley should be placed in position (see Basket Pulley
Reassembly for correct positioning).
Step 3: The pulley should then be started onto the shaft. A stack of at washers and a longer pulley bolt
will be required to pull the basket shaft through the bearings and pulley.
Step 4: Install the shaft end bolt with washers and torque to specications in Bolt Torque Chart.
Step 5: See Tub Back, Bearing, and Cylinder Assembly for installation of complete assembly back into
washer.
Reassembly
Step 1: Lay the washer on its front.
Note: Put a thick pad across the front of the washer, above the
door, to protect the door handle and coin acceptor.
Step 2: Make sure the bearing housing weep holes are
located at 12 o’clock and 6 o’clock.
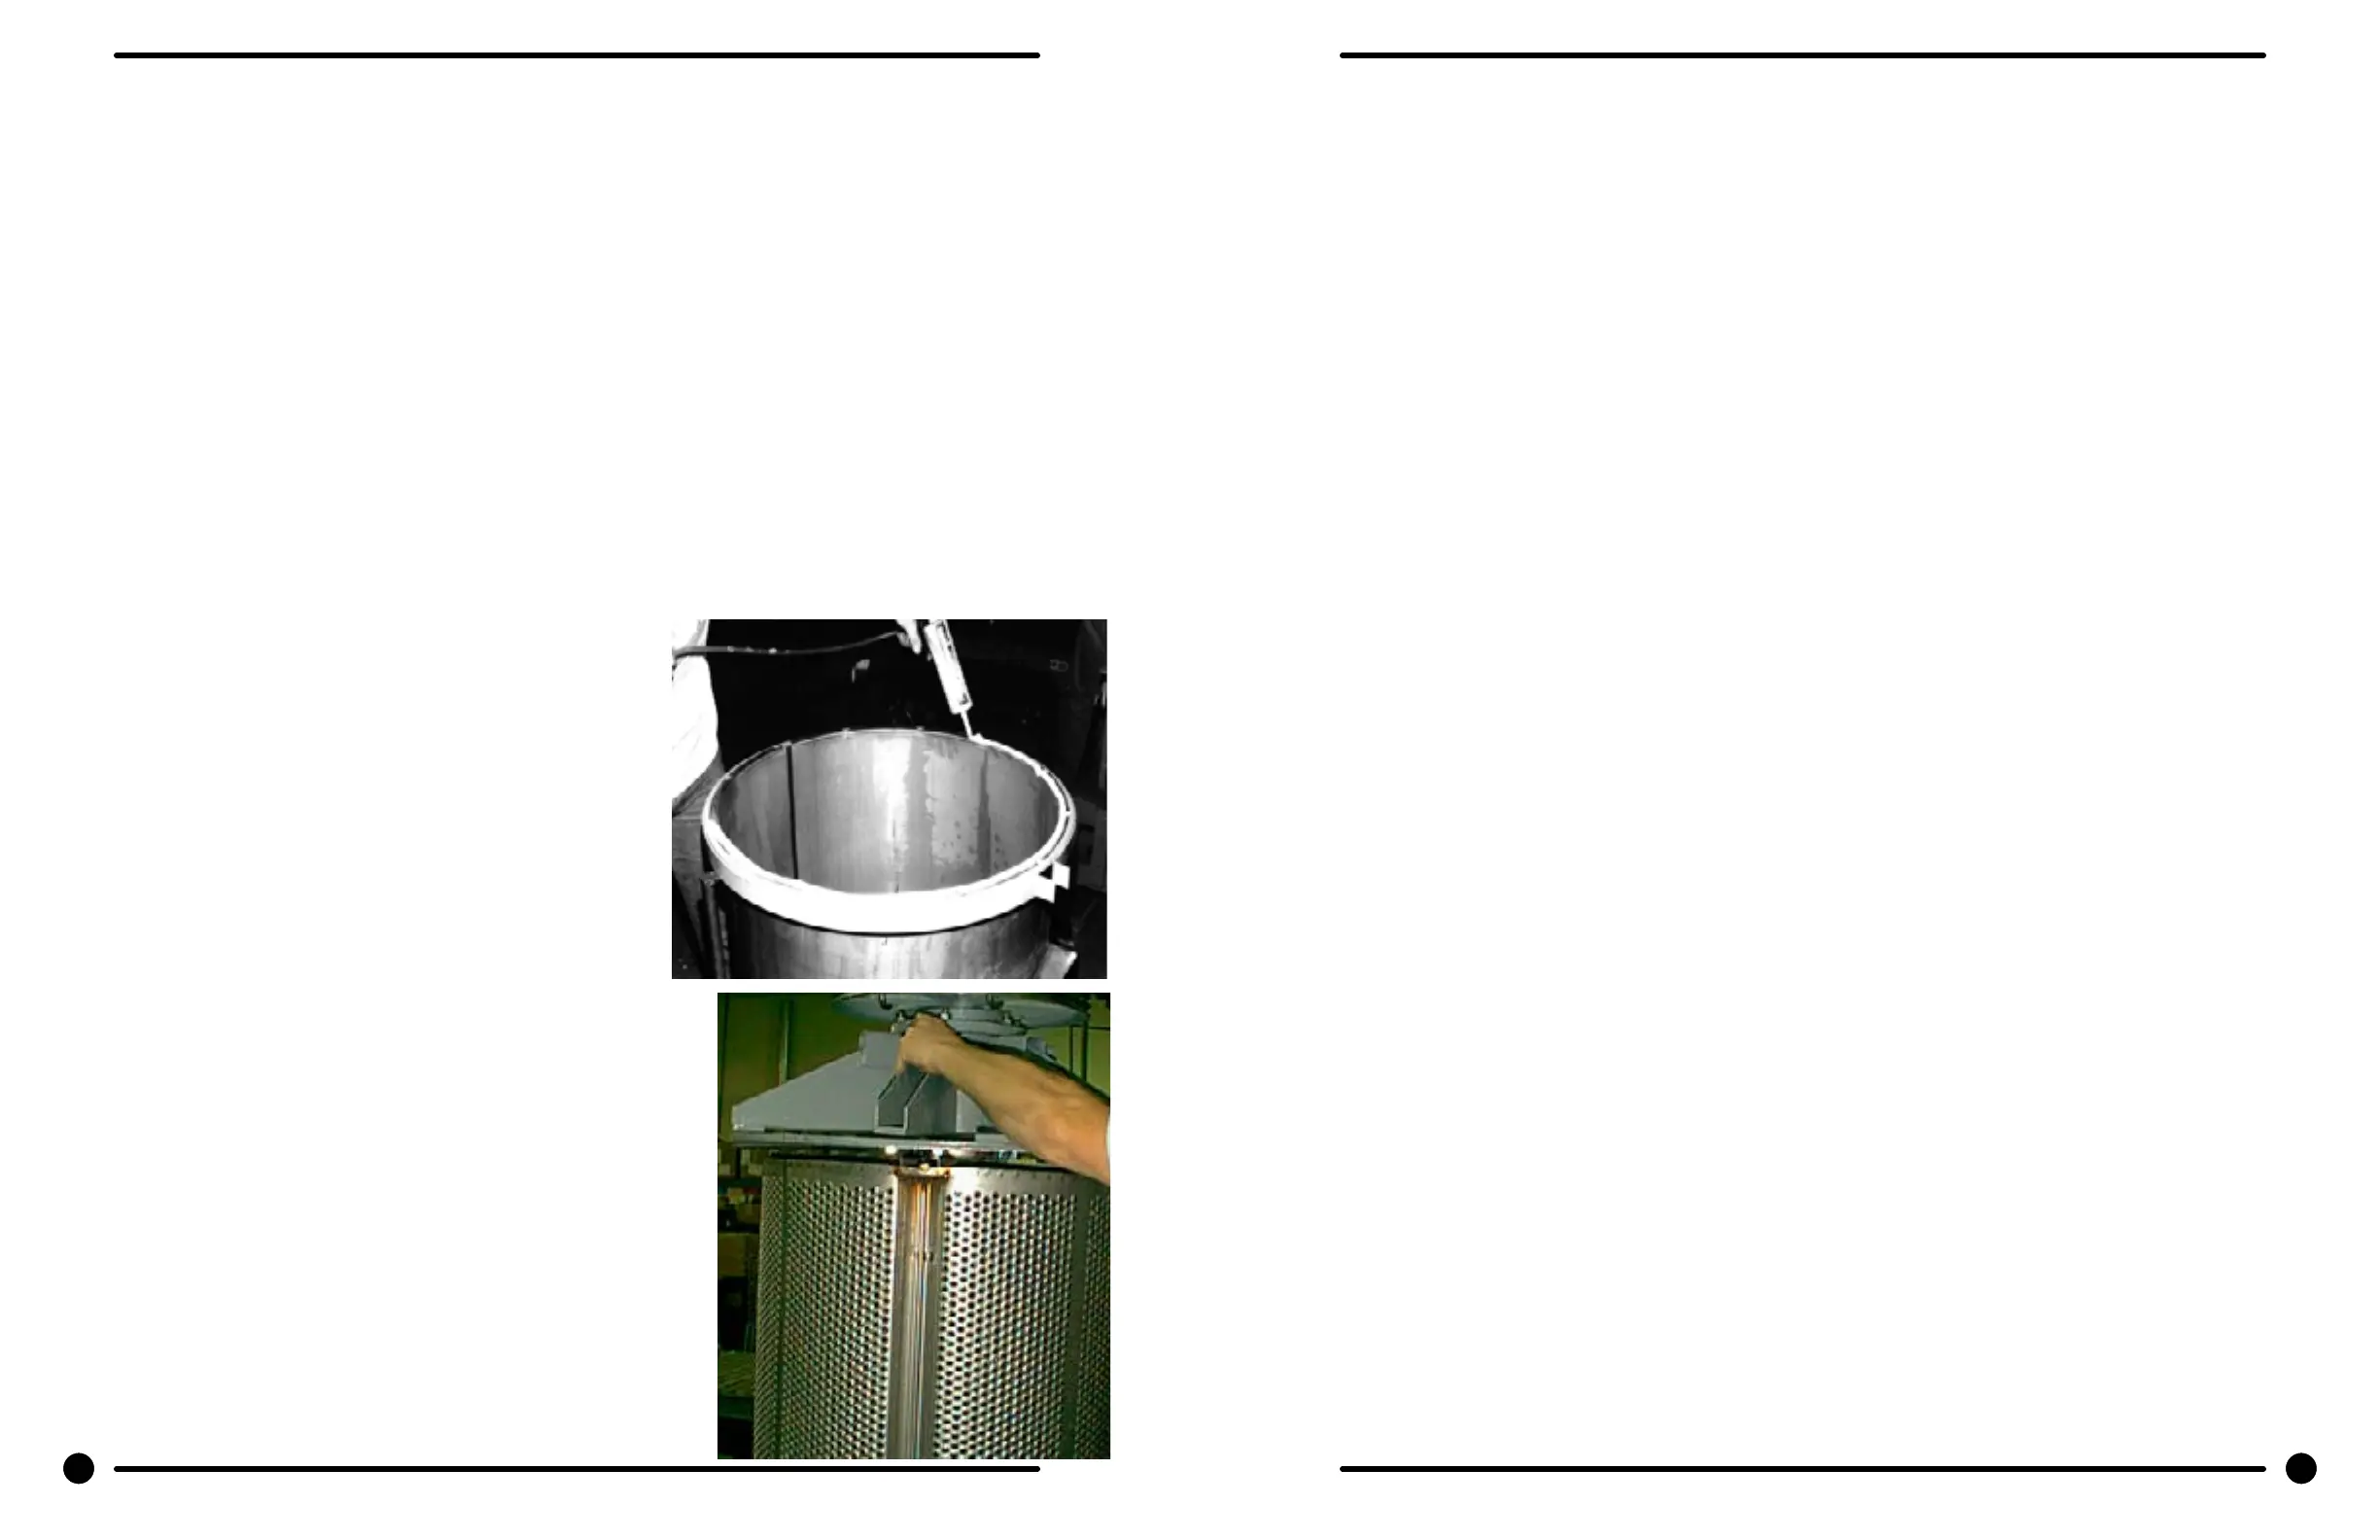
Step 3: Clean the silicone rubber from the back of the outer
tub and the perimeter of the tub back where the
two meet. There is no gasket in this area.
Step 4: Apply a new bead of silicone rubber around the
back of the outer tub. (see picture)
Step 5: Lower the tub back, bearing and cylinder assembly
into the washer outer tub. (see picture)
Step 6: Torque all bolts according to the torque chart.
Step 7: Make sure that the tolerance ring is in place inside
the pulley.
Step 8: The shoulder inside the pulley that holds the
tolerance ring should face the back of the washer
when installed correctly.
Step 9: Use a stack of at washers and a longer bolt to
press the pulley onto the basket shaft.
Step 10: Reinstall the retaining bolt, lock washer, and at
washer. The shaft end bolt with washer should be
installed with a torque of 45ft/lbs.
62 63
Part # 8533-050-001 2/22 Part # 8533-050-001 2/22
 Loading...