Final Check Out
Always disconnect electrical power to the machine before opening
the top. Avoid contact with
capacitor or other electrical terminals.
Open the top of the machine as follows:
A. Remove the four screws that hold the dispenser to the top
panel.
B. Unlock the top panel, slide to the rear to release and
remove the top panel from the machine.
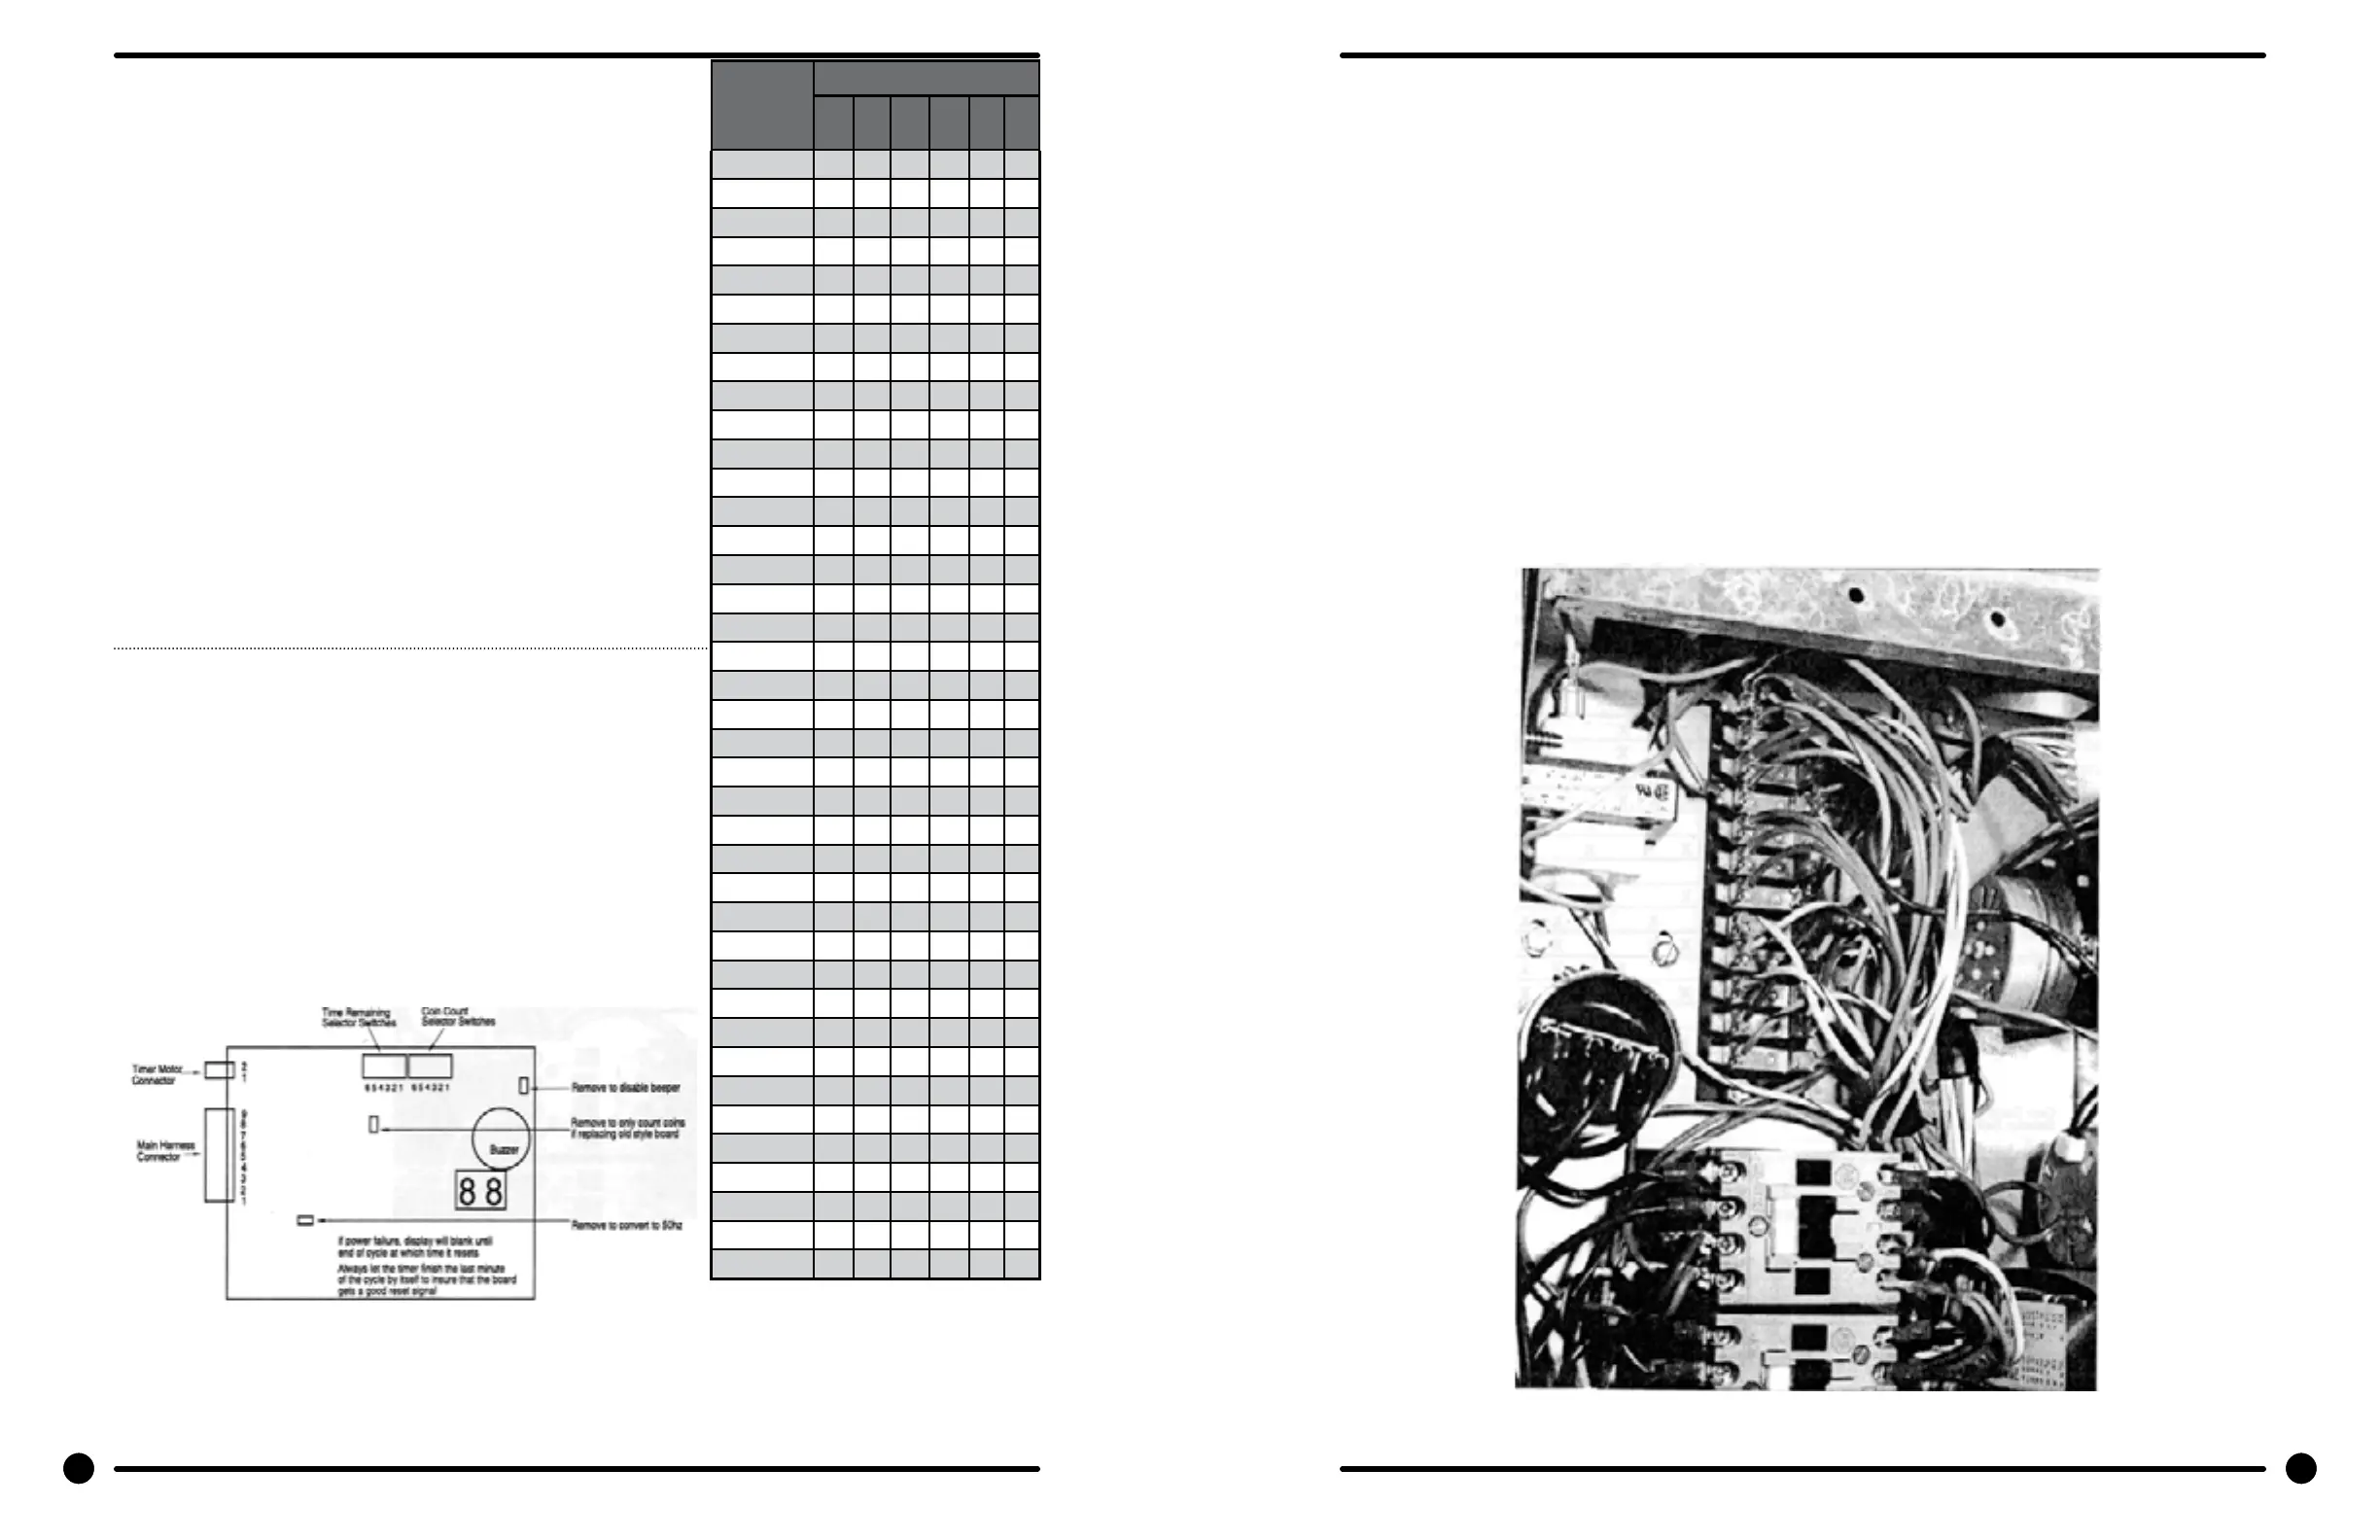
Setting the Accumulator
Always disconnect electrical power to the machine before setting
the accumulator. Avoid contact with capacitor or other electrical
terminals.
The accumulator board contains the digital coin count and time
remaining display and is attached to the front of the machine. The
amount to start is set by depressing the 6 small switches on the top
edge of the accumulator in the correct combination for the desired
number of coins. The time remaining is set by depressing the
other six small switches on the top edge of the accumulator in the
correct combination for the desired cycle time. (See chart for correct
combinations) The switch numbers and names are printed on the
clear cover over the coin accumulator circuit board. The switches
are actuated by pushing the switch operator toward the back of the
machine. As the switches are very small, a golf tee or some other
nonmetallic tool is desirable for this process.
Note: For use in Canada, the com acceptor magnet must be
removed. See drop coin acceptor in Service Procedures Section for
location of magnet.
Setting the Operating Mode (Program length)
# of
Coins
or Mins
Switch Numbers
1 2 3 4 5 6
1 x
2 x
3 x x
4 x
5 x x
6 x x
7 x x x
8 x
9 x x
10 x
11 x x
12 x x
13 x x x
14 x x
15 x x x
16 x x x
17 x x x x
18 x x
19 x x x
20 x
21 x x
22 x x
23 x x x
24 x x
25 x x x
26 x x x
27 x x x x
28 x x
29 x x x
30 x x
31 x x x
32 x x x
33 x x x x
34 x x x
35 x x x x
36 x x x x
37 x x x x x
38 x x x
39 x x x x
See the Cycle Time Chart in Section 1 for the four available Cycle Times.
the operating mode can be selected by moving one jumper wire on the 12-position terminal block.
Machines are shipped with the wire connecting terminal 4 to 7 giving no prewash and 2 rinses. Re-
locating the end of the orange/white wire with the plastic housing fr.om position 7 gives these selec-
tions:
-Moving to #4 gives prewash and 3 rinses
-Moving to #5 gives prewash and 2 rinses
-Moving to #6 gives no prewash and 3 rinses
-Leaving on #7 gives no prewash and 2 rinses
After changing the operating mode (program length), refer to Setting the Accumulator on the previ-
ous page to reset the cycle time remaining for the correct length of time for the new cycle.
Close top, replace screws in dispenser, lock top and reconnect power.
After all mounting, plumbing and. electrical work is completed, the washer should be run through a
cycle and checked for water leaks and proper functioning.
26 27
Part # 8533-035-002 4/22 Part # 8533-035-002 4/22