M I N I - C U B E – U S E R M A N U A L
Rev 1.3 06/2018 26/59
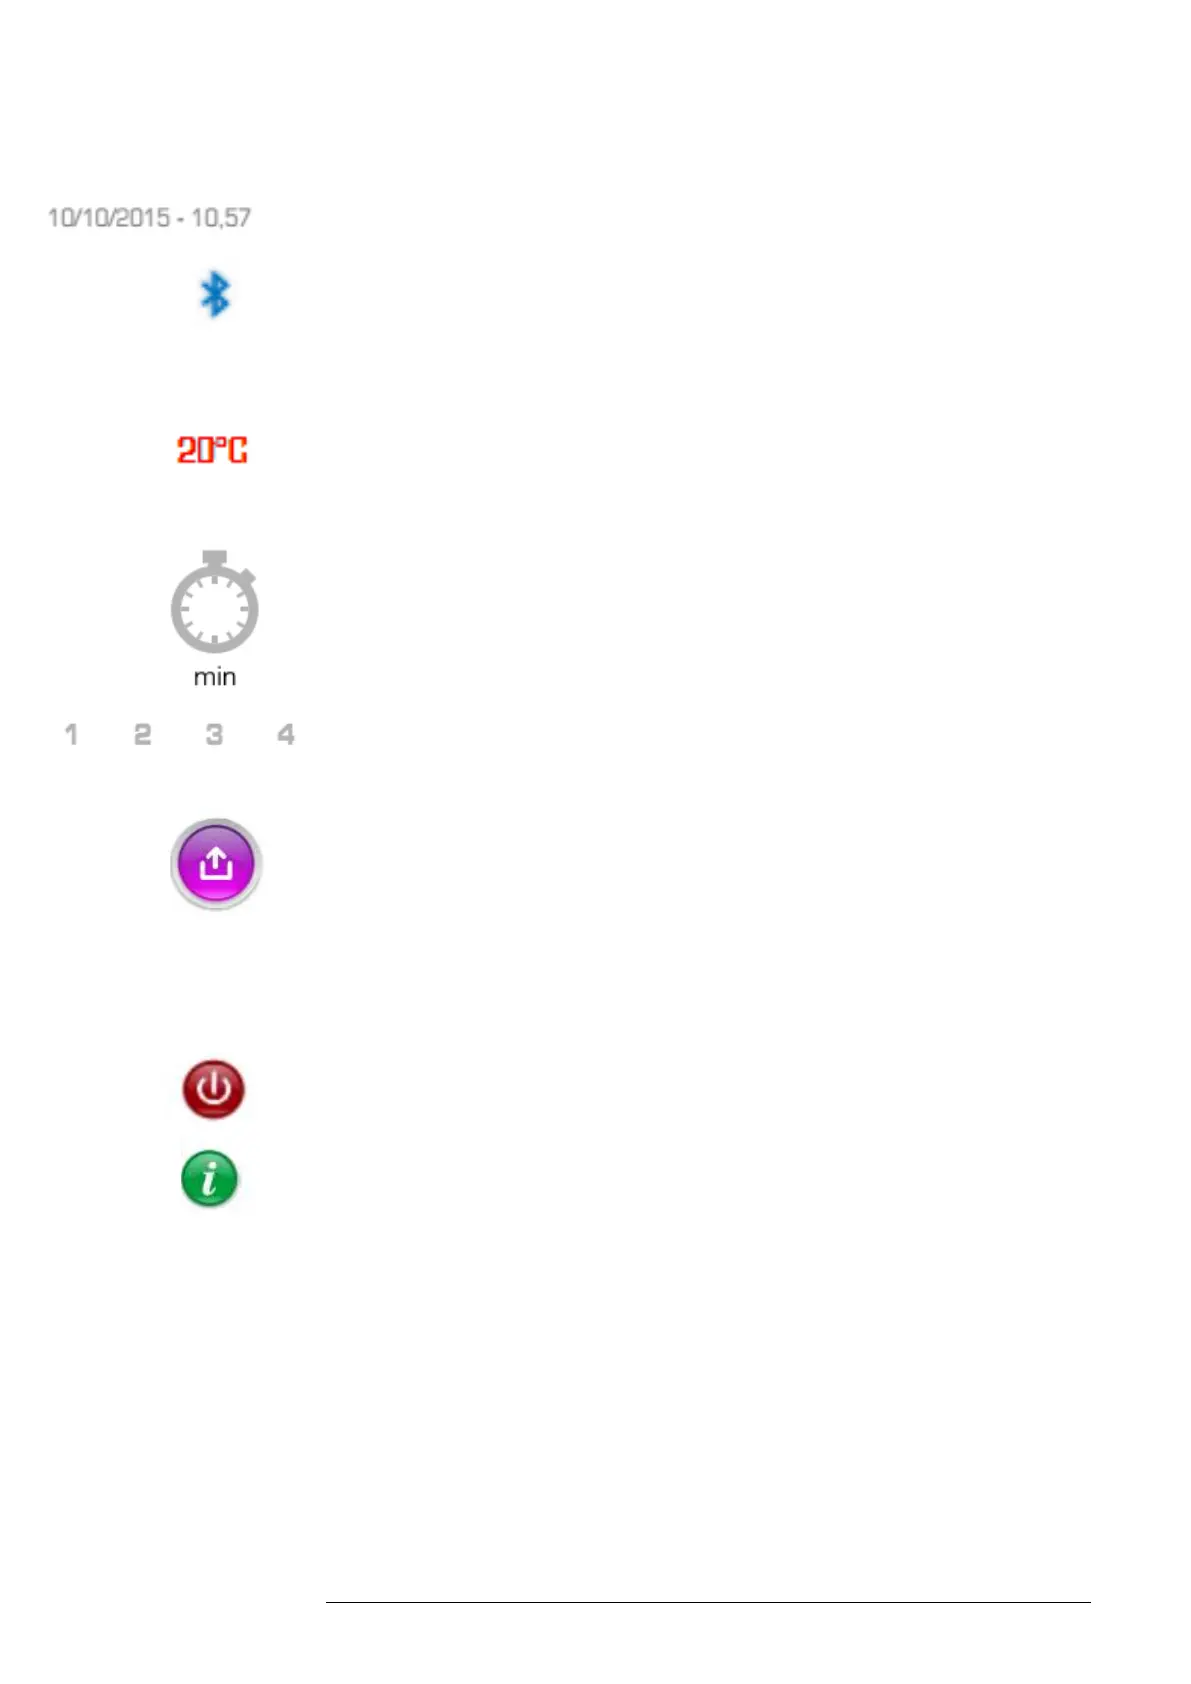
Date/Time: Indicates the current date and time.
Bluetooth: This symbol indicates that the Bluetooth connection is enabled
and the system is ready to communicate with accessories (e.g. a printer), or
connect to a tablet or smartphone.
Temperature: Indicates the internal temperature of the instrument in °C or °F.
Green indicates that temperature correction is enabled. Red indicates that
temperature correction is disabled.
Timer: Indicates the minutes left to the end of the test.
Position: Sample position number.
Export: Allows data export to printer via Bluetooth. Once the printer is
powered on, go to Settings and note that the Bluetooth and auto print option
default to on. Select the Bluetooth arrow and the system will search for the
wireless printer. Select “MSP-100P”. The status will change from
“Searching” to Connected.
OFF: Powers off the LEDs and returns to the main screen.
Information: Select to open an interactive guide on instrument operation.
Inserting the test tubes
Use the barcode reader to scan the ID code of the patient sample and then
insert the sample tube. A window will be displayed with the acquired code in
the “Sample ID” field. A separate patient code may be scanned in the “Patient
ID” field, e.g., health card number or tax code, by touching the “Patient ID”
field and scanning a separate barcode with that information. Upon inserting