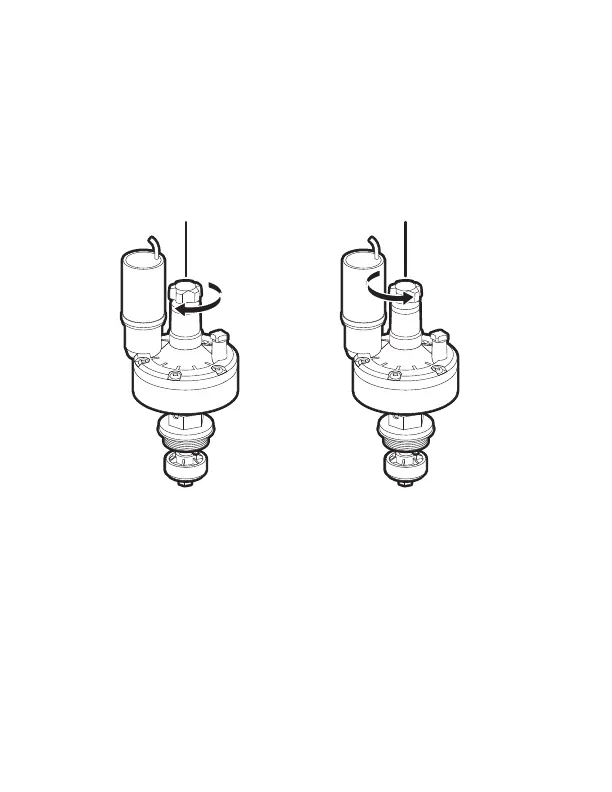
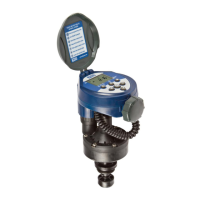
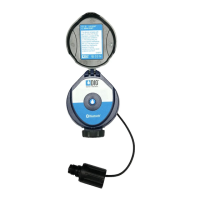
5. Turn actuator flow control knob clockwise until it stops (Figure S).
6. Turn on main water supply.
7. Activate the solenoid through the controller manual button, a click will be heard
indicating the valve is open (The manual symbol will appear on the display).
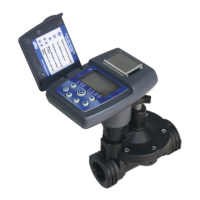
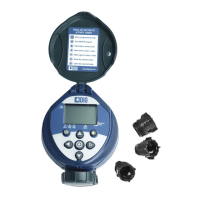
8. Turn the actuator flow control knob counter clockwise to allow flow and
check the system to make sure that the sprinklers or the drip system is
working properly (Figure T).
9. De-activate the solenoid through the controller’s manual button, a faint click will be
heard and the valve will close. (The manual symbol will disappear and water flow will
stop). If flow continues, turn flow knob clockwise, one full turn at the time until
flow is stopped, and the valve is shut off.
10. Repeat steps 7 and 9 and make sure that flow is turned on and off.
Note: Turn the flow control knob clockwise to decrease flow,
counter-clockwise to increase flow. For low-flow drip systems below 60
gallons per hour, the flow control knob should be turned no more than 1 to 3
turns up (counter-clockwise) from the fully closed position.
11. The unit is now ready to be programmed.
FLOW CONTROL KNOB FLOW CONTROL KNOB
Figure S Figure T
14