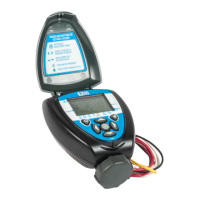
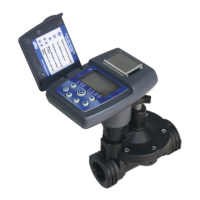
5. To test the 710A, push the button. A click will be heard, indicating the valve is
open. A droplet icon on the upper left of the screen and the run time remaining
will appear on the display in 5 seconds. Check that the system is operating
correctly and push the button again to turn it off. A second click will be heard
indicating that the valve closed. The droplet icon and the manual icon
will
disappear from the display and OFF will appear momentarily; then the display will
revert to the time of day.
6. The unit is now ready to be programmed.
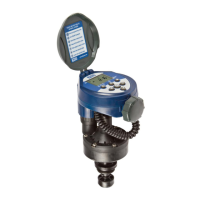
9. CHANGING ACTUATOR ADAPTERS
The 710A-011 controller with actuator is factory set to fit a 3/4″ brass manual
anti-siphon valve. To install the controller with actuator on a 1″ brass or plastic
manual anti-siphon valve, the 3/4″ seat washer and adapter must be removed
and replaced with the 1″ adapter and seat washer, which are included in this
box.
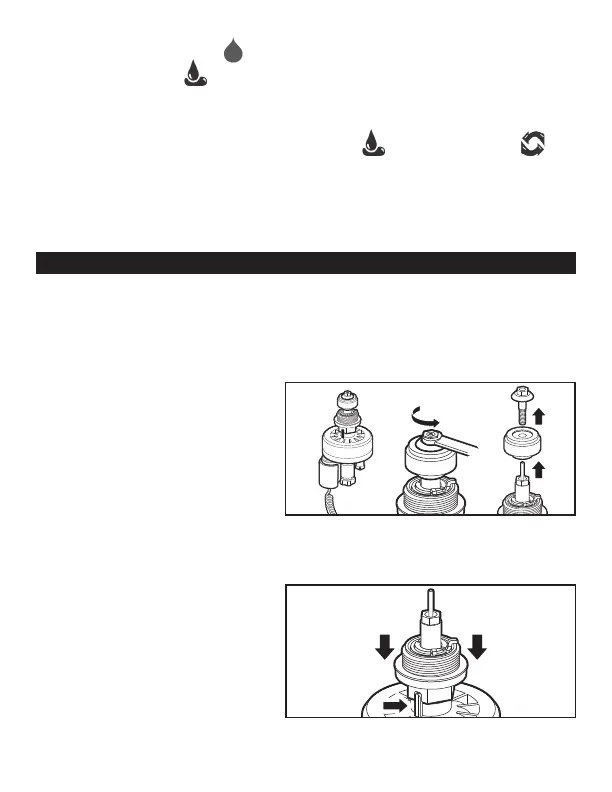
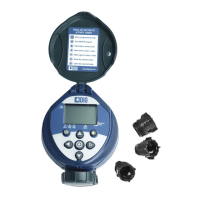
1. Turn the actuator so that the seat
washer and the 3/4″ threaded
adapter face up.
2. Using pliers, or a 5/16″ wrench,
remove the seat washer screw by
turning counter clockwise and pull
off the 3/4″ seat washer assembly
(see Figure J).
3. Push the 3/4″ threaded adapter
down towards the actuator to ease
the tension on the retainer clip
(see Figure K).
Figure K
Figure J
11