003 & 003 Rack Getting Started Guide78
Creating an Audio CD from a
Pro Tools Session
Pro Tools does not create audio CDs directly,
but you can create stereo audio files from your
Pro Tools sessions that can be used by most CD
burning software.
Bouncing Audio to Disk
Use the Pro Tools Bounce to Disk feature to
combine all your audible tracks into a single
“master” audio file. After the new audio file has
been bounced to disk, you can burn it to a CD.
If you are bouncing to 16-bit (CD resolution),
you should use a dither plug-in on the main out-
put. (For details, see the Pro Tools Reference
Guide.)
To bounce audio to disk:
1 After you have finished recording and mixing
a session in Pro Tools, select the length of the
session in the timeline ruler (or on a track), plus
an additional amount of time to avoid cutting
off any reverb tails that might continue past the
end of the last region.
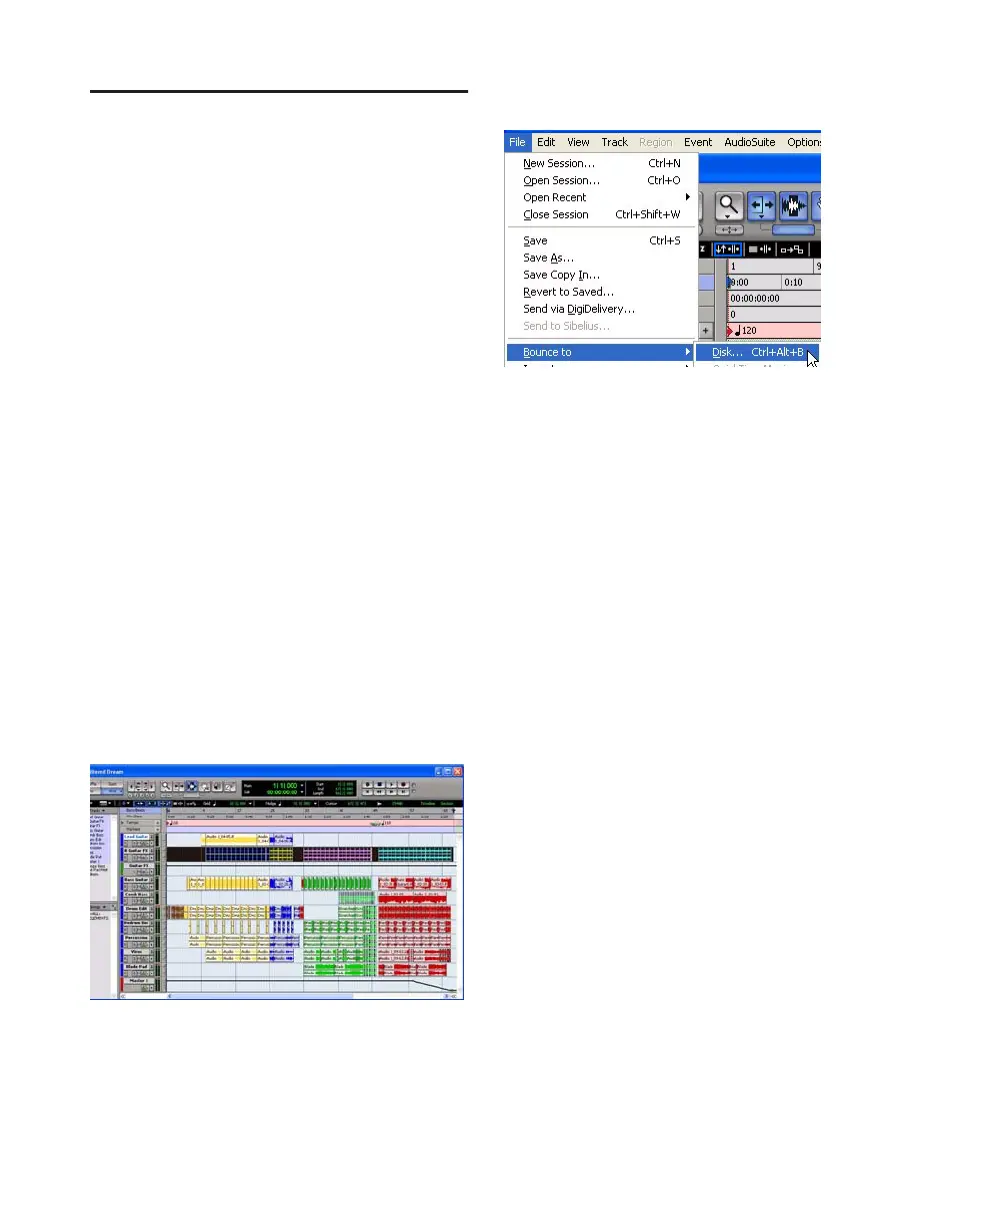
2 Choose File > Bounce to > Disk.
3 In the Bounce Options dialog, choose
Analog 1–2 as the Bounce Source.
4 Choose WAV (BWF) for the File Type.
5 Choose Stereo Interleaved for the Format.
6 Choose 16 for the Resolution and 44100 for
the Sample Rate.
7 If you are changing the sample rate of the
bounced file, choose a Conversion Quality set-
ting. (For details, see the Pro Tools Reference
Guide.)
Audio session highlighted and ready to bounce
Choosing Bounce to Disk from the File menu
 Loading...