19
Setting the Self Timer (cont.)
You can set the delay on the Self Timer to 5 or 10 seconds. This is how much
time you have before the camera takes a snapshot.
To set the delay time for the Self Timer:
1. Turn the camera on by pressing the Power button and wait a moment.
2. Press the Menu button.
3. Use the Right and Left Arrow buttons until the Self-timer icon is highlighted.
4. Press the OK button to select Self Timer.
5. Use the Right and Left Arrow buttons until the desired timer mode is
highlighted. The timer can be set to:
Off = 5 seconds = or 10 seconds =
6. Press OK to select the Self Timer mode you want to set.
7. Press the Menu button to return to Picture Taking mode.
Picture Taking
Mode
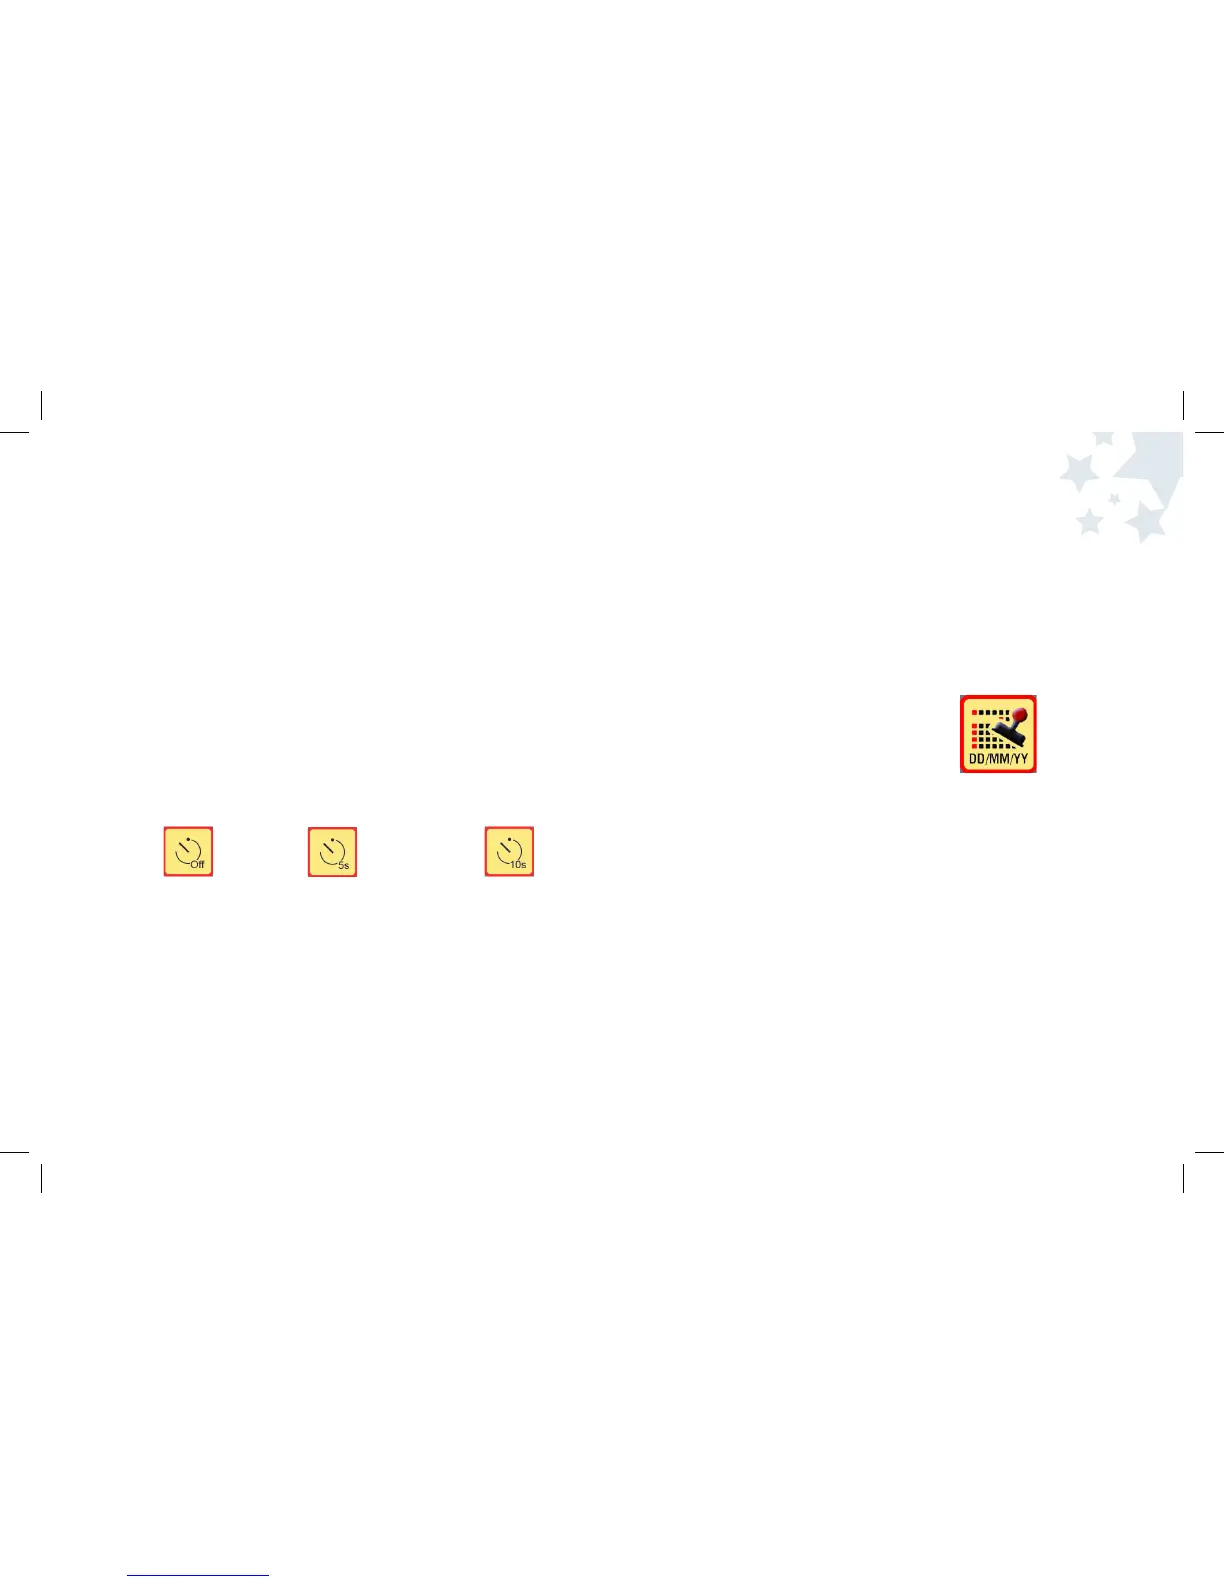
Adding A Stamp To Your Pictures
If you choose to add a Stamp to your pictures, it will print the date
and time on your photos.
To set the Stamp:
1. Turn the camera on by pressing the Power button and wait a moment.
2. Press the Menu button.
3. Use the Right and Left Arrow buttons
until the Stamp icon is highlighted.
4. Press the OK button to select the Stamp option.
5. Use the Right and Left Arrow buttons to highlight the Stamp icon you
want to set.
6. Press OK to confirm your selection.
7. Press the Menu button to return to Picture Taking mode.
Note: The Stamp will print the date and time that is currently set on
your camera. To change the date/time, see Setting the
Time and Date on page 34.
20
 Loading...