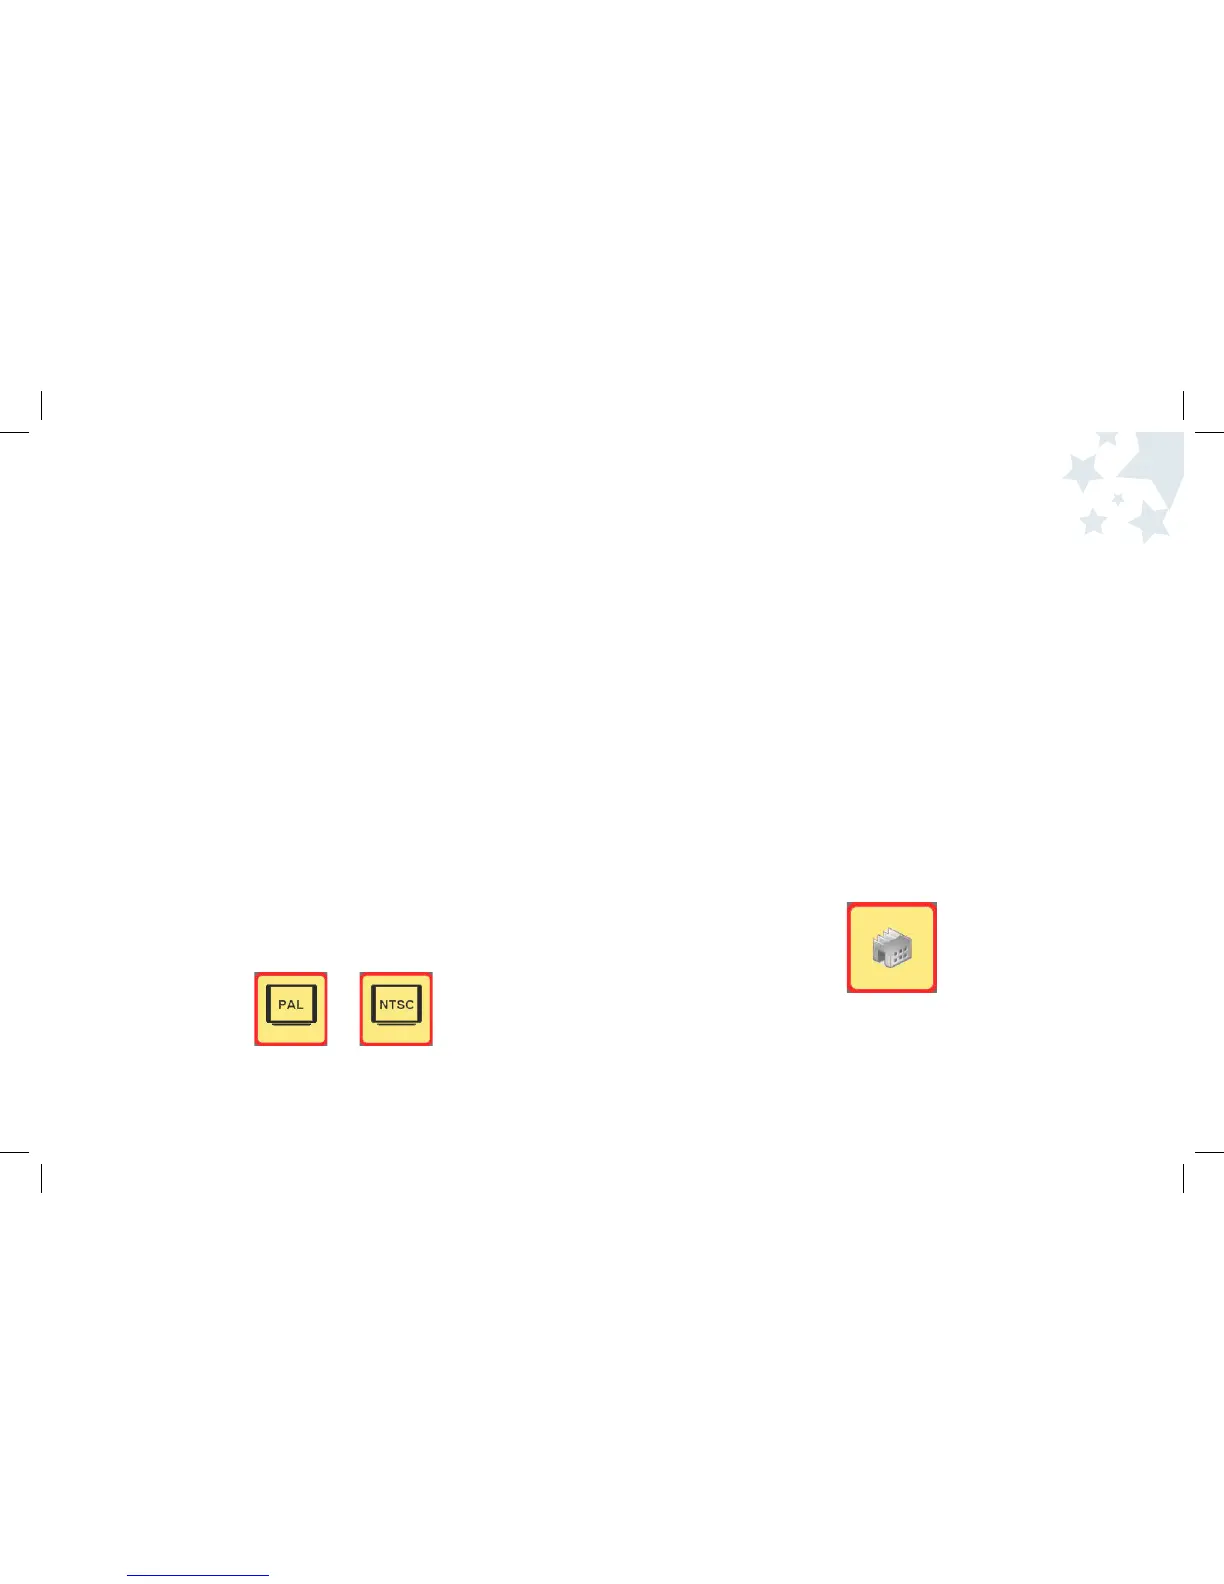
How to Switch Between NTSC and PAL
If you are using this product outside the United States, it may be
necessary to change the NTSC/PAL settings. The camera is set at NTSC
by default, but PAL is common in Europe and Asia.
To change the NTSC/PAL setting:
1. Turn the camera on by pressing the Power button and wait a moment.
2. Press the Menu button.
3. Use the Right and Left Arrow buttons until Setup Mode is highlighted.
4. Press the OK button to select Setup Mode.
5. Use the Left/Right Arrow buttons until NTSC is highlighted.
6. Press the OK button to select NTSC.
7. Use the Left and Right Arrow buttons to highlight NTSC or PAL.
8. Press the OK button to confirm your selection.
9. Press the Menu button to exit and return to Picture Taking Mode.
37 38
Version
The Version number can be important if you are experiencing technical
difficulties.
1. Turn the camera on by pressing the Power button and wait a moment.
2. Press the Menu button when you are in Picture Taking mode.
3. Use the Left/Right Arrow buttons until Setup Mode is highlighted.
4. Press the OK button to choose Setup Mode.
5. You will notice the camera Version number displayed on the Setup Menu.
6. Press the Menu button to return to Picture Taking Mode.
Formatting Memory
When you are not using an SD Card, you can choose to format the
camera’s onboard memory. This feature will erase the onboard memory.
If you have an SD Card in your camera, you can choose to format your
SD Card. If you have any files or photos on your SD Card and you
choose to format it, you will loose all of the data on your card; it will be
completely erased. Be careful not to erase any important images!
Camera Settings Camera Settings
 Loading...