Picture Taking
Mode
11 12
Camera Modes Summary
The camera has two modes: Picture Taking and Picture Review.
To toggle between modes, press the Picture Taking/Review button.
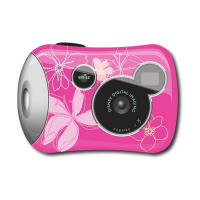
Picture Taking Mode
Picture Taking mode is used to view your subject when you are taking
pictures. The camera will be in Picture Taking mode when it is turned on.
You can also access certain features from the Menu in Picture Taking mode.
In Picture Taking mode you will be able to:
• Take pictures
• Add Photo Friends to your pictures
• Set the Flash
• Choose the Image Size
• Access the Menu
• Use the Self Timer
• Zoom when taking pictures
Note: When you go the Menu in Picture Taking mode, it has different
options than when you go to the Menu in Picture Review mode.
In Picture Taking mode, the Menu options are:
Flash Setup, Image Size, Self Timer, Stamp and Setup Mode.
Taking Pictures With The Camera
Taking pictures with your digital camera is a fun way to share memories
with your friends and family!
To take pictures with the camera:
1. Turn the camera on by pressing the Power button and wait a moment.
2. Use the Display Screen to locate the subject of your picture
and hold the camera steady.
3. Press the Snapshot button located on the top of the camera to take
a picture. The camera will beep.
Note:
The counter appears in the upper right corner of the display. The
counter has two numbers. The first number shows you how many
pictures are stored in the camera’s memory. It will increase each
time you take a picture. The second number shows you how many
pictures are remaining. This will decrease as you take snapshots.
When the camera memory is full, the camera will beep three times
and a “Memory Full” message will appear on the Display Screen.
 Loading...