Setting the Time and Date (cont.)
16. Press the Right and Left Arrow buttons to move to the AM/PM field.
17. Use the Up and Down Arrow buttons to change the AM/PM field.
18. Press the Right and Left Arrow buttons to move to the next line.
19. Use the Up and Down Arrow buttons to change the way Date/Time is
displayed.
Note: If you choose to change the way that the Date/Time is displayed,
the previous fields and options described will change order in the
Date/Time Menu.
20. When you have arranged the Date/Time fields to your liking, press
the OK button to confirm your selections. Then you will exit and go
back to the Menu.
21. To go back to Picture Taking mode, press the Menu button again.
Note: When you set the Date and Time on your camera, it will not print
on your pictures unless you set the Stamp option in the Menu.
35
36
Changing the Frequency Setting
If you are using this product outside the United States, it may be
necessary to change the electric power frequency. The camera is set at
60Hz by default, but 50Hz is common in Europe and Asia.
To change the Frequency setting:
1. Turn the camera on by pressing the Power button and wait a moment.
2. Press the Menu button when you are in Picture Taking mode.
3. Use the Left/Right Arrow buttons until Setup Mode is highlighted.
4. Press the OK button to select Setup Mode.
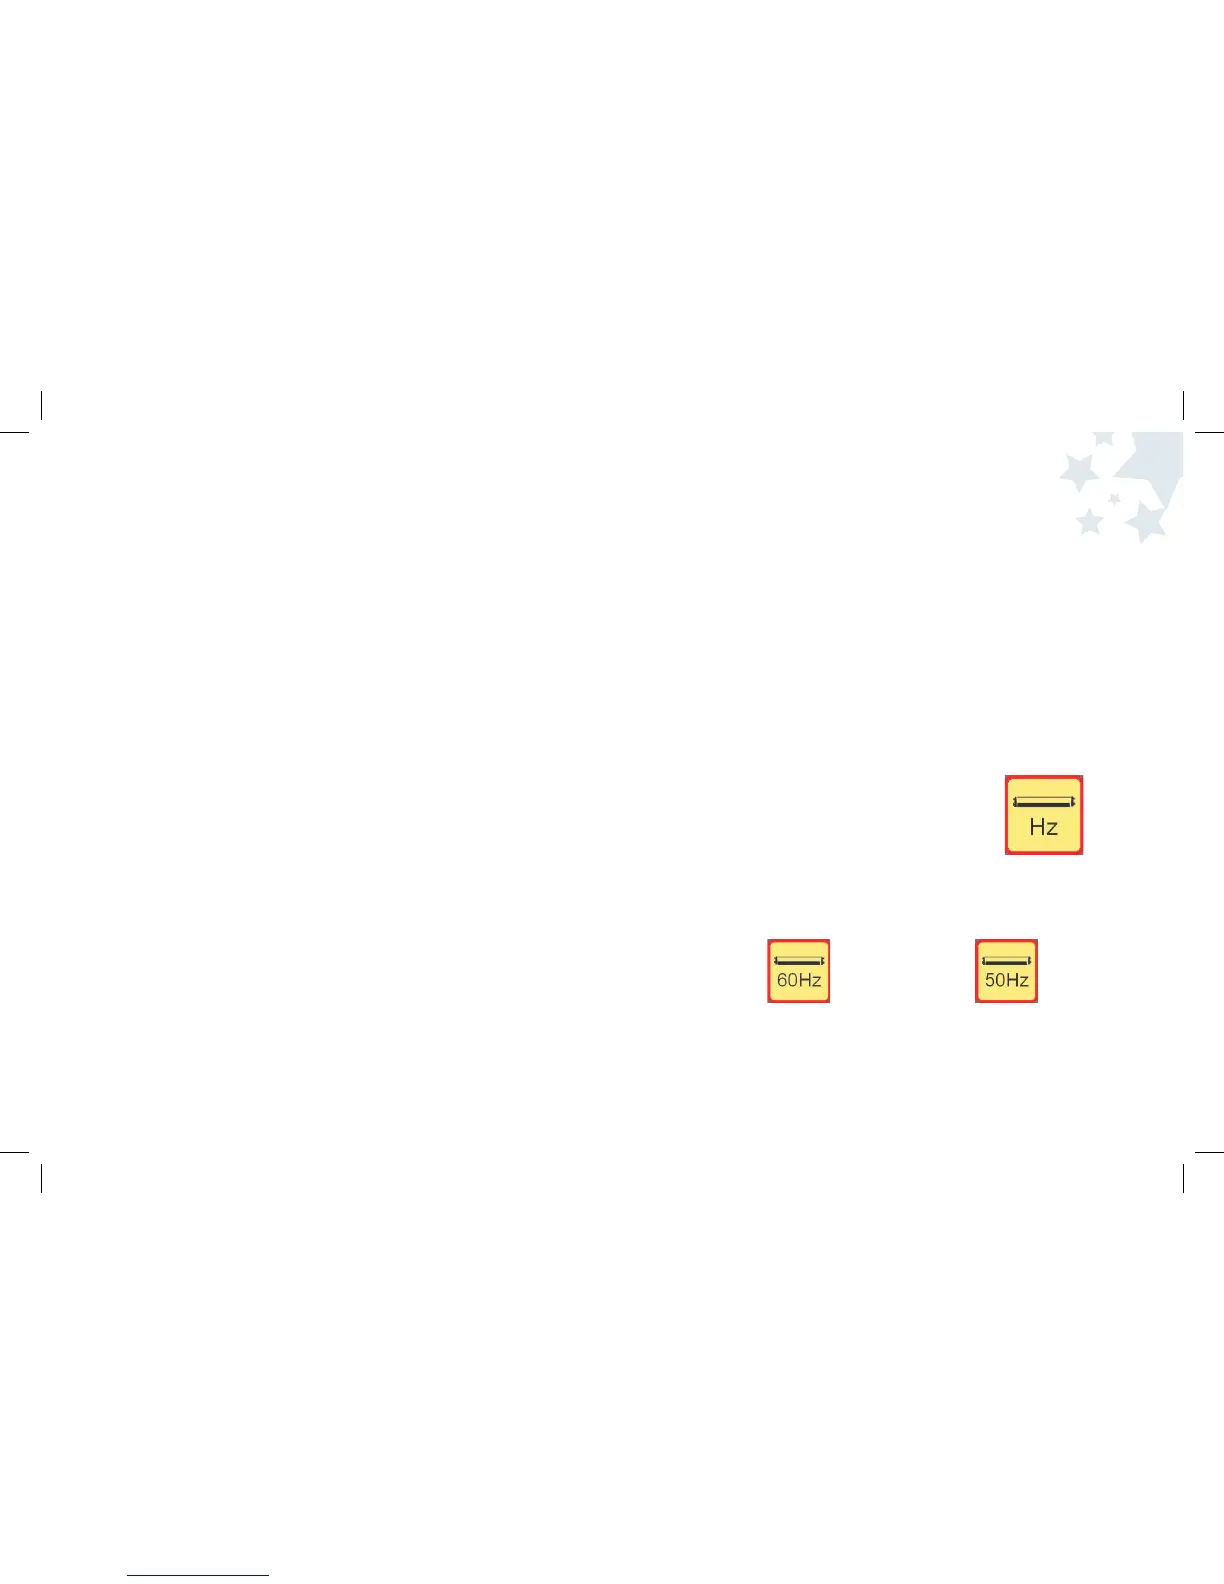
5. Use the Left/Right Arrow buttons until Frequency
is highlighted.
6. Press the OK button to select Frequency.
7. Use the Left and Right Arrow buttons to highlight the Frequency you
want to set. You can choose:
60Hz = or 50Hz =
8. Press the OK button to confirm your selection.
Camera Settings
 Loading...