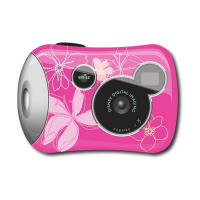
47 48
Launching the Software
Make sure the software is installed on your computer. Launch the Disney Pix
software by following these steps:
1. Double-click the Disney Pix icon on the desktop.
Or:
1. From the Windows Taskbar, click on Start and select All Programs or
Programs.
2. From the Programs sub-menu, click on Disney Pix.
3. From the Disney Pix sub-menu, click on the Disney Pix program icon.
Disney Pix is easy to use photo-editing software that allows you to make your
photos look better and add fun effects. This section will help you be a pro in
no time.
Photo Editing Palettes- There are 9 palettes in Disney Pix that allow
you to edit your photos. Learn more about these in the Edit Your Photos section.
Undo- The Undo tool allows you to undo the last change you made to your photo.
Start Over- If you press the Start Over Icon, you will erase the entire
contents of the canvas.
Zoom- This slider allows you to see your pictures in more detail.
Save- Press the save button to make sure your latest changes are saved.
Desk- The Desk houses the images you will use to edit your photos. The
Desk is divided into two drawers: Pix Drawer and My Pictures. Click on
one of the two icons in the upper left corner of the desk pane to view the
following:
•Pix Drawer- In the Pix Drawer, you can find all sorts of fun back-
grounds, stickers, windows and picture frames to add to your photos.
•My Pictures- In My Pictures, you can view images from your
desktop and add them to the Canvas. My Pictures is also where you
Using the Software
 Loading...