DIGITAL-LOGIC AG MSM586SEN/SEV Manual V1.5E
109
16 BUILDING A SYSTEM
To build up a system based on your board, you should prepare the following equipments:
-
A stable power supply of 5V (> 3 ampères), depending on the cpu, memory, etc.
-
Assemble CPU with the proper clk- settings and cooling (fan) depending on board.
-
If necessary, a 12V power supply for LCD or onboard sound.
-
8 ohm speaker for an executed beep code (if available on the board). One may use a capacity of 1µF
connected to VCC depending on the board.
-
A micro- floppy disk drive (3,5") with a PC floppy cable (26 pin) or a standard FDD with appropriate cable
converter. You need at least one floppy to boot for the first time.
-
A harddisk IDE 2,5" or 1,8" with the appropriate cable (44 pin and 2mm grid). Do not use a too long a
cable to avoid accessing problem as the IDE controller is may not able to drive the HDD.
-
Connect a LCD or a monitor.
-
Use an AT-compatible keyboard (5 PC) or (6 PC {PS/2} with an appropriate adapter).
-
If desired, connect a mouse to it (COM or PS/2 if usable on the board).
-
Connect a battery (Lithium 3V or NiMH 3.6V depending on the board) to store the data in the BIOS.
-
If using SODIMM's, please refer to our overview list, which is also on our CD. Cleaning the contacts on
the SODIMM and the socket with e.g. pure alcohol is highly recommended to may eliminate memory er-
rors.
The ELAN520 needs special SODIMM’s which are available at DLAG !
This information will might change due to normal improvements, please ask DLAG for actual status.
16.1 Starting up the system
Power-up the system and wait for the BIOS to show the BIOS activity on the screen. The BIOS diagnoses
the system and displays the size of the memory being tested. Note: you may can not bypass the memory
test depending on the BIOS producer.
CMOS-SETUP
If the CMOS configuration is incorrect, the BIOS tells you to enter the setup screen by pressing a key. Select
the correct options with the arrow keys and save them.
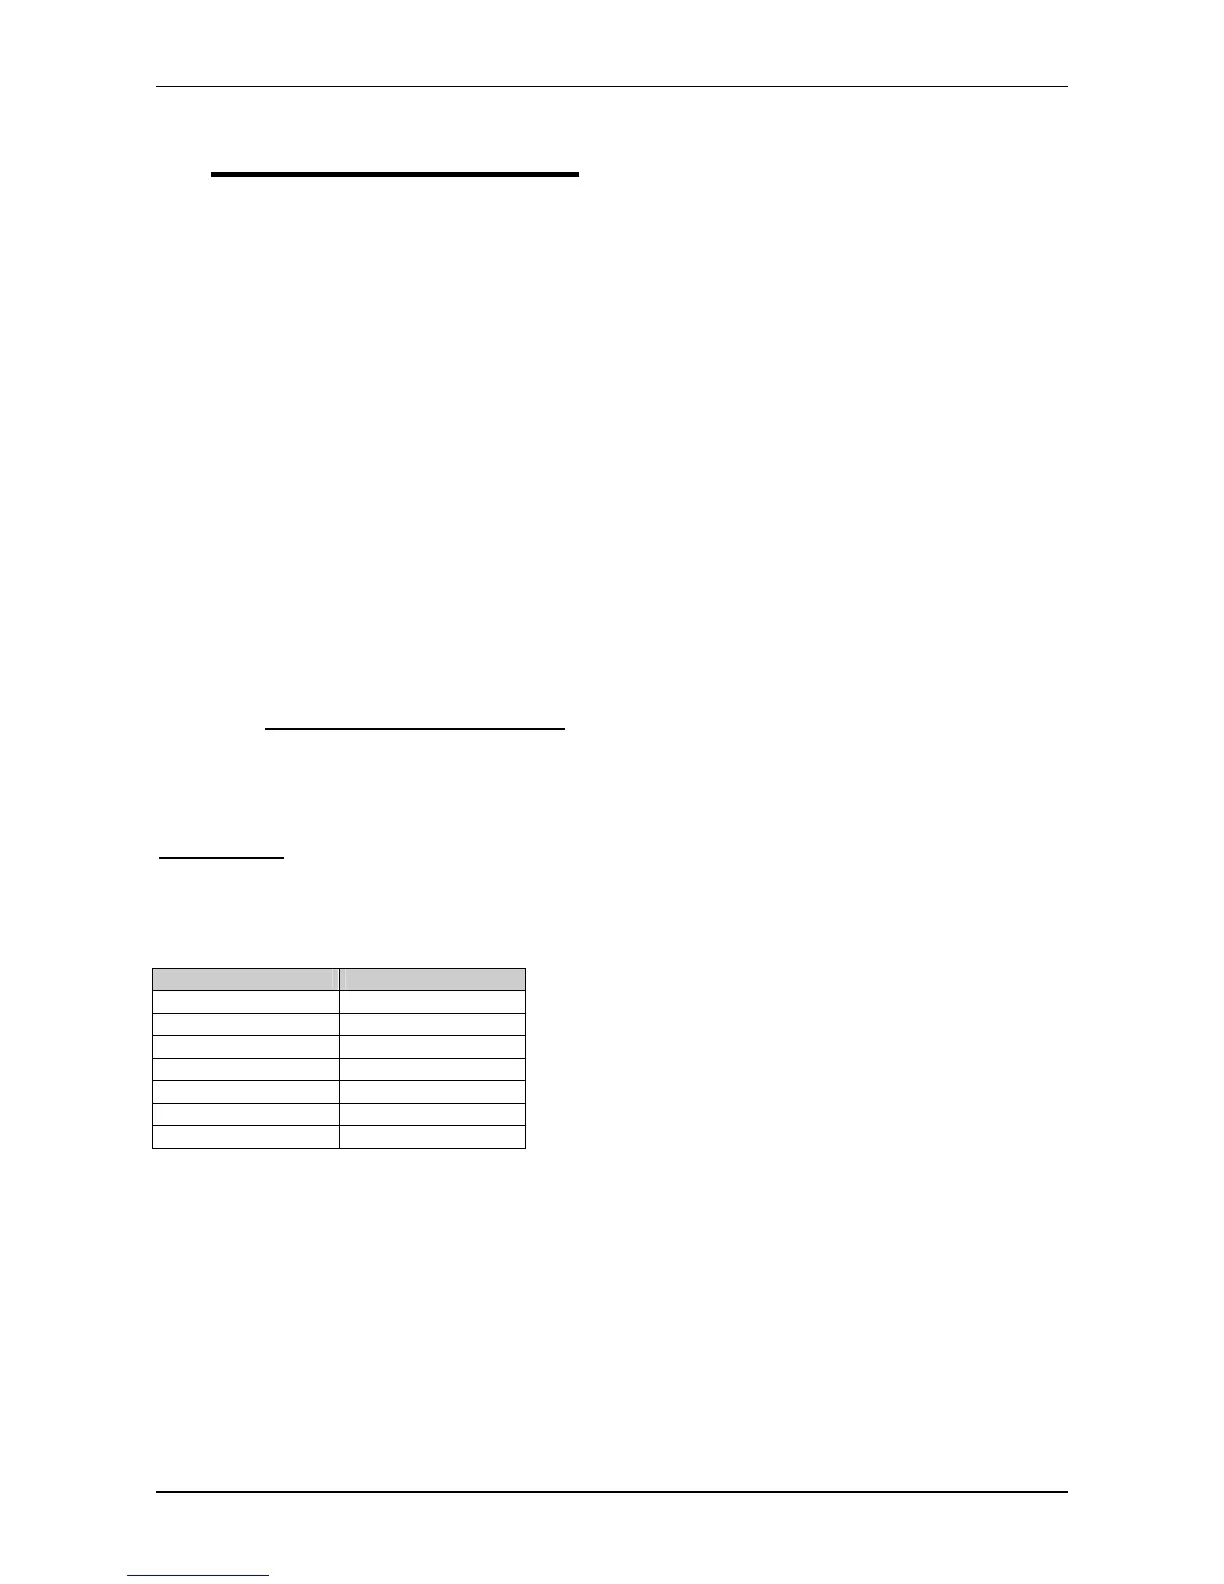
INSYDE SOFT
BIOS setup CTRL- ALT- S
Change values ARROWS / SPACE
Jump TAB
Save ARROWS
Back / exit ESC