EasyManuals Logo

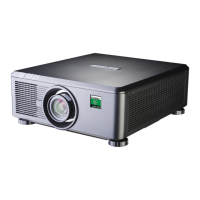
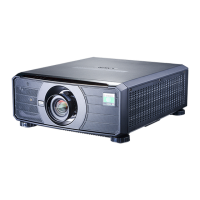
Digital Projection E-Vision Series User Manual

Digital Projection E-Vision Series
85 pages
To Next Page IconTo Next Page
To Previous Page IconTo Previous Page
Page #15 background imageLoading...
Page #15 background image
DLP Projector—User’s Manual
Bottom view
ITEM LABEL DESCRIPTION SEE PAGE:
1.
Tilt adjustor Rotate adjuster lever to adjust angle position.
17
2.
Ceiling support holes
Contact your dealer for information on mounting the projector on a
ceiling
Note:
When installing, ensure that you use only UL Listed ceiling mounts.
For ceiling installations, use approved mounting hardware and M4 screws with a maximum
screw depth of 6 mm (0.23 inch).
The construction of the ceiling mount must be of a suitable shape and strength. The ceiling
mount load capacity must exceed the weight of the installed equipment, and as an additional
precaution be capable of withstanding three times the weight of the equipment (not less than
5.15 kg) over a period of 60 seconds.
6

Table of Contents

Questions and Answers:

Question and Answer IconNeed help?

Do you have a question about the Digital Projection E-Vision Series and is the answer not in the manual?

Digital Projection E-Vision Series Specifications

General IconGeneral
DimensionsVaries by model
TechnologyDLP
Light SourceLaser
Light Source LifeUp to 30, 000 hours (laser)
Throw RatioVaries by model
Projection SizeVaries depending on lens and distance
Input LagVaries by model
Color GamutVaries by model, typically Rec.709
HDR SupportYes
3D SupportYes
Lens ShiftVertical and Horizontal
Keystone CorrectionYes
InputsHDMI, DisplayPort, DVI, VGA
WeightVaries by model (typically 20-50 lbs)
Power ConsumptionVaries by model (typically 300-500W)

Related product manuals