EasyManuals Logo

Digital Projection E-Vision Series User Manual

Digital Projection E-Vision Series
85 pages
To Next Page IconTo Next Page
To Previous Page IconTo Previous Page
Page #26 background imageLoading...
Page #26 background image
D
D
D
L
L
L
P
P
P
P
P
P
r
r
r
o
o
o
j
j
j
e
e
e
c
c
c
t
t
t
o
o
o
r
r
r
U
U
U
s
s
s
e
e
e
r
r
r
s
s
s
M
M
M
a
a
a
n
n
n
u
u
u
a
a
a
l
l
l
Adjusting the Projector Level
Take note of the following when setting up the projector:
The projector table or stand should be level and sturdy.
Position the projector so that it is perpendicular to the screen.
Remove the Back Foot Holder on the rear adjuster foot before adjusting the projection
angle.
Ensure the cables are in a safe location. You could trip over them.
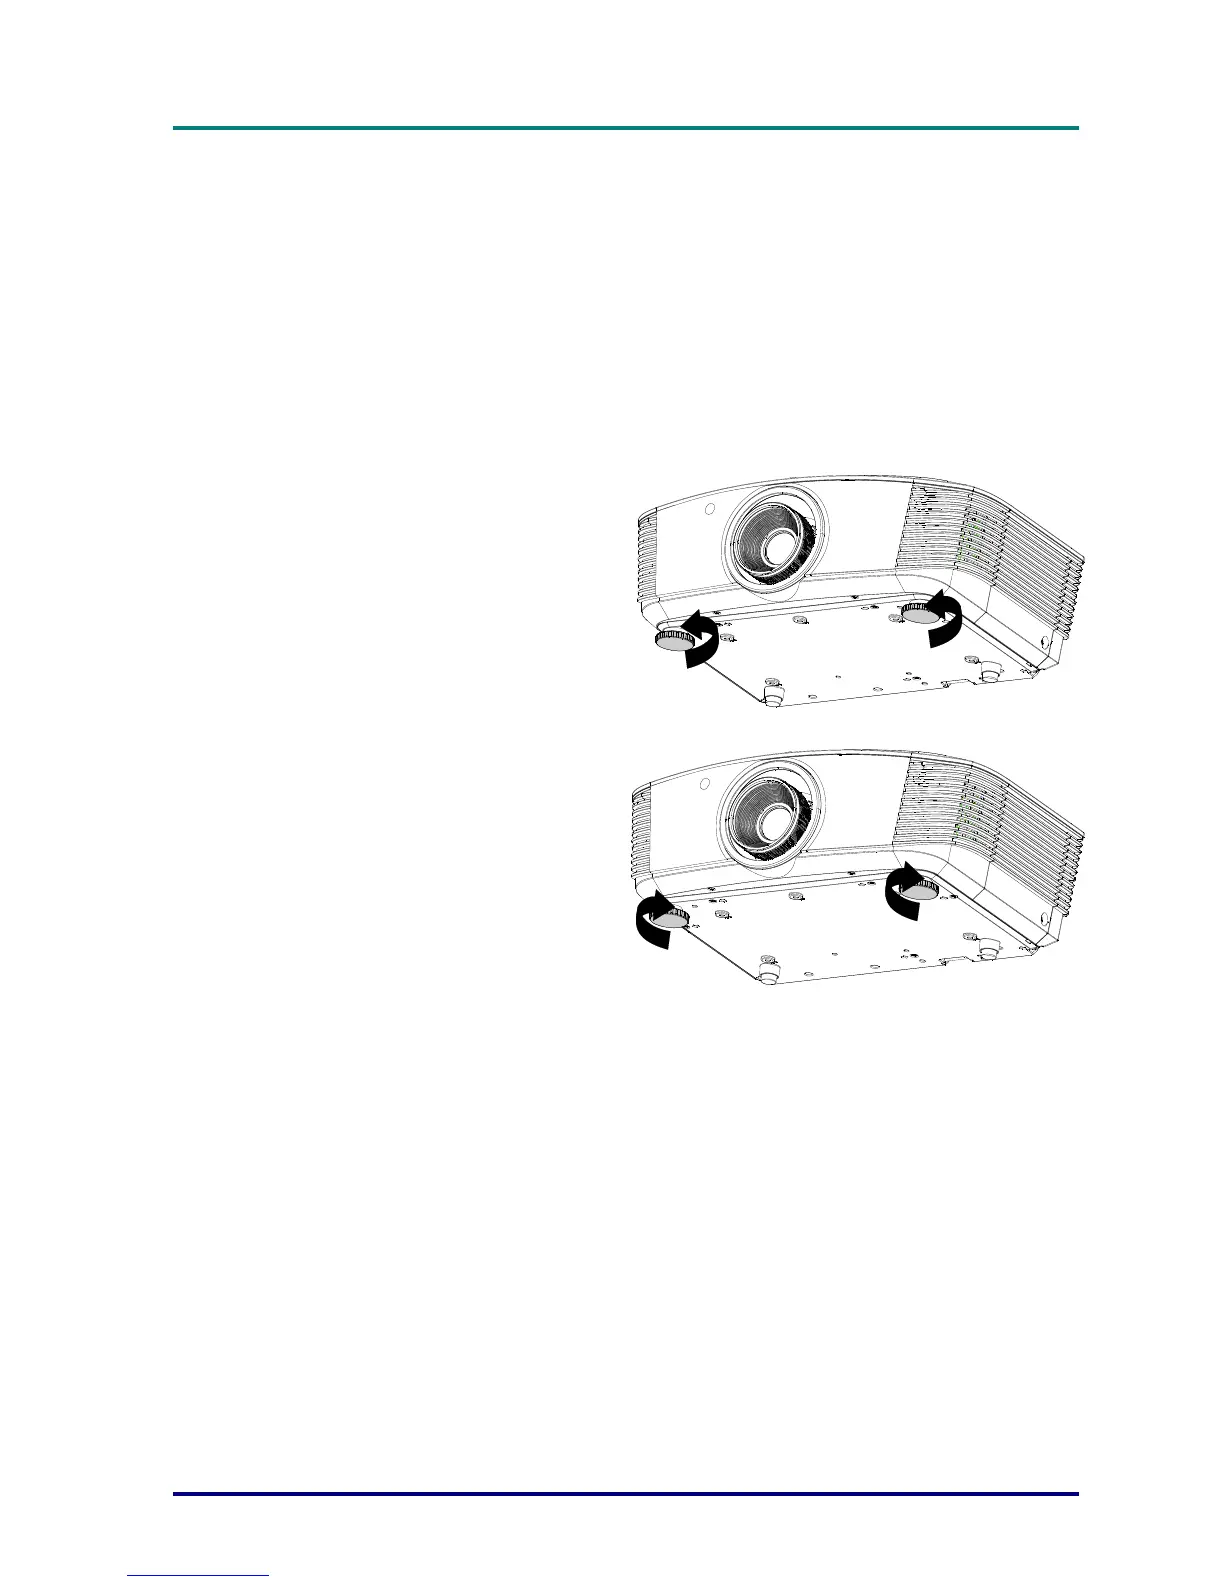
1.
To raise the level of the projector,
twist the adjusters counter
clockwise.
2.
To lower the level of the projector,
lift the projector and twist the
adjusters clockwise.
17

Table of Contents

Questions and Answers:

Question and Answer IconNeed help?

Do you have a question about the Digital Projection E-Vision Series and is the answer not in the manual?

Digital Projection E-Vision Series Specifications

General IconGeneral
DimensionsVaries by model
TechnologyDLP
Light SourceLaser
Light Source LifeUp to 30, 000 hours (laser)
Throw RatioVaries by model
Projection SizeVaries depending on lens and distance
Input LagVaries by model
Color GamutVaries by model, typically Rec.709
HDR SupportYes
3D SupportYes
Lens ShiftVertical and Horizontal
Keystone CorrectionYes
InputsHDMI, DisplayPort, DVI, VGA
WeightVaries by model (typically 20-50 lbs)
Power ConsumptionVaries by model (typically 300-500W)

Related product manuals