1
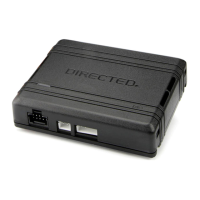
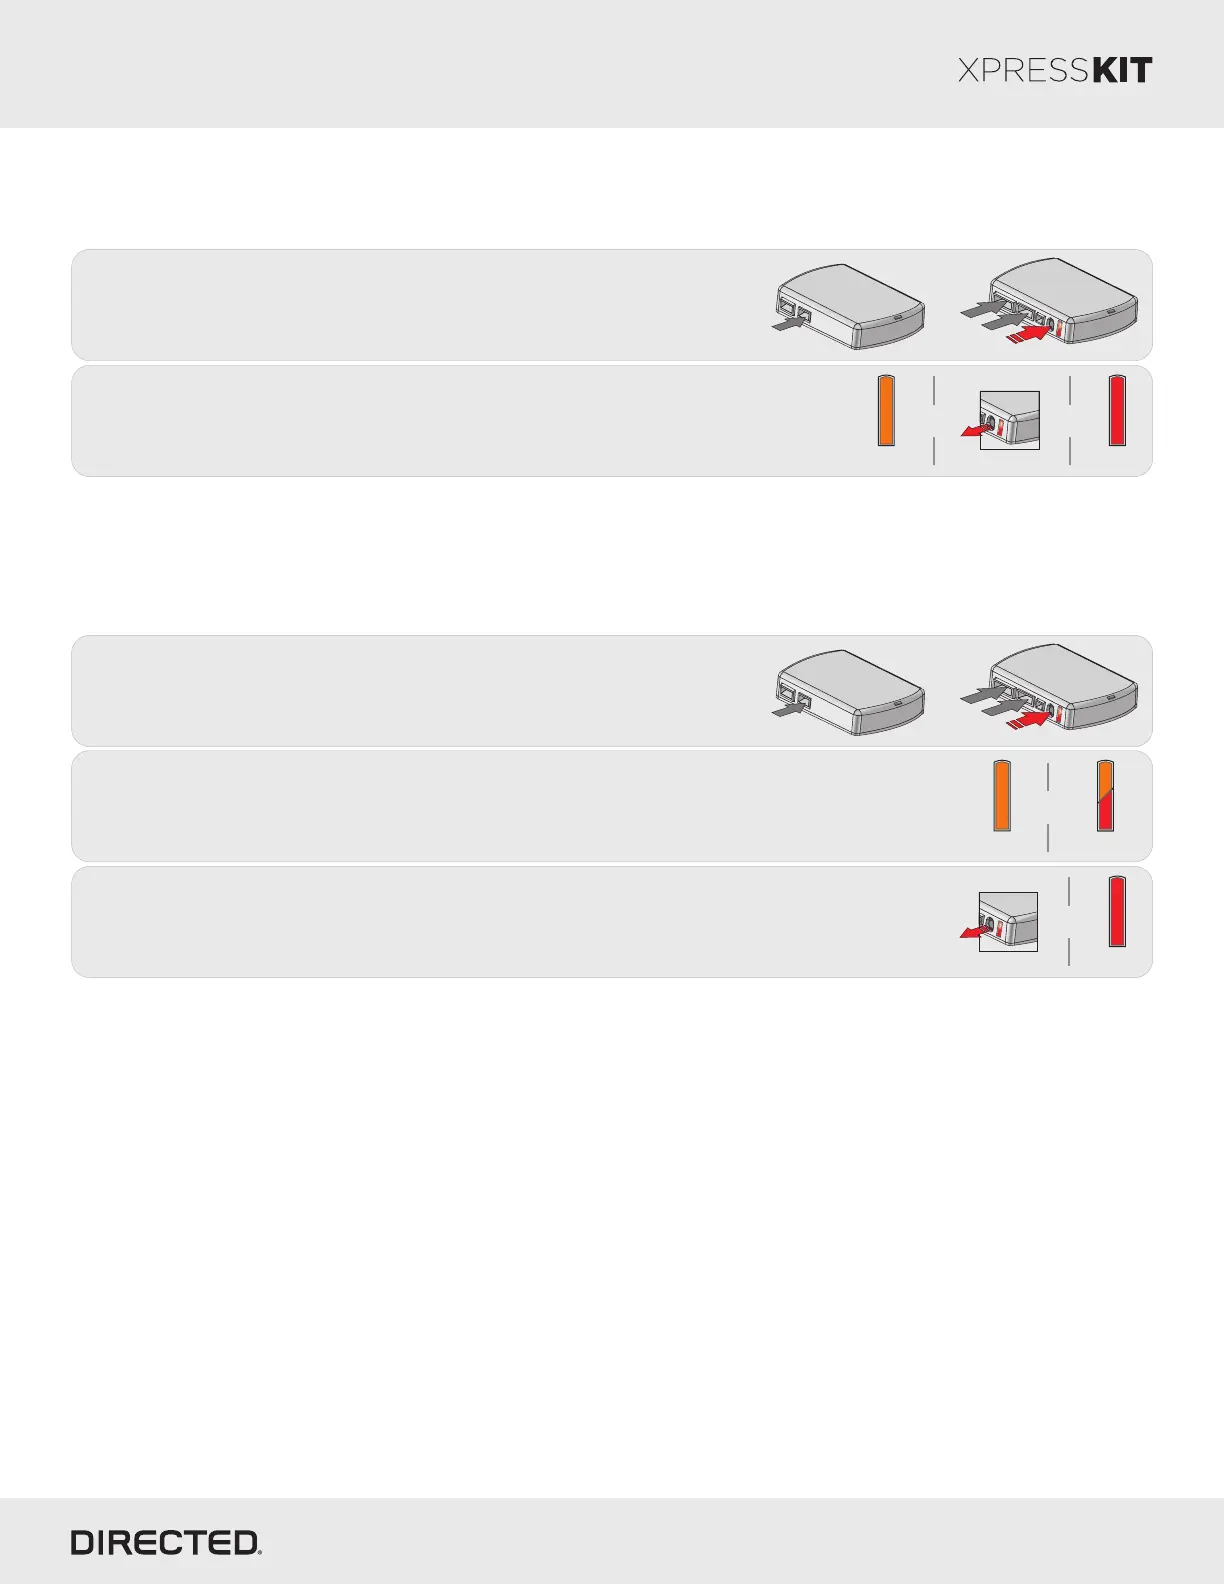
If required for your installation, connect the 10-pin & 12-pin
harnesses to the module. Press and hold the programming
button, then connect the 14-pin harness to the module.
10-pin
D2D
st
1
12-pin
14-pin
nd
2
th
4
rd
3
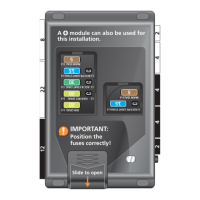
Warning Against Executing a Hard Reset!
A hard reset will revert the flashed firmware back to its default settings. Depending on the installation, some settings (such
as RFTD and D2D options) may have to be reconfigured. See the Feature & Option List section of this guide.
2
Solid
&
Release
3
Release the programming button. The LED turns ON solid red.
Module Reset
Hard Reset
2
& &
1
Wait 3 seconds until the LED turns ON solid orange then release the
programming button. The LED turns ON solid red.
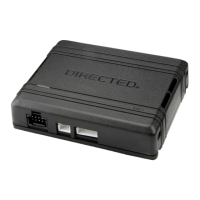
If required for your installation, connect the 10-pin & 12-pin
harnesses to the module. Press and hold the programming
button, then connect the 14-pin harness to the module.
10-pin
D2D
st
1
12-pin
14-pin
nd
2
th
4
rd
3
A module reset will only erase programming performed in the previous steps. All settings (firmware) and settings flashed
to the module using the web config tool will not be affected.
Page 14
Solid
Release
Solid
Solid
Flashes
&
Wait 3 seconds until the LED turns ON solid orange, and wait 10 more seconds
until the LED starts to flash orange and red.
Rev.: 20140916
Platform: DBALL/DBALL2
Firmware: GM9 Remote Start Ready (RSR) Installation
© 2014 Directed. All rights reserved.