1834-065-B-10-14
11
7
8
9
4
5
6
1
2
3
0
OPER
WXYZ
TUV
PQRS
MNO
JKL
GHI
DEF
ABC
SP
CALL
Z
A
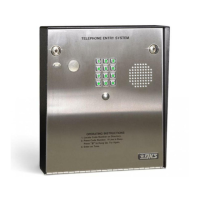
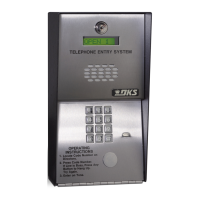
TELEPHONE ENTRY SYSTEM
HOLD TO SCAN
OPERATING INSTRUCTIONS
Use “A to Z” Buttons to Locate
Name and Code Number on Display.
Names are In Alphabetical Order.
To Call, Enter Code Number on
Keypad or Press “Call” Button. If
Line is Busy, Press “#” or “Call” to
Hang Up. Try Again.
Enter on Open Display and Tone.
1.
2.
3.
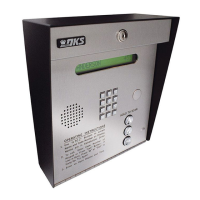
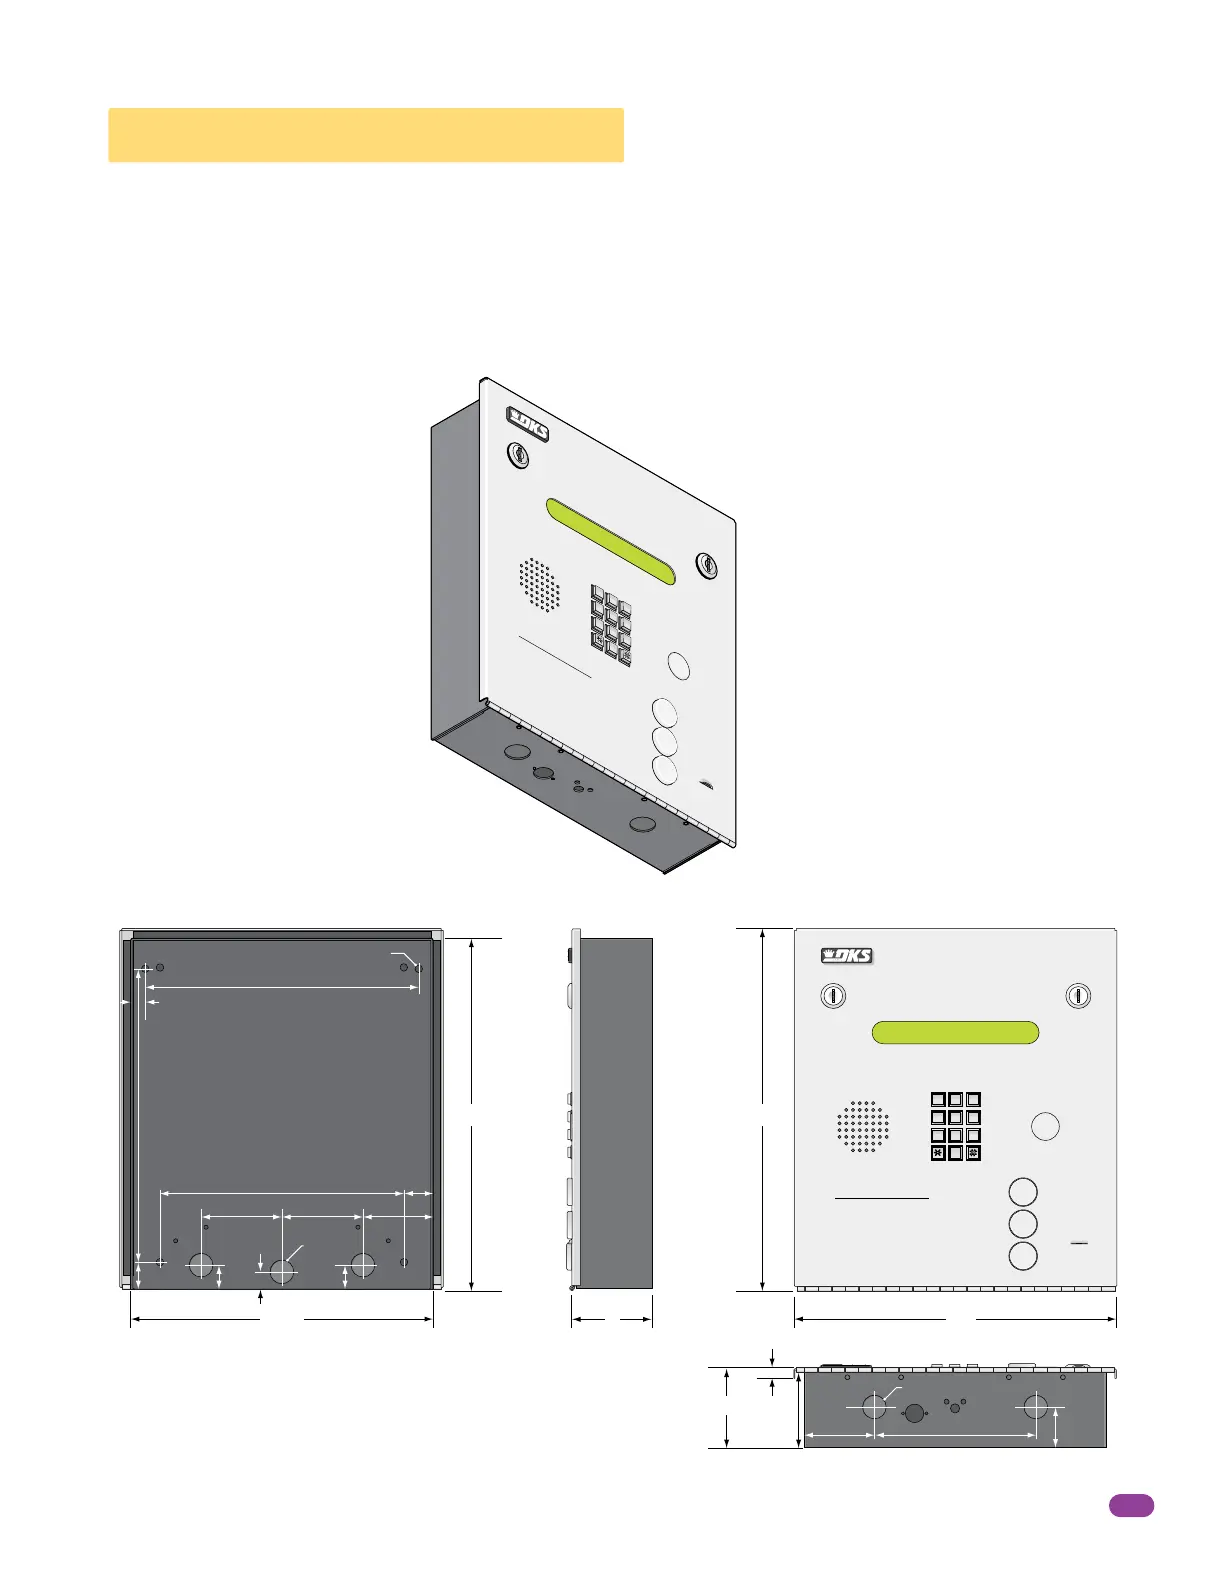
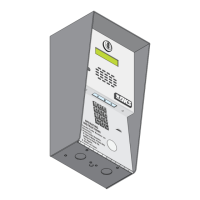
1.3 Flush Mount Dimensions
The Flush mount unit is installed into a wall with a flush mount kit P/N 1814-165 (stainless) or 1814-166 (gold). Flush mount
kits are NOT INCLUDED with the flush mount entry system (See next page for flush mount kit dimensions). The flush mount
unit may also be installed on the surface of a wall with a surface mounting kit if desired P/N 1814-152 (silver only). Flush mount
surface mounting kits are NOT INCLUDED with the flush mount entry system (See page 13 for flush mount surface mounting kit
dimensions). Flush mount unit is not designed for direct exposure to the weather. It can be mounted outdoors in an area
protected from direct exposure to the weather, such as a lighted-covered kiosk for example. DoorKing offers a self-standing
kiosk for the flush mount unit ideal for walk-up pedestrian applications (P/N 1200-170). Be sure the unit is mounted securely
and is not subject to vibration from closing doors or gates.
13.5”13”
12”
11.25”
3”
3”
Bottom View
Side ViewBack View Front View
6”
1.5”
2.625”
.25”
2.75”
10.125”
.5”
2.625”
3”
1”
.875”
.5”
.875”
10.875”
1.125”
9”
3”
25” Dia. Mounting Hole
.875” Dia
.875” Dia
7
8
9
4
5
6
1
2
3
0
OP
E
R
WX
YZ
TU
V
P
QR
S
M
NO
J
KL
GH
I
DE
F
A
BC
S
P
A
Z
CALL
TELEPHO
NE ENTR
Y SYSTEM
HOL
D T
O SCAN
OPERATING INSTRUCTIONS
U
se “A to Z” Buttons to Loc
at
e
Name and Code Number on Display.
Names are In Alphabetical Orde
r.
T
o
Call, Enter Code Number on
Keypad or Press “Call” Button. If
Line is Busy,
Press “#” or “Call” to
Hang Up. Tr
y Again.
Enter on Open Display and
To
ne.
1.
2.
3.