5664.500/800 Evita 4/Evita 2 dura 06/98 Repair Instructions Page 10
For internal use only. Copyright reserved.
GBR5664500T055664800.fm 18.03.99
Dräger Medizintechnik
D
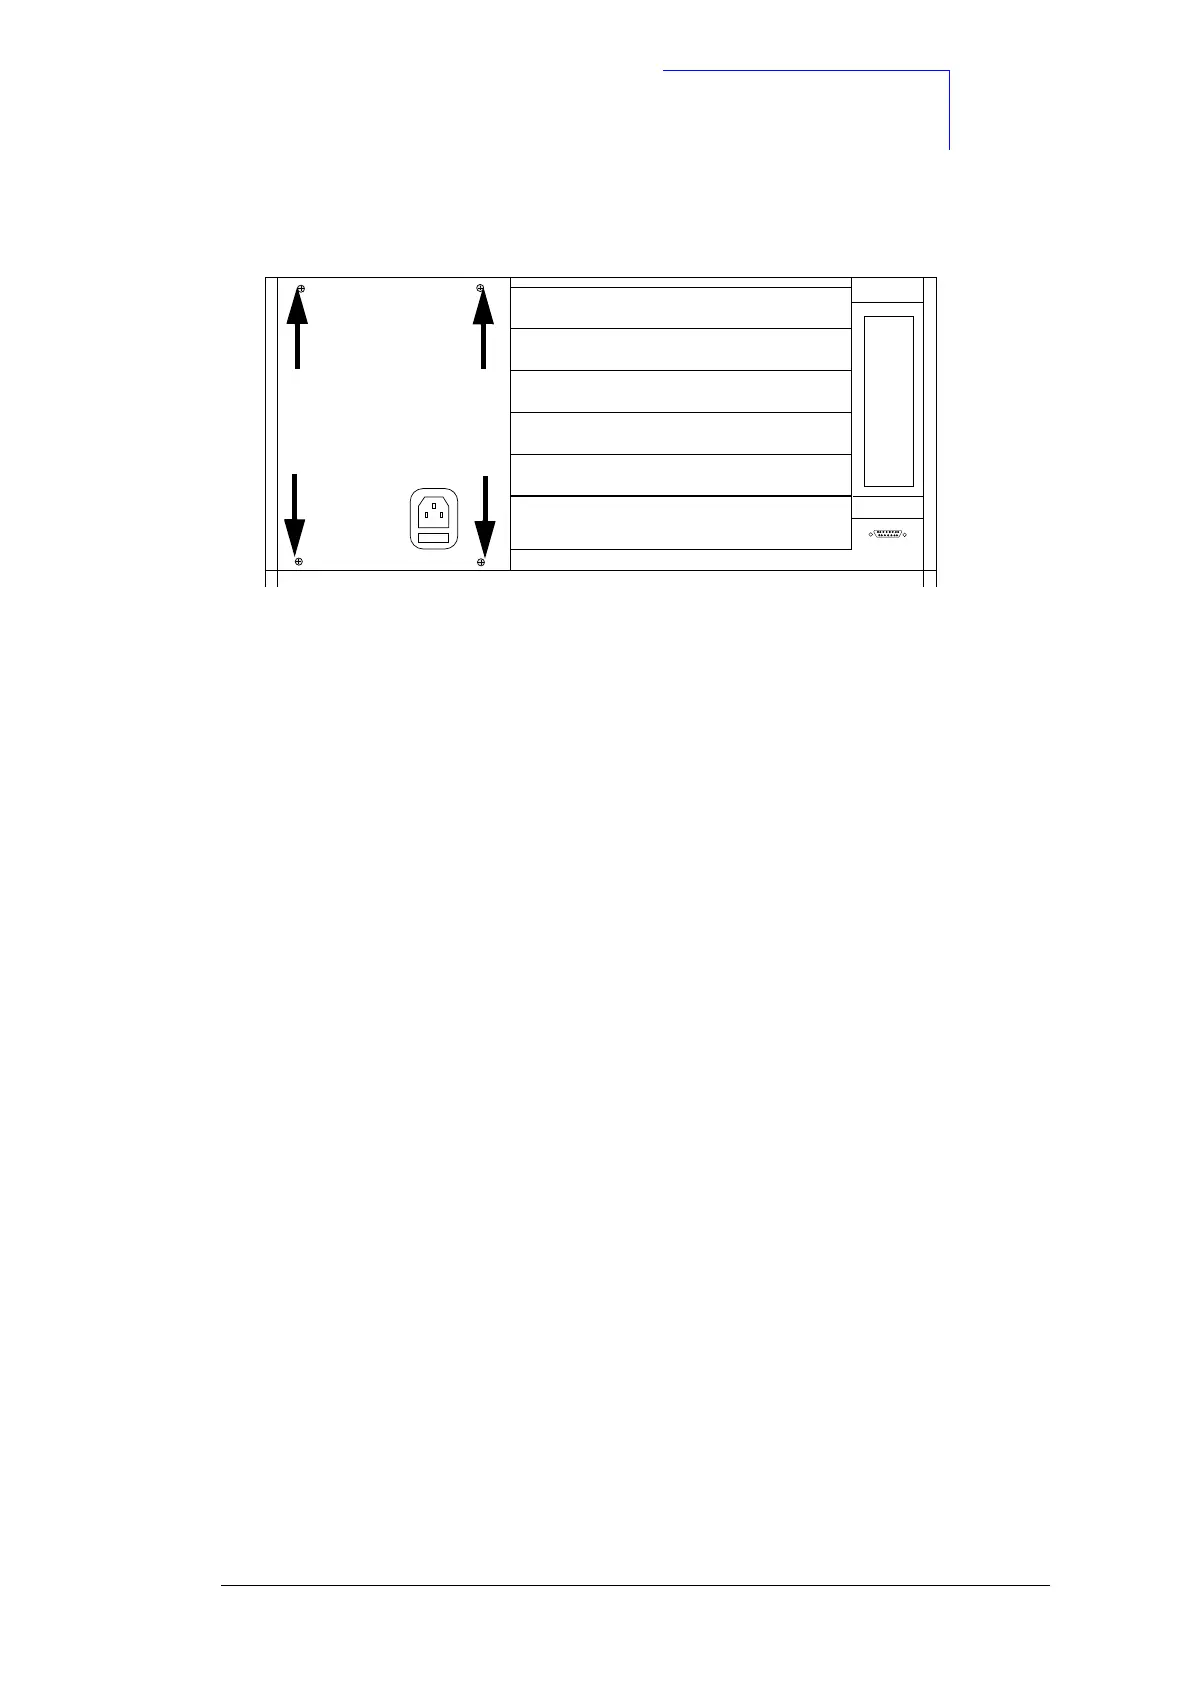
• Remove the Phillips screws E.
Fig. 6: Rear view (removing the power supply unit, step 3)
• Slide the power supply unit out of the Evita (from the rear).
• Mount the new power supply unit by following the reverse method used for dismounting.
• Switch the Evita on and allow it to warm up for 10 minutes.
• Check the electrical safety of the Evita (perform VDE test).
IMPORTANT
If a DC module is available in the Evita, you cannot measure the equivalent leakage current as
with a normal Evita. Before measuring the equivalent leakage current, perform the following
steps:
• Disconnect the power plug from the socket-outlet.
• Remove the external battery, if available.
• Switch the Evita on.
• Wait until the internal battery is discharged (the Evita goes off after approx. 10 to
15 minutes).
• Connect the Evita to the VDE portable measuring set.
IMPORTANT
If the Evita is supplied with voltage from the mains supply, you cannot measure the equivalent
leakage current. DO NOT supply the Evita with mains voltage. DO NOT press the “run” button
on the VDE portable measuring set.
• Measure the equivalent leakage current using the VDE portable measuring set.
Extensionbox
E
E
E
E

 Loading...