5664.500/800 Evita 4/Evita 2 dura 06/98 Repair Instructions Page 57
For internal use only. Copyright reserved.
GBR5664500T055664800.fm 18.03.99
Dräger Medizintechnik
D
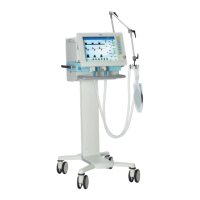
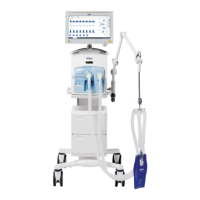
10.3 Replacing the Graphics Controller PCB
• Switch the Evita 4 off.
• Open the control unit.
• Remove the plug-in connection to the electronics.
• Remove the two hexagon head cap screws at the rear of the control unit.
Fig. 29: Rear view of the control unit – dismounting the Graphics Controller PCB
• Remove the six Phillips screws on the Graphics Controller PCB.
Fig. 30: Soldering side of the Graphics Controller PCB – dismounting the board
X1
1
8
X14 X2
X4
1
1
1
X7
1

 Loading...