1. Find the correct installation locations for the hydraulic jacks.
■ The correct location is different for all vehicles, especially around the rear chassis.
a. Install the jacks with as much distance between them as possible in the longitudinal direction.
b. If possible, install the jacks outside the chassis. If this is not possible, refer to
Install the
hydraulic jacks to the chassis
.
c. Install the rear jacks behind the rear axle.
d. Install the front jacks as close as possible to the front axle.
2. Make sure that the type of hydraulic jacks is correct. The jacks must be able to carry the maximum
weight of the vehicle.
3. Make sure that the retracted jacks stay at least 18 centimeters (7.1 inches) from the ground.
Note: Install the cylinders with the largest stroke as possible to get more lifting
capacity.
4. Install the jacks with the correct bolts and nuts.
5. Tighten the bolts and nuts with the standard torque settings.
6. Make sure that the hydraulic jacks are installed vertically, and do not lean to the inner side, the
outer side, the front, or the rear.
7. For some vehicles it is necessary to use
a crossbeam to connect the left and the
right jack for more stability. Refer to the
E&P Hydraulics Pricelist.
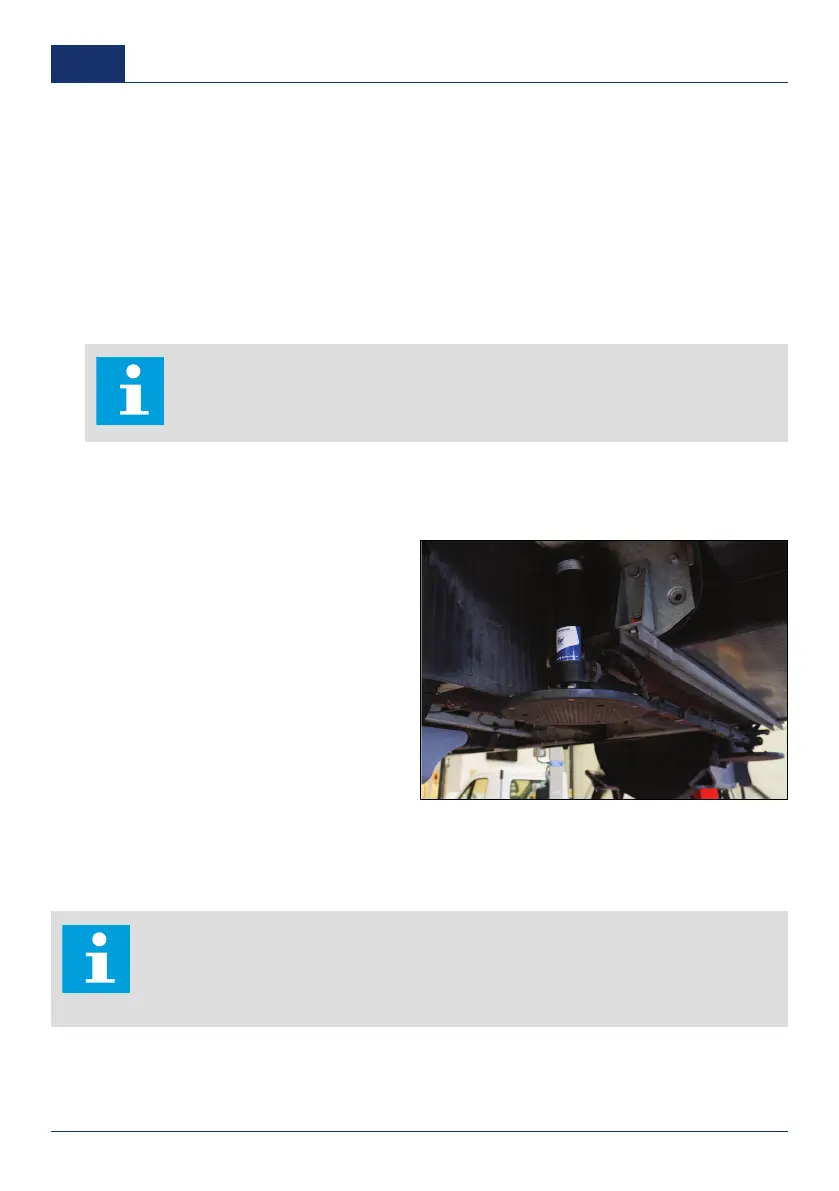
Install the hydraulic jacks to the chassis
Sometimes it is not possible to install the hydraulic jacks outside the chassis. To install the hydraulic
jacks to the chassis, you must drill holes in the chassis to install the brackets to the chassis. If there are
any uncertainties during installation, contact the dealer. Refer to
Contact information
.
Note:
■ Only use the standard E&P mounting brackets.
■ If the chassis is from AL-KO, it is possible to install the jacks to the chassis without
a bracket.
1. Find the correct installation locations for the hydraulic jacks.
2. Hold the bracket tightly to the chassis.
22 0001
US
 Loading...